
Related Manuals for weBoost DRIVE X RV


Summary of Contents for weBoost DRIVE X RV
- Page 1 A WILSON ELECTRONICS BRAND DRIVE X RV RV Cell Signal Booster User Manual support.weboost.com 866.294.1660 NEED HELP?
-
Page 2: Table Of Contents
______ Index Package Contents Mount Outside Antenna & Route Cable STEP 1: Connect Cable To Outside Antenna STEP 2: Inside Antenna Location STEP 3: Booster Location & Connect Cables STEP 4: Power Up The Booster STEP 5 & 6: Using The Optional Cable Entry Accessories Light Patterns Troubleshooting Safety Guidelines... -
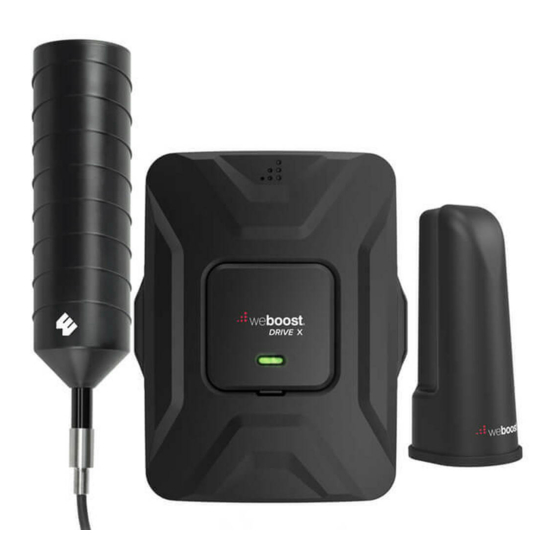
Page 3: Package Contents
Drive X Inside Outside Antenna & Mast Extension, Booster & Bracket Antenna 25 ft. RG-6 Cable Side-Exit Adapter & Spring Outside Antenna AC/DC Wall Power DC/DC Hardwire Installation Ladder Mount Supply Power Supply Accessories DRIVE X RV CELL PHONE SIGNAL BOOSTER... -
Page 4: Step 1: Mount Outside Antenna & Route Cable
NOTE: Keep in mind to stay below the maximum height limit allowed by law, which varies from state to state (generally 14’ in western states and 13’6” in eastern states). CELL PHONE SIGNAL BOOSTER DRIVE X RV... - Page 5 RV (using the slider gasket as a seal). Option C: Drill a hole with the included hole saw bit. WARNING: Be sure to stay clear of any power, pipes, etc. that may be damaged. DRIVE X RV CELL PHONE SIGNAL BOOSTER...
-
Page 6: Step 2: Connect Cable To Outside Antenna
RG-6 cable to the Outside Antenna. Mast Extension Side Exit Adapter Spring Add thread lock on all threads with tube provided NOTE: If installing with Spring, the Side Exit Adapter must be used. CELL PHONE SIGNAL BOOSTER DRIVE X RV... -
Page 7: Step 3: Inside Antenna Location
______ Step 3: Inside Antenna Location Place Inside Antenna where stronger signal is desired. DRIVE X RV CELL PHONE SIGNAL BOOSTER... -
Page 8: Step 4: Booster Location & Connect Cables
Snap booster back into bracket. NOTE: We recommend mounting in a cabinet near a power source. Be sure it’s in a location that cables from both Inside and Outside Antennas can reach. common booster location CELL PHONE SIGNAL BOOSTER DRIVE X RV... - Page 9 Outside Antenna Connect the 13’ RG-58 cable to the ‘Inside Antenna’ port on the booster. Route the cable to the Inside Antenna. be sure to finger tighten only route to Inside Antenna DRIVE X RV CELL PHONE SIGNAL BOOSTER...
- Page 10 Connect the 13’ RG-58 cable to the ‘Inside Antenna’ port on the booster. Route the cable and connect to the Inside Antenna. Inside Antenna best when used within 4-10 feet of cellular device CELL PHONE SIGNAL BOOSTER DRIVE X RV...
-
Page 11: Power Up The Booster
______ Steps 5 & 6: Power Up The Booster Connect power cable to booster, then into 110V Wall plug and enjoy! NOTE: A fused 12V hardwire power supply is also included. DRIVE X RV CELL PHONE SIGNAL BOOSTER... -
Page 12: Using The Optional Cable Entry Accessories
RV. We strongly recommend using an RTV cable sealant from the inside to prevent mounts moisture, insects, and other undesired things from entering the RV. CELL PHONE SIGNAL BOOSTER DRIVE X RV... - Page 13 Keep track of the network (3G or 4G) phone is connected to. • Any signal readings you take are valid for that phone’s carrier. To get readings from other carriers, you’ll need phones from each carrier. DRIVE X RV CELL PHONE SIGNAL BOOSTER...
- Page 14 -110 -111 -119 -120 3G/1x -100 -101 -109 -110 4G/LTE -105 -106 -110 -111 -119 -120 Did you know a signal increase of just 3dB is 2 times the power and signal amplification! CELL PHONE SIGNAL BOOSTER DRIVE X RV...
-
Page 15: Light Patterns
NOTE: The Signal Booster can be reset by disconnecting and reconnecting the power supply. After troubleshooting you must initiate a new power cycle by disconnecting and then reconnecting power to the Booster. support.weboost.com 866.294.1660 NEED HELP? DRIVE X RV CELL PHONE SIGNAL BOOSTER... -
Page 16: Troubleshooting
Note: Horizontal separation of the two antennas typically requires a shorter separation distance than perpendicular separation. If you are having any difficulties while testing or installing your booster, contact our weBoost Customer Support team for assistance (866.294.1660). FREQUENTLY ASKED QUESTIONS How can I contact customer support? Customer Support can be reached monday thru friday by calling 866.294.1660, or... - Page 17 Inside Antenna Kits Kit 304422-5810 50 Ohm 4G Omni Antenna Kit 311155-0630 10’ RG58 cable 75 Ohm Wall mount Panel Antenna Kit 304422-1120 30’ RG6 Cable Kit 311135-5820 50 Ohm Wall mount Panel Antenna DRIVE X RV CELL PHONE SIGNAL BOOSTER...
-
Page 18: Safety Guidelines
______ Safety Guidelines Use only the power supply provided in this package. Use of a non-weBoost product may damage your equipment. The Signal Booster unit is designed for use in an indoor, temperature-controlled environment (less than 150 degrees Fahrenheit). It is not intended for use in attics or similar locations subject to temperatures in excess of that range. -
Page 19: Specifications
(2) this device must accept any interference received, including interference that may cause undesired operation. Changes or modifications not expressly approved by weBoost could void the authority to operate this equipment. This device contains licence-exempt transmitter(s)/receiver(s) that comply with Innovation, Science and Economic Development Canada’s licence-exempt RSS(s). -
Page 20: Warranty
2 YEAR WARRANTY weBoost Signal Boosters are warranted for two (2) years against defects in workmanship and/or materials. Warranty cases may be resolved by returning the product directly to the reseller with a dated proof of purchase. Signal Boosters may also be returned directly to the manufacturer at the consumer’s expense, with a dated proof of purchase and a Returned Material...
Need help?
Do you have a question about the DRIVE X RV and is the answer not in the manual?
Questions and answers