Advertisement
Quick Links
Advertisement

Subscribe to Our Youtube Channel
Related Manuals for CHIEF VCTU


Summary of Contents for CHIEF VCTU
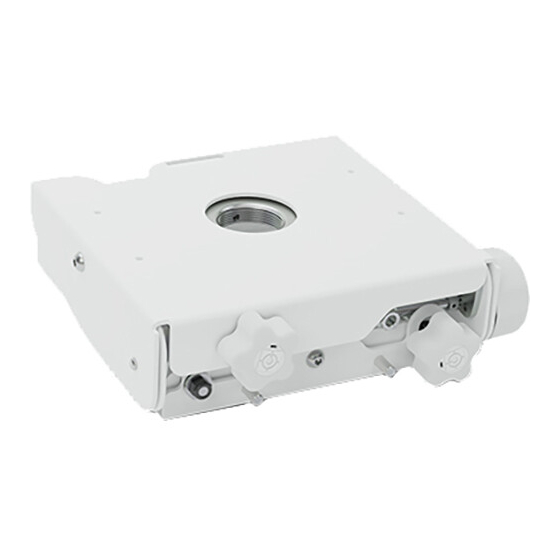
- Page 1 I N S T A L L A T I O N I N S T R U C T I O N S XL Projector Mount VCTU / VCT000...
-
Page 2: Important Safety Instructions
VCT000 / VCTU does not exceed 150 lbs (68.0 kg). conditions or variations, nor does it provide for every possible contingency in connection with the installation or use of this •... - Page 3 Installation Instructions VCTU / VCT000 DIMENSIONS VCT000 [Mount only] 1-1/2 NPT/NPSM PITCH 20° DIMENSIONS: INCHES [MILLIMETERS]...
- Page 4 VCTU / VCT000 Installation Instructions DIMENSIONS...cont’d VCTU [Mount & HCU interface] 1-1/2 NPT/NPSM PITCH 20° DIMENSIONS: INCHES [MILLIMETERS]...
- Page 5 Installation Instructions VCTU / VCT000 LEGEND Tighten Fastener Adjust Apretar elemento de fijación Ajustar Befestigungsteil festziehen Einstellen Apertar fixador Ajustar Serrare il fissaggio Regolare Bevestiging vastdraaien Afstellen Serrez les fixations Ajuster Loosen Fastener Remove Aflojar elemento de fijación Quitar Befestigungsteil lösen...
-
Page 6: Tools Required For Installation
Installation Instructions TOOLS REQUIRED FOR INSTALLATION [Optional] (included) (included) + M13 socket PARTS XL Projector Hardware Kit (Ships with VCTU) XL Projector Mount Hardware Kit [First letter matches hardware bag label] [First letter matches hardware bag label] "C" "A" "B"... -
Page 7: Installation
VCTU / VCT000 INSTALLATION NOTE: In the following instructions, the term VCT refers to both the VCT000 and/or the VCTU. The VCT mount is designed to be mounted to: • a 1-1/2" NPT or NPSM following ANSI/ASME B1.20.1 (Schedule 40, 0.154" minimum thickness steel or aluminum-ASTM B221) threaded extension column (not included). - Page 8 VCTU / VCT000 Installation Instructions Install Projector with Attached Interface Bracket Orient projector with attached interface bracket so that it is square to the screen. (See Figure 3) Lift the projector and install it behind the flange nuts on the four studs extending from the VCT housing.
- Page 9 Installation Instructions VCTU / VCT000 Adjustments A. Pitch Turn PITCH knob (A) counterclockwise to pitch down. (See Figure 4) WARNING: MOUNTING HARDWARE IS TO BE Turn PITCH knob (A) clockwise to pitch up to 0°. LOOSENED ONLY ENOUGH TO ALLOW FOR NECESSARY MOVEMENT.
- Page 10 VCTU / VCT000 Installation Instructions...
- Page 11 Installation Instructions VCTU / VCT000...
- Page 12 VCTU / VCT000 Installation Instructions USA/International A 6436 City West Parkway, Eden Prairie, MN 55344 P 800.582.6480 / 952.225.6000 F 877.894.6918 / 952.894.6918 Europe A Franklinstraat 14, 6003 DK Weert, Netherlands P +31 (0) 495 580 852 F +31 (0) 495 580 845 Asia Pacific A Office No.
Need help?
Do you have a question about the VCTU and is the answer not in the manual?
Questions and answers