Table of Contents
Advertisement
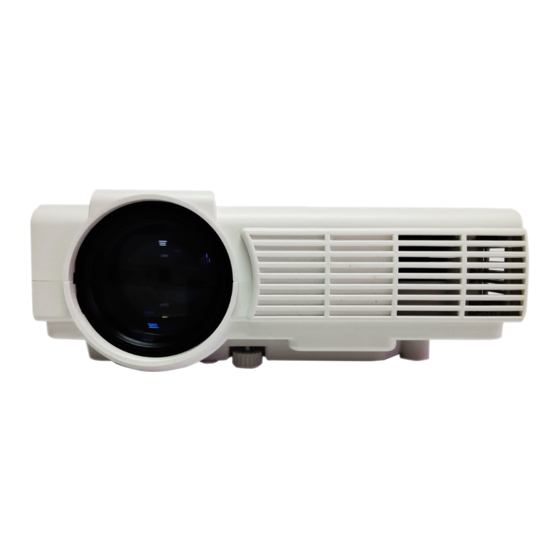
MODEL NO. RPJ116
MULTIMEDIA PROJECTOR
INSTRUCTION MANUAL
PLEASE READ BEFORE OPERATING THIS EQUIPMENT
This product is manufactured and sold by Curtis International Ltd.
RCA, the RCA logo, the two dogs (Nipper and Chipper) logo, are
registered trademarks or trademarks of RCA Trademark
Management and are used under license by Curtis International Ltd.
Any other product, service, company, trade or product name and logo
referenced herein are neither endorsed nor sponsored by
RCA Trademark Management or its affiliates.
Advertisement
Table of Contents

Related Manuals for RCA RPJ116


Summary of Contents for RCA RPJ116
- Page 1 PLEASE READ BEFORE OPERATING THIS EQUIPMENT This product is manufactured and sold by Curtis International Ltd. RCA, the RCA logo, the two dogs (Nipper and Chipper) logo, are registered trademarks or trademarks of RCA Trademark Management and are used under license by Curtis International Ltd.
- Page 2 Install Dust Cap & Focus Ring Install USB & Micro SD Card (TF) 14-16 17-25 Power adapter...
- Page 3 External five basic image signal source: TF Card slot...
- Page 4 Warning Warning Warning Warning...
- Page 5 Warning...
- Page 6 Install Dust Cap & Focus Ring DUST CAP FOCUS RING Install Focus Ring Focus Ring installation Focus Ring find from packing accessory. Install the Focus Ring into front lens area ( see the above figure). Rotate the Focus Ring clockwise to fixing on main unit. Install Dust Cap If the unit don’t used , install the Dust Cap on the Focus Ring until to next time operation.
- Page 8 " screen " " " "...
- Page 9 Warning...
- Page 11 (Not Include) (Not Include)
- Page 12 (Not Include)
- Page 13 (Not Include) this interface can be input with HD player HDMI output at the connection. (Not Include)
- Page 14 Install USB & Micro SD Card (TF) Install USB device: 1. Press the button to turn off power and the power indicator will light RED. 2. Install the USB device into USB port. 3. After connect, press the button to turn on unit and power indicator will light GREEN 4.
- Page 15 power adapter...
- Page 17 D own...
- Page 18 Click the "MENU" button from the remote or the button on the projector to show the MENU on the screen.
- Page 19 Italian...
- Page 24 Will not set the reset to the default value and exit.
- Page 25 TF card input mode...
- Page 26 Play/Pause: Play or Pause the video...
- Page 27 Specs and Tech Power Input DC 12V , 3A Connect included adapter Included Adapter Input AC100-240V,50/60Hz Connect DC input of unit Output DC12V , 3A. Display Color 16.7K Projection Size 30-100 inch Speaker Power 2W + 2W Signal Port Video / VGA / HDMI USB Port Support USB device up to 32GB Support format mpeg1, Mpeg2 ,mpeg4, mp3 , Jpeg...
- Page 28 LIMITED PRODUCT WARRANTY This quality product is warranted to be free from manufacturer’s defects in material and workman-ship, provided that the unit is used under the normal operating conditions intended by the manufacturer. Should you have any problem with this product, please and it is highly recommended to visit our website at www.curtisint.com before you take any other steps as we have additional copies of instruction manuals, operating manuals and trouble shooting tips on our website which gives you the answer on most of the...
Need help?
Do you have a question about the RPJ116 and is the answer not in the manual?
Questions and answers