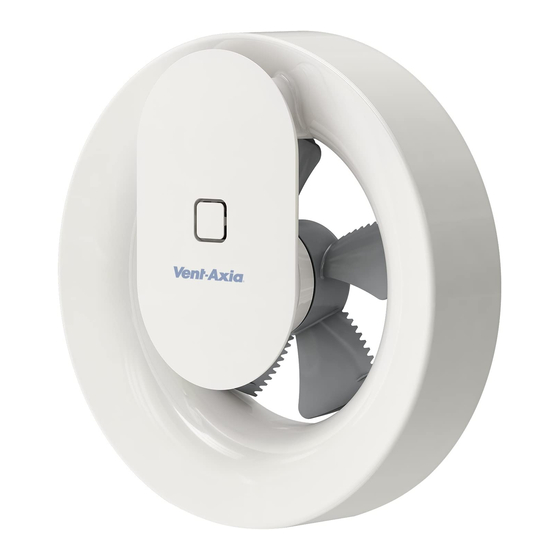
Summary of Contents for Vent-Axia SVARA
- Page 1 S V A R A S t y l i s h an d versati le bat hroom f an A product by Instruction Manual...
- Page 2 Frequency, and Phase) complies with the rating label. moving parts. If the external grille is positioned between 0-2.3m from the ground, please use the Vent-Axia wall D. The Fan should only be used in conjunction with the kit to ensure people cannot access the fans impeller appropriate Vent-Axia products.
-
Page 3: Installation Preparation
Installer information Installation Installation Preparation • Loosen the motor unit by grasping it as shown in Figure (A), prise off the motor unit by leaveraging against the cap with your knuckles. Ensure that you have the motor unit in a secure grip so you do not drop it when it loosens. •... - Page 4 Installer information • Vent-Axia wall kits and external grilles are available as accessories. (Figure E). The fan’s wall seal has a short spigot which fits inside the Ø100 mm pipe. Make sure when mounting to adapt the length of the wall pipe so it does not push back the wall seal so the fan impeller cannot rotate.
- Page 5 Installer information • Mark the three attachment points for the appropriate screws to the substrate (Figure J). Tighten the screws so that gasket seals against the wall. 100-240 V AC connection Always use a qualified electrician All electrical connections 100-240V must be performed by a qualified electrician.
- Page 6 Svara on/off operation through remote switch, with overrun: (Can be combined with backdraft shutter) 100-240VAC 100-240VAC 50 / 60Hz Must be selected via Vent-Axia Connect App. Start / stop via manual switch T. 12VDC Svara humidity controlled: (Can be combined with backdraft shutter) 100-240VAC 50 / 60Hz Must be selected via Vent-Axia Connect App.
- Page 7 (Can be combined with backdraft shutters) 12VDC NOTE! For 12VDC always use switches Must be selected via Vent-Axia Connect App. intended for direct current, C. Start / stop via manual switch C. Svara humidity controlled: (Can be combined with backdraft shutters) 12VDC (switch C always) Must be selected via Vent-Axia Connect App.
- Page 8 Installer information Mounting the cover on the wall frame • The fan is double insulated and must not be earthed. When the electrical connection is made place the cover back over the wall frame fitted into the housing hole (Figure P). •...
- Page 9 Automatic functions and settings via app Default setting: Activate the app: Vent-Axia Svara is programmed to cope with the vast You have to use a code to activate the app, the code is majority of installations. unique for each fan. Enter the code or scan it through your The fan works continuously at a trickle flow of 10l/s.
- Page 10 For the user Servicing and maintenance WARNING: THE FAN AND ANCILLARY CONTROL EQUIPMENT MUST BE ISOLATED FROM THE POWER SUPPLY DURING MAINTENANCE. Strong solvents should not be used on the fan. – Clean opening, the duct and the motor unit with a damp The fan must not be dipped in or sprayed with water.
- Page 11 Supplier guarantees the functioning of the relevant supplier. regulations and instructions are complied with. Vent-Axia guarantees its Lo-Carbon products for five All the holes for the screws to be carried out according to years from date of purchase against faulty material or the figures X and Y.
- Page 12 Fax: 01293 532814 Pin Code for app Important; save this in a secure place. Scan this through the Vent-Axia Connect App or type in the numbers to access the application. The same pincode can also be found on the right leg of the removeable motor unit.


Need help?
Do you have a question about the SVARA and is the answer not in the manual?
Questions and answers
I Have a Vent Axia Svara extractor fan that has a switch on the side of the fan. The manual does not mention what this is for, are you able tell the function of this switch?
The switch on the side of the Vent-Axia Svara extractor fan is the integrated On switch, which should work freely before turning the fan on.
This answer is automatically generated