Advertisement
Table of Contents
Advertisement
Table of Contents

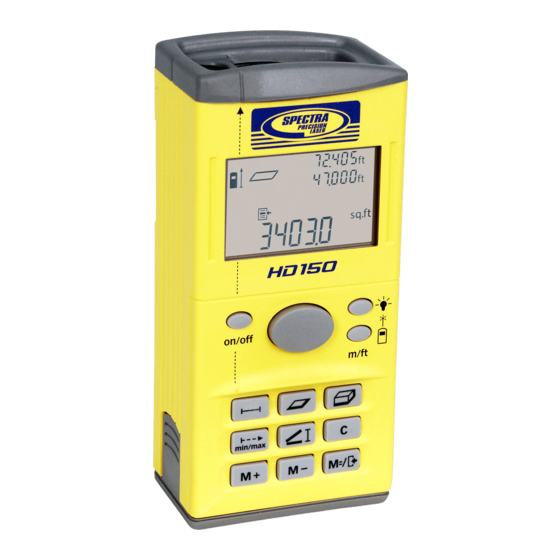
Summary of Contents for Spectra Precision HD150
- Page 1 0635-1490 0635-3120 0600-1310 0600-1320 0600-1340 0600-1330...
-
Page 5: Product Specifications
Product Specifications Digital Laser Distance Measuring Instrument Order number HD 150 Measuring range (natural surfaces) 0.3 ... 150 m (1 ... 500 ft)* Measuring accuracy Typical (0.3 ... 30 m/1...100 ft) ±2 mm (±3/32 in) Maximum ±3 mm (±1/8 in)** Measuring time Typical <0.5 s... -
Page 6: Intended Use
Symbols Symbol Name Meaning Millimeter Length Meter Length Square meter Area Cubic meter Volume Inch Length Foot Length sq.ft Square feet Area cu.ft Cubic feet Volume Seconds Time Minutes Time °F Degrees Fahrenheit Temperature °C Degrees Celsius Temperature Nanometer Wave length Milliwatt Power Volts... - Page 7 10 Button for changing the “m/ft” measuring unit and the continuous pointer mode 11 Volume measurement button 12 Clear button 13 Indirect length measurement button 14 Button for reading memory 15 Memory subtraction button 16 Memory addition button 17 Compact end piece* 18 Universal end piece* 19 End piece latching 20 1/4"...
-
Page 8: For Your Safety
For Your Safety Working safely with this unit is possible only when the operating and safety information are read com- pletely and the instructions contained therein are strictly followed. Laser radiation of laser class 2 630–675 nm, <1 mW, according to EN 60825-1:2001 The instrument complies with 21CFR, Parts 1040.10 and 1040.11. -
Page 9: Putting Into Operation
Putting into Operation Switching On/Off Switching on: Press the “on/off” button 6 or the measurement button 7 completely down. Switching off: Press the “on/off” button 6. After approx. 5 min without performing a measurement, the unit switches off automatically to save the batteries. With the automatic switch-off, the current display and the settings of the unit are also stored in addition to the already stored measured values. -
Page 10: Working Instructions
Continuous Pointer Mode As required, the unit can be switched to continuous laser beam (continuous pointer mode). For this purpose, press the measurement button 7 lightly in the middle or the side to switch on the laser beam. Then press the contin- uous pointer mode button 10. -
Page 11: Measurement Functions
Changing the End Piece The unit is provided with two different end pieces. The compact end piece 17 reduces the dimensions of the unit. It is suit- able for measurements for which the rear end of the unit can rest on a flat surface. - Page 12 Area Measurement Press the area measuring button 5 to switch to the mode for area measuring. The symbol for area measurements appears in the upper part of the display. Then measure the length and width one after the other as for a length measurement. After completing the second measurement, the re- sult is automatically calculated and displayed.
- Page 13 Minimum-Maximum Measurement (see Fig. The minimum/maximum measurement serves to determine the minimum or maximum distance from a fixed reference point. It is an aid, for exam- ple, for the determination of diagonals (maximum value) as well as verti- cals and horizontals (minimum value). To switch to the minimum/maximum measuring mode, press the button 1.
- Page 14 Subtraction from Measured Values By pressing the button 15, the value at the bottom of the display is deducted from the value stored. In the display, “M–” appears briefly and then “M”. If a value is already present in the memory, the new value is subtracted from the memory contents, however, only when the units of measurement are in agreement (see Storing/Adding of Measured Values).
-
Page 15: Checking The Measurement Accuracy
Error – Cause and Correction Cause Correction The temperature indicator k blinks, measuring is not possible Measurement outside the allowed Wait until the allowable temperature temperature range from –10 °C range is reached. (+14 °F) to +50 °C ( +122 °F). “ERROR”... -
Page 16: Maintenance
Maintenance Do not immerse the unit in water. Wipe off dirt with a damp, soft cloth. Do not use aggressive cleaning agents or solvents. Take care of the unit, especially the receiving lens 22, by handling it in the same manner as for eye glasses or a camera. If the unit should fail despite the care taken in manufacture and testing, the repair should be performed by an authorized Trimble Service Center.


Need help?
Do you have a question about the Precision HD150 and is the answer not in the manual?
Questions and answers