Advertisement
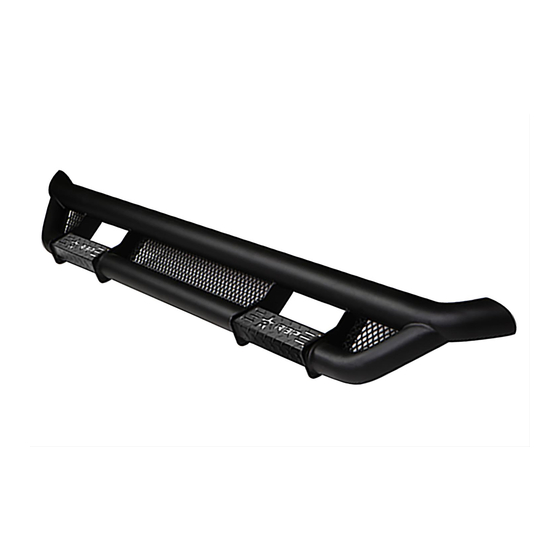
2001-2006 CHEVY SILVERADO 1500-3500 CREW CAB RX3
HARDWARE INCLUDED
12
8-1.25mm x 25mm Hex Bolts
12
8mm Lock Washers
18
8mm x 24mm OD x 2mm Flat Washers
6
8-1.25mm Hex Nuts
2
8-1.25mm Threaded Inserts
1
8mm Insert Tool
DRIVER-LEFT SIDE INSTALLATION:
STEP 1 – Remove any old steps, hardware, plastic plugs or insulation.
STEP 2– Locate the (4) tabs with holes, along the bottom edge of the driver side body panel, (Figures
1—3). IMPORTANT: Installation will use the 1st, 2nd and 4th mounting tabs only. Locate each
threaded weld nut in the inner side of the body directly above the lower mounting tabs. NOTE: The
rear mounting location does not have a factory threaded weld nut or mounting tab hole and requires
drilling.
STEP 3 – With assistance, hold the Side Step up to the bottom of the body panel. Line up the attached
brackets with the (3) mounting locations. Place a mark on the body panel for the upper rear mounting
hole and a mark on the pinch weld for the lower rear mounting hole, (Figure 4). Use a 7/16" drill bit to
drill out the (2) holes. NOTE: It is highly recommended to drill a small pilot hole for both the lower and
upper mounting locations to ensure that the pinch weld hole is properly aligned with the bracket and
threaded insert hole.
Step 4 – Assemble the metal Insert Tool as shown in Figure 5. Push the Tool and Insert assembly into
the drilled hole. NOTE: If Metal Insert fits too tight, lightly tap it into place with a small hammer.
Firmly hold the handle on the Tool and tighten the hex bolt in the Insert until it is fully locked in place.
NOTE: Do not over tighten the Insert or a pull out may occur. Once Metal Insert is compressed,
remove the hex bolt and tool from the Insert, (Figure 6).
Step 5 – Attach each Bracket to each upper threaded insert with (1) 8mm Hex Bolt, (1) 8mm Flat
Washer, (1) 8mm Lock Washer and (1) 8mm Hex Nut, (Figure 7). Attach the lower tabs on the
mounting brackets to the bottom of the body with (3) 8mm x 25mm Hex Bolts, (3) 8mm Lock Washers
13000 Temple Ave. City of Industry, CA 91746
RBP-1109B-RX3
Page 1 of 3
RECOMMENDED TOOLS
2
13mm Wrenches
Drill with 7/16" bit
1-877-519-9090
June 2017 (JB)
Advertisement
Table of Contents

Subscribe to Our Youtube Channel
Related Manuals for RBP RBP-1109B-RX3


Summary of Contents for RBP RBP-1109B-RX3
- Page 1 RBP-1109B-RX3 2001-2006 CHEVY SILVERADO 1500-3500 CREW CAB RX3 HARDWARE INCLUDED RECOMMENDED TOOLS 8-1.25mm x 25mm Hex Bolts 13mm Wrenches 8mm Lock Washers Drill with 7/16” bit 8mm x 24mm OD x 2mm Flat Washers 8-1.25mm Hex Nuts 8-1.25mm Threaded Inserts...
- Page 2 RBP-1109B-RX3 and (3) 8mm STD Flat Washers, (Figure 8). NOTE: You may need to drill to enlarge the existing holes for the lower bracket. Snug but do not tighten hardware at this time. STEP 7 - Once the Side Step is fully installed, verify the fitment and alignment. Fully tighten hardware.
- Page 3 RBP-1109B-RX3 8mm Hex Bolt 8mm Flat Washer Tool 8mm Threaded Insert Fig 5 Front (Fig 6) Example of driver side rear threaded insert installed Front 8mm Hex Bolt (Fig 7) Driver side Center bracket installed (2) 8mm Flat Washers 8mm Lock Washer...
Need help?
Do you have a question about the RBP-1109B-RX3 and is the answer not in the manual?
Questions and answers