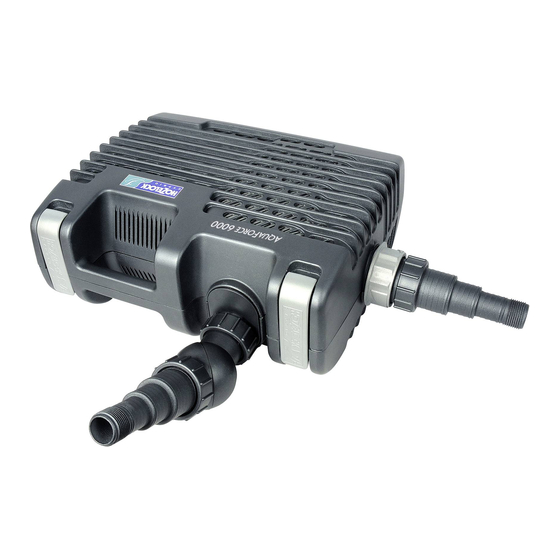
Hozelock Cyprio Aquaforce 6000 Instruction Booklet
Hide thumbs
Also See for Aquaforce 6000:
- Manual (10 pages) ,
- Installation and operating instructions manual (56 pages)
Table of Contents
Advertisement
Quick Links
Download this manual
See also:
Manual
Advertisement
Table of Contents

Related Manuals for Hozelock Cyprio Aquaforce 6000


Summary of Contents for Hozelock Cyprio Aquaforce 6000
- Page 1 1583A 1584A 1585A 1586A Hozelock Ltd. Midpoint Park, Birmingham, B76 1AB. England www.hozelock.com Tel: +44 (0) 121 313 1122 consumer.service@hozelock.com www.hozelock.com 43386-003...
-
Page 2: General Safety Guidelines
This Hozelock Cyprio Aquaforce pump is electrically 3. WARNING: Always unplug or disconnect all operated and is designed to pump solid particles appliances in the pond from the electricity supply... -
Page 3: Electrical Connections
10. ATTENTION: Do not operate this product if the Brown – Live mains supply cable or the motor has become Blue – Neutral damaged in any way. The supply cable cannot Green/Yellow – Earth be replaced as it is permanently encased in the The BROWN lead should be connected to the motor housing and should therefore be disposed of LIVE terminal which may be marked with an ‘L’... -
Page 4: Typical Installation
Typical Installation Most common Aquaforce set up NOTE: When running amphibiously, the dry sited pump MUST be positioned horizontally, as shown. Amphibious operation Pump Assembly & Installation - Submerged Operation 4. Remove the mains supply cable and unwind. ASSEMBLY 5. Ensure that the outlet of the 1. - Page 5 6. Locate the mains supply cable into the recess on the side of the cage. Ensure it is seated in the correct position so that the cable does not get trapped when the cage is closed. (Fig Refit the small fish protection insert.
- Page 6 10. Screw the hosetail directly onto the outlet boss of the ball joint (Fig 10). The ball joint can be rotated to allow the hose to be directed away from the pump. Position on the bottom of the pond. We recommend that the 11.
-
Page 7: Pump Installation
5. To use as a flow control, screw the filter cage, this indicates the end cap to the free end of minimum flow. When the wide the flow control. end of the arrow is aligned with the pointer, this indicates 6. -
Page 8: Maintenance
Maintenance 3. At least once a year you should completely The Hozelock Cyprio range of Aquaforce pumps have disassemble the pump including the rotor assembly been designed to allow fast and easy maintenance. To as described below and wash all components in prolong the life of your pump and keep your pump in clean, fresh water. - Page 9 12000/15000 6000/8000 Pump Dismantling & Assembly 6. Wash out all of the components in clean water. Do not use detergents or other chemical cleaners. (6000 & 8000) - Fig 22 & 24 7. Ensure the o-ring (d) is in its groove (fig 24a & 24b). 1.
-
Page 10: Troubleshooting/Fault Finding
4. Ensure that the strainer cage is clean. 5. The thermal overload protection has tripped (see INTRODUCTION). Hozelock Cyprio 3 + 2 Year Guarantee If this pump, excluding the rotor assembly, becomes Do not dispose of electrical appliances as unsorted municipal unserviceable within 3 years of the date of purchase waste, use separate collection facilities. - Page 11 Performance* Aquaforce 1000 2500 4000 6000 8000 12000 15000 Saleable Part Number 1580 1581 1582 1583A 1584A 1585A 1586A Volts (V) 230V 50Hz 230V 50Hz 230V 50Hz 230V 50Hz 230V 50Hz 230V 50Hz 230V 50Hz Power (W) Max Flow, Qmax (l/hr) 1000 2500 4000...
- Page 12 Hozelock Ltd. Midpoint Park, Birmingham, B76 1AB. England Tel: +44 (0) 121 313 1122 www.hozelock.com 43386-003...
Need help?
Do you have a question about the Aquaforce 6000 and is the answer not in the manual?
Questions and answers