Table of Contents
Advertisement
!
WARNING:
FIRE OR EXPLOSION HAZARD
Failure to follow safety warnings exactly could result in serious injury, death, or
property damage.
Be sure to read and understand the installation, operation, and service instructions in
this manual.
Improper installation, adjustment, alteration, service, or maintenance can cause
serious injury, death, or property damage.
— Do not store or use gasoline or other flammable vapors and liquids in the vicinity
of this or any other appliance.
— WHAT TO DO IF YOU SMELL GAS
•
Do not try to light any appliance.
•
Do not touch any electrical switch; do not use any phone in your building.
•
Leave the building immediately.
•
Immediately call your gas supplier from a phone remote from the building. Follow
the gas supplier's instructions.
•
If you cannot reach your gas supplier, call the fire department.
— Installation and service must be performed by a qualified installer, service agency,
or the gas supplier.
Applies to:
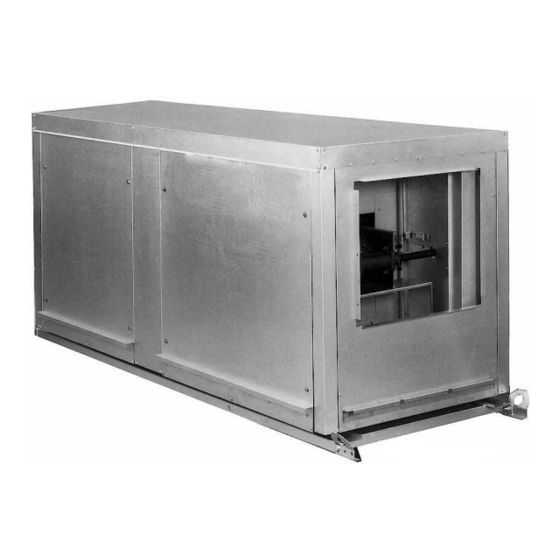
Indoor or Outdoor Gas, Direct-Fired,
Model ADF
Form I-ADF (12-15)
Obsoletes Form I-ADF (Version A.3)
Installation
Makeup Air/Heating Systems,
Model ADF and Model ADFH
CQS
Form I-ADF, P/N 131805 R6, Page 1
Advertisement
Table of Contents


Need help?
Do you have a question about the ADFH Series and is the answer not in the manual?
Questions and answers