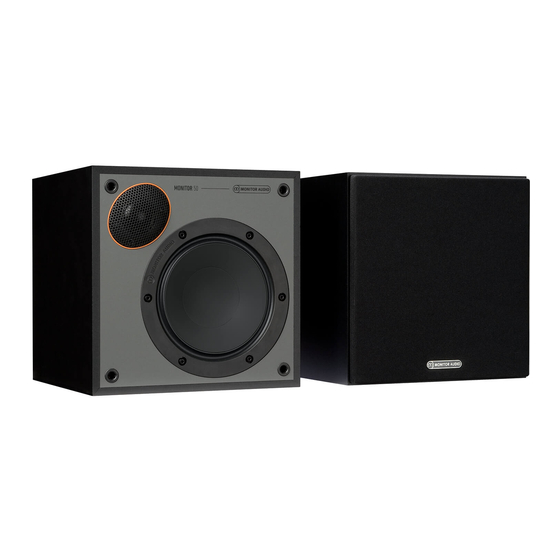
Monitor Audio Monitor 50 Owner's Manual
Hide thumbs
Also See for Monitor 50:
- Owner's manual (100 pages) ,
- Owner's manual (10 pages) ,
- Owner's manual (10 pages)
Table of Contents
Advertisement
Advertisement
Table of Contents

Summary of Contents for Monitor Audio Monitor 50
- Page 1 MONITOR SERIES o w n e r s m a n u a l...
-
Page 2: Table Of Contents
Monitor Series to life. This new series delivers clean and minimalistic styling, with accents of Monitor Audio’s heritage from the “System R Series”, all in a thoroughly modern package. -
Page 3: Spikes And Feet
Spikes and Feet Spike (Monitor 200 & 300 only) If the speaker is being installed on a carpeted floor, screw the spike into the foot and ‘out-rigger’ assembly. Fix them to the speaker base using the supplied bolts (A & B). Bottom Locking You can check that the speaker is level on all sides by using... -
Page 4: Atmos
1. Side surround speakers 2. Rear surround speakers 0° -22° 22° A 7.1 surround system will make use of side -30° 30° (position 1) and rear speakers (position 2) to create a full 360° soundstage, if setting up a 5.1 system you can -90°... -
Page 5: Wiring Configurations
Wiring configurations Single Wire The Monitor 50 and C150 models feature a single pair of speaker terminals (see illustration opposite) allowing single wire connection. Single Wire The Monitor 100, 200 and 300 models feature two pairs of terminals, and can be... -
Page 6: Port Bungs
Port bungs WARNING: Care must be taken not to insert the port bungs too far into the port, as this may result in the foam bung being lost inside the cabinet. If the loudspeaker is to be installed in a small room, typically 9 sqM (80 sqFT), or a room known to reproduce accentuated bass response, it may be desirable to fit port bungs. -
Page 7: Mrw-10 Amp Panel & Controls
Monitor Series speakers, set this to between 50 - 100Hz (depending on additional speakers). Experimentation is advisable. Type of Main Speaker Monitor Series Product Crossover Control Setting Small stand-mount/ bookshelf speaker Monitor 50/ 100 60-100 Hz Floor Standing Speaker Monitor 200/ 300 50 - 80 Hz Monitor Series... - Page 8 5. Volume Control This control allows the level or volume to be adjusted in order to achieve a balanced overall sound. To get the balanced sound a selection of familiar music or film excerpts will need to be played. Start with the volume at minimum and increase the level control until a balanced sound is established.
-
Page 9: Mrw-10 Positioning & Initial Set Up
MRW-10 Positioning & Initial Set Up Leave the subwoofer unplugged from the mains until all signal cables are connected and feet attached. Fix the feet to the bottom of the MRW-10 using the provided screws into the pilot holes on the base of the cabinet. -
Page 11: Trouble Shooting
Auto or On position, and the source is turned on? Try adjusting the volume level of the source and try the switch in the ‘On’ position. If it still does not turn on/ power up, please contact your local dealer/ distributor or Monitor Audio immediately. -
Page 12: Guarantee
Both the craftsmanship and the performance of this product is guaranteed against manufacturing defects for the period of five years from the date of purchase (see conditions in the Important Safety Instructions booklet), provided that the product was supplied by an authorised Monitor Audio retailer under the consumer sale agreement. - Page 13 Monitor Audio Ltd. 24 Brook Road Rayleigh, Essex SS6 7XJ England Tel: +44 (0)1268 740580 Fax: +44 (0)1268 740589 Email: info@monitoraudio.co.uk Web: www.monitoraudio.com Designed & Engineered in the United Kingdom Made In China Version 2. 2017...


Need help?
Do you have a question about the Monitor 50 and is the answer not in the manual?
Questions and answers