Table of Contents

Related Manuals for Rage Eclipse 1M


Summary of Contents for Rage Eclipse 1M
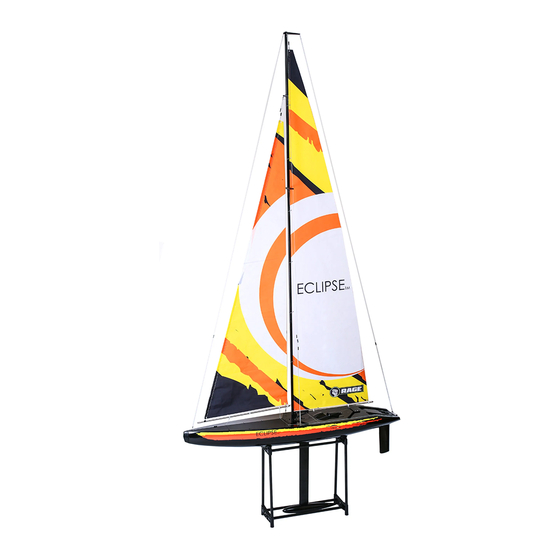
- Page 1 Specifications Hull Width 220 mm (8.66”) Hull Length 1000 mm (39.37”) Height from bottom of hull 1790 mm (70.50”) Total Height 2130 mm (83.87”) Weight 3.15 kg (6.94 lbs.) Servos Sail winch servo and rudder servo Total Sail Area 6050 cm (937.75 in )
- Page 2 Introduction The Eclipse 1M is the ideal way to experience the pleasure of sailing on a gentle summer’s breeze, or the excitement of racing your own America’s Cup racing yacht. The large one meter (39”) hull is precision blow-molded from high-strength ABS and features durable, reinforced rip-stop nylon sails that arrive pre-printed with bright, attractive graphics.
- Page 3 Contents Legend 3/14...
- Page 4 Assembly of the Eclipse sailboat is easily accomplished by follow- ing the step-by-step rigging instructions that follow. A great deal of the assembly has been done for you, reducing the assembly time to about an hour. Everything that you need is included. Please refer to the contents legend on page 3 if you have any questions about part names.
- Page 5 5. Connect backstay crane, forestay crane, short mast, shrouds cross, long mast and the pre-installed main sail and boom in the order shown above. Make sure to slide the sail onto the masts using the 6 luff rings. 7. Insert the installed mast into the hull. 6.
- Page 6 11.1. Take cord “L2” from stoarage board, 12.1. Take the hang it on the cord “L3” from port side of the the storage forestay crane. board, hang it on the base of the port side 11.2. Lead the shrouds cross. cord through the shrouds cross.
- Page 7 17. Adjust the positions of the silicone rings on main boom and jib boom as shown in above picture. 18. Slide silicone rings (”SR” for short) to appropriate position as shown in picture. If further rigging is needed, adjust refering to below instruction: 18.1.
- Page 8 18.6. Move SR6 to adjust the cord tied in step 15, if it is too tight (move toward SR5) or if too loose (move toward SR7), to keep the jib boom within 30mm-35mm of the mast when the sail stick is at its lowest position.
- Page 9 23. Move the bowsie as shown to tighten or loosen the main sail. 24. Move the bowsie as shown to adjust the bend of the mast. It should be bent a little like a bow (as shown by the dotted line in the picture).
- Page 10 Power LED Dual Rate Switch Rudder Stick Sail Stick No Function Sail Trim Rudder Trim No Function Power Switch 10/14...
- Page 11 11/14...
- Page 12 Recharge the Lithium battery 12/14...
- Page 13 Eclipse Spare Parts Item Number Description RGRB1300 Eclipse 1M RTR Sailboat RGRB1305 Painted Hull w/ Decals RGRB1306 Hatch Set RGRB1307 Pre-Printed Full Sail w/ Dyneema Cord RGRB1308 Jib Spare Parts Set RGRB1309 Main Boom Parts Set RGRB1310 Dyneema Cord (10M)
-
Page 14: Limited Warranty
Limited Warranty Eclipse boat Printed in China 14/14...
Need help?
Do you have a question about the Eclipse 1M and is the answer not in the manual?
Questions and answers