HPE StoreEver MSL3040 Service Manual
Tape library robotic assembly and spooler replacement
Hide thumbs
Also See for StoreEver MSL3040:
- Installation manual (6 pages) ,
- Getting started manual (39 pages)
Table of Contents
Advertisement
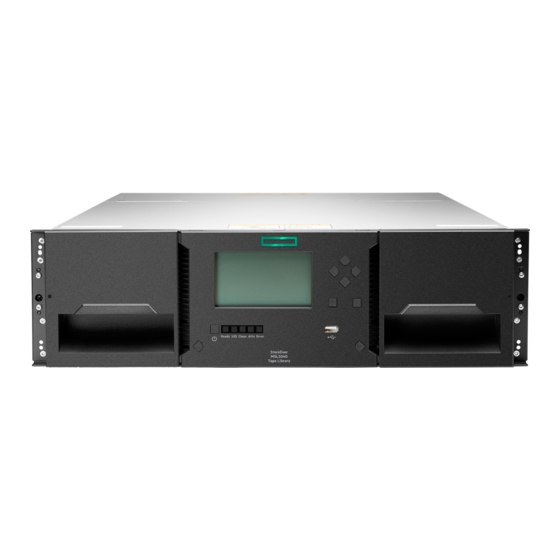
HPE StoreEver MSL3040
Tape Library Robotic
Assembly and Spooler
Replacement
Abstract
This document provides instructions for replacing the
robotic assembly and spooler mechanism in the
MSL3040 tape library.
©
Copyright 2017, 2018 Hewlett Packard Enterprise Development LP
Part Number: Q6Q62-96006
Published: October 2018
Edition: 3
*Q6Q62-96006*
CAUTION: Parts can be damaged by electrostatic
discharge. Keep parts in electrostatic containers
until needed. Ensure that you are properly
grounded when touching static sensitive
components.
CAUTION: Power off the library before installing
this part. Otherwise, damage may occur.
IMPORTANT: When the library is powered off
using the front power button, the robot
automatically parks and locks into the base module
behind the OCP.
After powering off the library and before extending
the module from the rack, look through the
expansion module windows to locate the robotic
assembly. Verify that it is behind the OCP, with
approximately three rows of tape cartridges visible
below the robot.
Depending on expansion module placement, you
might need to remove a magazine from the base
module to determine the robot position.
If you do not see the robotic assembly completely
in the base module, see the User and Service
Guide "Returning the robotic assembly to the base
module" for troubleshooting information.
WARNING: Each library module weighs 20 kg (44
lb) without media or tape drives and at least 35 kg
(77 lb) with media (40 cartridges) and three tape
drives. When moving the library, to reduce the risk
of personal injury or damage to the device:
•
Observe local health and safety requirements
and guidelines for manual material handling.
•
Remove all tapes to reduce the overall weight
of the device and to prevent cartridges from
falling into the robotic path and damaging the
library. Keep the cartridges organized so they
can be returned to the same locations.
•
Obtain adequate assistance to lift and stabilize
the device during installation or removal.
Page 1
Advertisement
Table of Contents

Related Manuals for HPE StoreEver MSL3040


Summary of Contents for HPE StoreEver MSL3040
- Page 1 Ensure that you are properly grounded when touching static sensitive components. CAUTION: Power off the library before installing HPE StoreEver MSL3040 this part. Otherwise, damage may occur. Tape Library Robotic IMPORTANT: When the library is powered off using the front power button, the robot...
-
Page 2: Powering Off The Library
WARNING: To reduce the risk of personal injury or Powering off the library damage to equipment: Procedure • Extend the leveling jacks to the floor. 1. Verify that all host processes are idle. • Ensure that the full weight of the rack rests on the leveling jacks. -
Page 3: Preparing To Remove The Robotic Assembly And Spooling Mechanism
3. Disconnect the AC power cables from the base module. 4. Disconnect the Ethernet, SAS, and Fibre Channel cables from the base module. 5. Remove any USB devices, if present. 6. Completely loosen the front captive fasteners of the base module. 7. -
Page 4: Removing The Robotic Assembly And Spooling Mechanism From The Base Module
Removing the robotic assembly and spooling mechanism from the base module Procedure 1. Slide the cartridge carrier toward the center of the robotic assembly to access the robot locking lever. 2. Standing at the front of the module, unlock the robot by moving the blue lever to the left, then toward you, and then to the right. -
Page 5: Installing The Robotic Assembly And Spooling Mechanism Into The Base Module
Installing the robotic assembly and spooling mechanism into the base module Procedure Hold the spooling mechanism so that the end of the spooling cable that attaches to the robotic assembly is pointing up. Align the tab on the back of the spooling mechanism with the keyhole in the back left of the metal wall. -
Page 6: Completing The Robotic Assembly And Spooling Mechanism Installation
4. Using a #2 Phillips screwdriver, tighten the captive fasteners on the front of the base module and its adjacent modules until they are finger tight. Do not over tighten. 5. Replace the magazines. 6. Reconnect the Ethernet, SAS, and Fibre Channel cables to the base module. -
Page 7: Product Documentation
Product documentation is available in the Hewlett the event, and continue verifying the installation. Packard Enterprise Information Library. Additional parts DO NOT need to be replaced. Procedure 1. Navigate to http://www.hpe.com/info/enterprise/ Verifying the replacement procedure docs. 2. In the Products and Solutions pane, select StoreEver Procedure Tape. -
Page 8: Related Websites
• http://www.hpe.com/support/tapetools: L&TT Warranty information To view the warranty information for your product, see the links provided below: HPE ProLiant and IA-32 Servers and Options www.hpe.com/support/ProLiantServers- Warranties HPE Enterprise and Cloudline Servers www.hpe.com/support/EnterpriseServers- Warranties HPE Storage Products www.hpe.com/support/Storage-Warranties...
Need help?
Do you have a question about the StoreEver MSL3040 and is the answer not in the manual?
Questions and answers