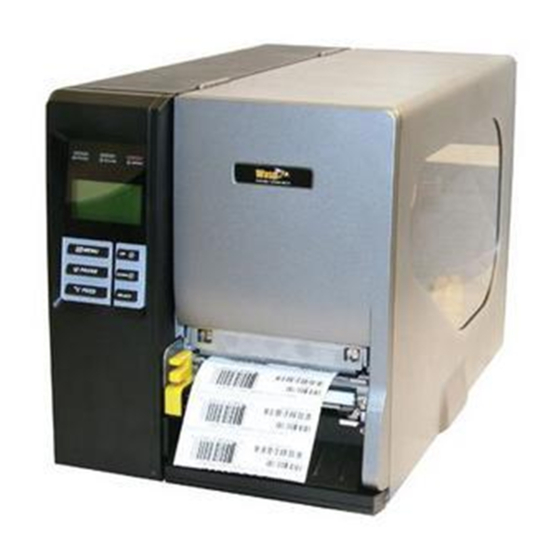
Wasp WPL610 Manual
Wiring inspection and/or print head replacement
Hide thumbs
Also See for WPL610:
- User manual (65 pages) ,
- Quick start manual (2 pages) ,
- Comparison chart (1 page)
Advertisement
Table of Contents
Portal > Knowledgebase > Hardware > Printers >
Print Head Replacement
WPL610 Printer: Wiring Inspection and/or Print Head
Replacement
Scott Kircher - 2018-08-06 - in
WPL610 Printer: Wiring Inspection and/or Print Head Replacement
Due to the tricky reassembly process, we recommend this procedure be performed by
someone with good mechanical aptitude.
This procedure can be used to inspect the state of the wiring harness (in case it has come
loose) as well as replace a print head.
Excerpt from service manual regarding this procedure:
http://dl.waspbarcode.com/kb/printer/wpl6xx/WPL608-610-Print-Head.pdf
Pictures illustrating the gap (bad) and snug (good) print head assemby:
http://dl.waspbarcode.com/kb/printer/wpl6xx/Print-Head-gap-vs-snug.pdf
Disassembly:
1.
Open the print head assembly with the yellow Push tab.
2.
If you use a ribbon, get it out of the way.
3.
Unscrew the silver metal thumbscrew that is between the two yellow plastic pressure
knobs, then set it aside.
4.
The print head will separate from the assembly.
5.
There are two bundles of wiring that plug in. Pull gently to remove each plug, so that
the plug is removed evenly (prevent the plug from tilting to one side when pulling).
WPL610 Printer: Wiring Inspection and/or
Printers
Advertisement
Table of Contents

Related Manuals for Wasp WPL610


Summary of Contents for Wasp WPL610
- Page 1 Replacement Scott Kircher - 2018-08-06 - in Printers WPL610 Printer: Wiring Inspection and/or Print Head Replacement Due to the tricky reassembly process, we recommend this procedure be performed by someone with good mechanical aptitude. This procedure can be used to inspect the state of the wiring harness (in case it has come loose) as well as replace a print head.
- Page 2 The white plug on the right usually has a locking tab on the top that needs to be squeezed to release. Reassemble print head: This can be tricky. Read the instructions fully before starting this procedure. Reinsert the wiring plugs, matching the color of the plug and receptacle, seating both firmly and evenly.
Need help?
Do you have a question about the WPL610 and is the answer not in the manual?
Questions and answers