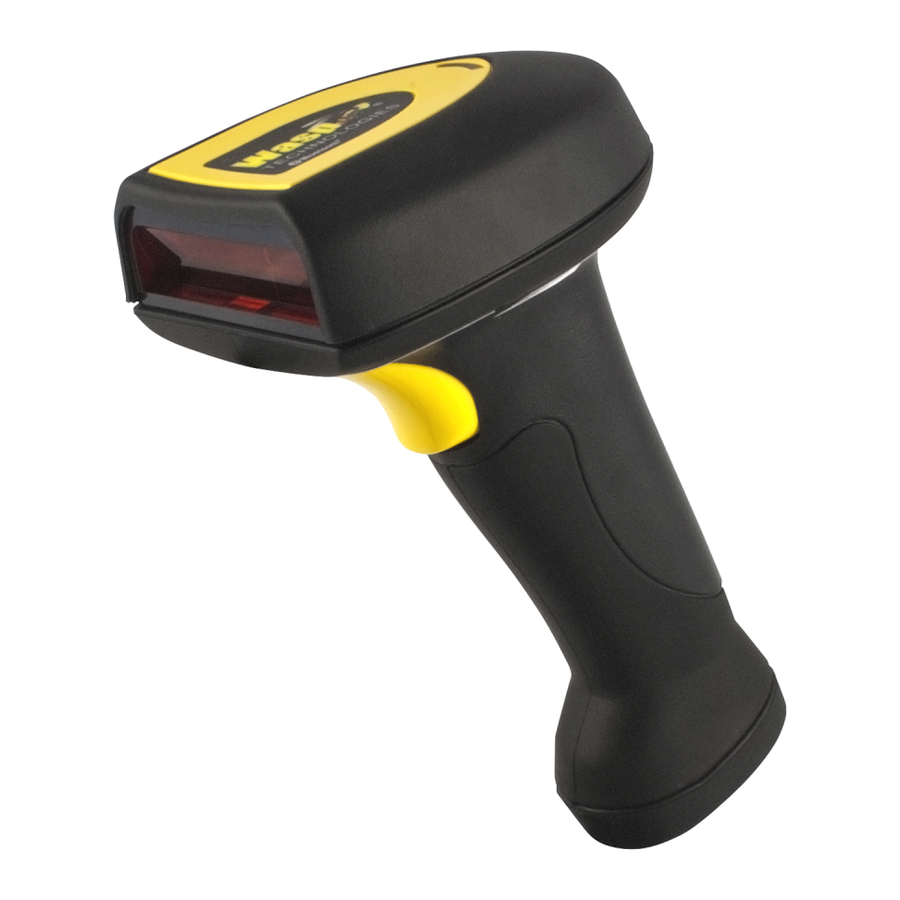
Wasp WWS800 User Manual
Bluetooth wireless scanners
Hide thumbs
Also See for WWS800:
- User manual (30 pages) ,
- Reference manual (27 pages) ,
- Setup instructions (2 pages)
Advertisement
Quick Links
Download this manual
See also:
Reference Manual
Table of Contents
Revision History .......................................... Error! Bookmark not defined.
WWS800/850 Bluetooth Wireless Scanners
Restore Default Settings ...........................................................................1
Exit Setup without Changes .....................................................................1
Set Connection...........................................................................................1
RF Auto Shutdown Duration ...................................................................1
Transmit Buffer Setting............................................................................1
Memory Mode Parameters.......................................................................2
User's Manual
List Setting .................................................................................................3
Buzzer Settings ..........................................................................................3
Reading Redundancy Setting ...................................................................4
Scan Mode Setting.....................................................................................4
Auto-Sense Setting ....................................................................................4
Scanner Time-out Duration......................................................................5
Negative Barcode Setting..........................................................................5
Delay between Reread ..............................................................................5
Keyboard Wedge Parameters ..................................................................6
RS-232 Parameters....................................................................................9
Bluetooth Serial Port Parameters..........................................................11
Bluetooth HID Parameters.....................................................................12
Prefix / Postfix Settings...........................................................................15
Character Substitution ...........................................................................15
Code ID Selection ....................................................................................15
Code ID Setting .......................................................................................16
Length Code Setting (2 digits)................................................................17
Select Readable Codes ............................................................................20
Code39 Parameters .................................................................................25
Italy Pharmacode Parameters................................................................25
French Pharmacode Parameters............................................................26
Industrial 25 Parameters ........................................................................26
Interleave 25 Parameters........................................................................27
Matrix 25 Parameters .............................................................................29
Codabar Parameters...............................................................................30
Plessey Parameters..................................................................................31
Telepen Parameters.................................................................................31
MSI Parameters ......................................................................................32
EAN128 Parameters................................................................................33
EAN8 Parameters....................................................................................34
UPCA Parameters...................................................................................34
UPCE Parameters ...................................................................................35
EAN13 Parameters..................................................................................36
© 2008 Wasp Technologies
RSS Code ID Selection............................................................................37
Advertisement

Subscribe to Our Youtube Channel
Related Manuals for Wasp WWS800


Summary of Contents for Wasp WWS800
- Page 1 Table of Contents Revision History .......... Error! Bookmark not defined. WWS800/850 Bluetooth Wireless Scanners Restore Default Settings ................1 Exit Setup without Changes ..............1 Set Connection...................1 RF Auto Shutdown Duration ..............1 Transmit Buffer Setting................1 Memory Mode Parameters...............2 User’s Manual List Setting ....................3 Buzzer Settings ..................3...
- Page 2 RSS14 Parameters...................37 RSS Limited Parameters ................38 RSS Expanded Parameters ..............38 Activate Editing Formats ...............39 Editing Format Parameters..............40 Decimal Digits..................52 Hexadecimal Digits..................53 Key Type ....................54 Key Status....................54 KBD Wedge Character Table ..............55 RS-232 Character Table.................55...
- Page 3 • Enable < Disable > • Clear Programming Instructions: (1) Read the label. (2) Read the Serial Number barcode Confirm on the bottom of the desired 3666 Base Station within 5 seconds to complete this setting. • • Programming Instructions: (1) Read the label. (2) Program the desired auto <...
- Page 4 < No Redundancy > Page1 2 Times Page 6 3 Times Page 2 4 Times Page 7 Page 3 Page 8 < Auto Off Mode > Page 4 Continuous Mode Page 9 Auto Power Off Mode Page 5 Alternate Mode Page 10 Momentary Mode Repeat Mode...
-
Page 5: Keyboard Table
• Programming Instructions: (1) Read the label. (2) Program the desired time-out duration by reading Decimal Digits on page 53. (3) Read the “Validate” label (also Programming Instructions: (1) Read the label. (2) Program the desired keyboard on page 53) to complete this setting. number (shown in the following table) by reading Decimal Digits on page 53. - Page 6 • • < Default Layout > < Case Sensitive > AZERTY Ignore Case QWERTZ • • < Alphanumeric Key > Numeric Key < Default Layout > • Lower Row Upper Row • < No > • < Default > Shift Lock Programming Instructions: (1) Read the label.
- Page 7 • • < None > Scanner Ready • Data Ready INV. Data Ready 115200 • 38400 119200 Programming Instructions: (1) Read the label. (2) Program the desired inter- < 9600 > character delay by reading Decimal Digits on page 53. (3) Read the “Validate” label (also on page 53) to complete this setting.
- Page 8 • • Programming Instructions: (1) Read the label. (2) Program the desired • keyboard number (shown in the following table) by reading Decimal Digits on page 53. (3) Read the “Validate” label (also on page 53) to complete this setting. <...
- Page 9 • • < Default > < No > Shift Lock Capital Lock • • Programming Instructions: (1) Read the label. (2) Program the desired character string by reading Hexadecimal Digits on page 54. One character consists of 2 Capital Lock ON hexadecimal digits.
- Page 10 Prefix Code * Code 39 * Postfix Code * Italy Pharmacode * French Pharmacode * Industrial 25 * Set 1 * Interleave 25 * Set 2 * Matrix 25 * Set 3 * Codabar * Programming Instructions: (1) Read the label. (2) Program the desired character string by reading Hexadecimal Digits on page 54.
- Page 11 • • Enable < Disable > Enable < Disable > • • Enable < Disable > Enable • < Disable > • Enable < Disable > Enable • < Disable > Enable • < Disable > • Enable < Disable > Enable •...
- Page 12 • • Enable < Disable > < Enable > • Disable • Enable < Disable > Enable • < Disable > • Enable < Disable > Enable • < Disable > • Enable < Disable > < Enable > • Disable •...
- Page 13 • • < Enable > Enable Disable < Disable > • • < Enable > < Enable No Addon > Disable Disable No Addon • Enable Addon2 < Disable Addon2 > < Enable > Enable Addon5 Disable < Disable Addon5 > •...
- Page 14 < Disable Addon2 > • Enable Addon5 Enable < Disable Addon5 > < Disable > • • < Enable No Addon > Enable Disable No Addon < Disable > Enable Addon2 • < Disable Addon2 > Enable Enable Addon5 < Disable > <...
-
Page 15: Full Ascii
• • < Standard > < Enable > Full ASCII Disable • • Enable < Disable > < Industrial 25 > • Interleave 25 Matrix 25 Enable • < Disable > • Enable < Disable > < Enable > • Disable <... - Page 16 • • Enable Select Max / Min Length Qualification < Disable > Max Length * • Min Length * < Enable > • Disable Select Fixed Length Qualification • Select Max / Min Length Qualification Fixed Length 1 * Fixed Length 2 * Max Length * Programming Instructions: (1) Read the label.
- Page 17 • • Select Max / Min Length Qualification Select Fixed Length Qualification Max Length * Fixed Length 1 * Min Length * Fixed Length 2 * Programming Instructions: (1) Read the label. (2) Program the desired length • by reading Decimal Digits on page 53. (3) Read the “Validate” label (also on page 53) to complete this setting.
- Page 18 • < abcd / abcd > abcd / tn*e < Single Modulo 10 > ABCD / ABCD Double Modulo 10 ABCD / TN*E Modulo 11 & 10 • • < Last digit not Transmitted > Transmitted Enable Last 2 Digits not Transmitted <...
- Page 19 • • Select Fixed Length Qualification Enable Fixed Length 1 * < Disable > Fixed Length 2 * • Programming Instructions: (1) Read the label. (2) Program the desired length by reading Decimal Digits on page 53. (3) Read the “Validate” label (also on <...
- Page 20 • • System Number 0 and 1 Enable < System Number 0 only > < Disable > • • Enable Enable < Disable > < Disable > • • Enable < Enable > < Disable > Disable • < Enable > Disable Update Enter Setup...
- Page 21 • < Enable > < ]e0 > Disable • • < Enable > < Enable > Disable Disable • • < Enable > < Enable > Disable Disable • • < Enable > < Enable > Disable Disable Update Enter Setup...
- Page 22 • • Enable Format 1 < Disable > Format 2 Format 3 • • Enable < Disable > • Enable < Disable > • < No > • < Yes > End of Format Programming Update...
- Page 23 • • Maximum Length * Minimum Length * Programming Instructions: (1) Read the label. (2) Program the desired length by reading Decimal Digits on page 53. (3) Read the “Validate” label (also on page 53) to complete this setting. • Programming Instructions: (1) Read the label.
- Page 24 • • EAN13 No Addon Clear EAN13 Addon2 Code 39 Italy Pharmacode EAN13 Addon5 French Pharmacode UPCA No Addon Industrial 25 Interleave 25 UPCA Addon2 Matrix 25 UPCA Addon5 Codebar Code 93 Code 128 Plessey EAN128/RSS UPCE No Addon UPCE Addon2 UPCE Addon5 EAN8 No Addon EAN8 Addon2...
- Page 25 • • Field Terminating String * Field Terminating String * Programming Instructions: (1) Read the label. (2) Program the desired character Programming Instructions: (1) Read the label. (2) Program the desired string by reading Hexadecimal Digits on page54. One character consists of 2 character string by reading Hexadecimal Digits on page 54.
- Page 26 • • Field Terminating String * Field Terminating String * Programming Instructions: (1) Read the label. (2) Program the desired Programming Instructions: (1) Read the label. (2) Program the desired character string by reading Hexadecimal Digits on page 54. One character character string by reading Hexadecimal Digits on page 54.
- Page 27 • • Additional Field 1 * Additional Field 4 * Field Terminating String * Programming Instructions: (1) Read the label. (2) Program the desired Additional Field 2 * character string by reading Hexadecimal Digits on page 54. One character consists of 2 hexadecimal digits. (3) Read the “Validate” label (also on page Additional Field 5 * 54) to complete this setting.
- Page 28 • Start Field 1 Additional Field 1 Field 2 Additional Field 2 Field 3 Additional Field 3 Field 4 Additional Field 4 Field 5 • Additional Field 5 Field 6 Programming Instructions: (1) Read the “Start” label. (2) Program the desired transmission sequence by reading the Field / Additional Field labels.
- Page 29 < Normal > Scan Code Add Shift Add Control (L) Add Alternate (L) Add Control (R) Add Alternate (R) • Update Enter Setup...
- Page 30 " 3 Home F5 6 Down F8 & Left B Right ESC C PgUp Exec < D Enter E PgDn > Dly Enter* Enter* : Enter Key of the Numeric Key Pad … : Digits of Numeric Key Pad DLE SP "...
Need help?
Do you have a question about the WWS800 and is the answer not in the manual?
Questions and answers