Table of Contents
Advertisement
Advertisement
Table of Contents
Troubleshooting

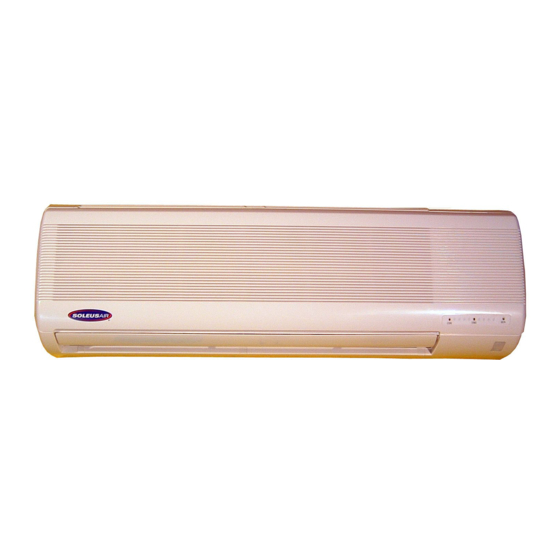
Summary of Contents for Soleus Air KFR/KFS Series
-
Page 2: Table Of Contents
Contents Safety Precautions ... 1 Identification of parts ... 2 Indoor Unit / Operation and display ... 3,4 Remote controller ... 5,6 Operation instructions / Modes ... 7 Air flow direction control... 8 “I FEEL” mode ... 9 Timer operation mode ... 10 Sleep operation mode ...11 Maintenance ... -
Page 3: Maintenance
Do not turn off the power supply cir- cuit breaker or pull out the unit power cord during unit operation. This may cause electrical hazards and/ or a fire. Power supply wires must be located in areas where they will not be dam- aged or cut. - Page 5 - 3 -...
- Page 11 - 9 -...
- Page 12 - 10 -...
- Page 16 - 14 -...
-
Page 17: Specifications
Specifications MODEL Capacity Cooling [BTU/h] Capacity Heating [BTU/h] SEER Moisture Removal[Pts/h] Air Flow Sound Rating Indoor dB Sound Rating Outdoor dB Operating Range - Cooling [F] Operating Range - Heating [F] ELECTRICAL DATA Power Source Min. Ampacity [A] Cooling Watts Amps Heating Watts Amps Max TD Fuse/Breaker [A] REFRIGERANT LINES... - Page 18 - 16 -...
-
Page 19: Installation Instructions
Installation instructions Select the installation locations Indoor unit installation location: Locate indoor unit so that there is not obstruction near the supply air or return air outlets. The wall that the indoor unit hangs on must be free from internal obstructions to facilitate a clear hole for the refrigeration lines and condensate line to go through. - Page 20 Installation instructions 3. Indoor unit refrigeration line installation The refrigeration lines and wiring can be routed to the outdoor unit in a number of ways (left or right from the back of the unit), by using the cut-out access pieces on the casing of the unit. Bend the refrigeration lines carefully to the required positon in order to be aligned with the drilled hole.
- Page 21 - 19 -...
- Page 22 Mounting the Indoor unit to the Mounting Plate: Hook Hook the indoor unit onto the upper portion of the mounting plate by connecting the hooks at the rear top of the indoor unit with the upper edge of the mounting plate. To ensure that the hooks are properly seated on the mounting plate, check if the unit can slide by moving it to the left and right.
- Page 23 Installation instructions Outdoor unit installation 1. Install the outdoor unit Outdoor unit must be mounted on a solid, level foundation. If possible, affix unit using bolts to the foundation. If installing on a wall or structure, be sure that construction of the wall or structure can support the weight of the unit and that consideration is given to the integrity of the construction.
- Page 24 Installation instructions 3. Wiring connection Remove the electrical cover of outdoor unit (1 screw). Connect wires as shown below in the illustrations. Heat Pump Connect to Power Supply The conduit should not be loosened after being fixed, otherwise, it may cause abnormal noise when the unit is running.
- Page 25 Installation instructions System Start Up and Charge Adjustment Procedures Leakage check Properly check refrigeration tubes and connections for any leaks prior to system start up procedures. Air exhaust The outdoor unit is supplied with a R-22 charge sufficient for 15 feet of refrigeration tubing. The outdoor unit’s liquid and suction valves are closed to contain the charge within the unit.
- Page 26 HOW TO INSTALL DRAIN ACCESSORIES There will be some water dripping from the condenser when the heat pump is working during the heating mode. Two drain caps, a drain elbow with rubber collar and a plastic hose (5/8” x 6”) are supplied for user’s choice. INSTALLATION STEPS: (1) Observe the drainage flow of the three drain holes on the base while pouring water into the condensing unit evenly around the condenser.
- Page 27 - 25 -...
- Page 28 - 26 -...
-
Page 30: Warning
USE COPPER WIRES ONLY FOR POWER SUPPLY. WARNING:RISK OF ELECTRIC SHOCK CAN CAUSE INJURY OR DEATH. DISCONNECT ALL ELECTRIC POWER SUPPLIES BEFORE SERVICING. DURING CONNECTION OF THE REFRIGERATION TUBES, IF EXCESSIVE TORQUE IS IMPOSED ON FLARE NUTS, SERVICE VALVE ON DISCHARGE LINE MAY BE DAMAGED. - Page 31 - 29 -...
-
Page 32: Troubleshooting
Troubleshooting RUN light blinks 1 time Abnormality of room temperature sensor. 2 times Abnormality of defrost sensor. 3 times Abnormality of indoor fan motor. 4 times Abnormality of outdoor unit. Continuous No defect-unit in defrost mode. blink Defect • Open circuit or short circuit of room temperature sensor.


Need help?
Do you have a question about the KFR/KFS Series and is the answer not in the manual?
Questions and answers