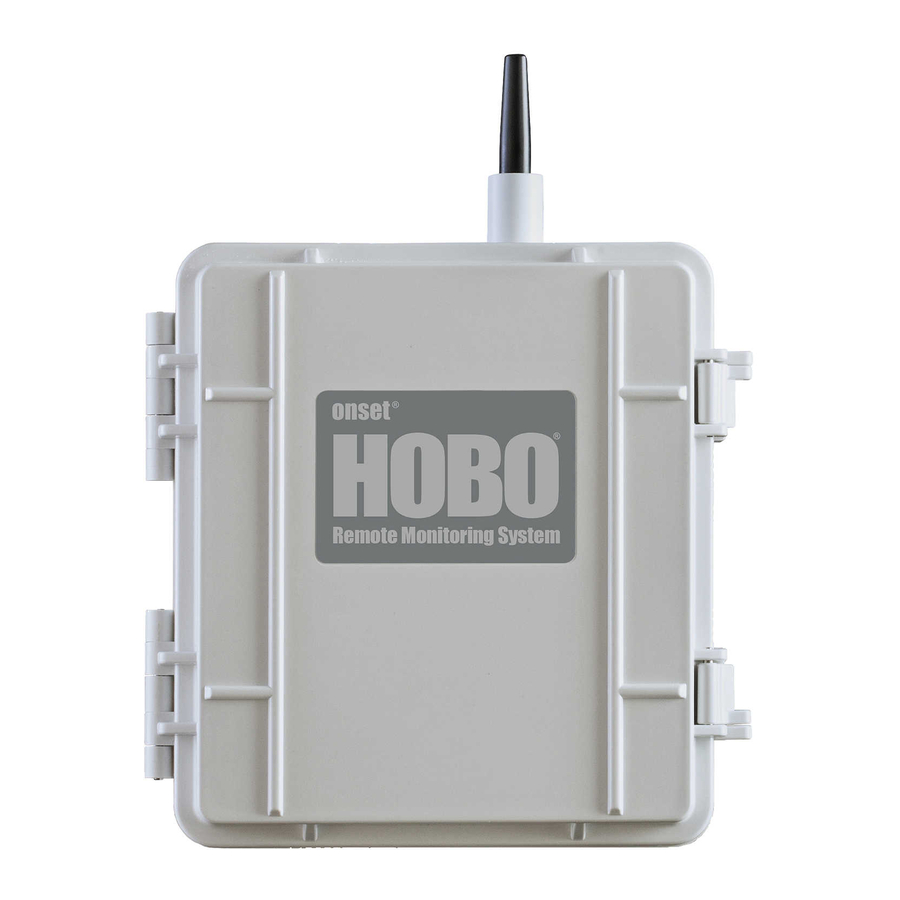
Hobo RX3000 Quick Start
Station, for the newa network
Hide thumbs
Also See for RX3000:
- Manual (33 pages) ,
- Technical manual (6 pages) ,
- Quick start quide (2 pages)
Advertisement
HOBO® RX3000 Station Quick Start for the NEWA Network
This is a quick start for deploying a HOBO RX3000 station that will be linked to the Network for Environment and Weather Applications
(NEWA). For more detailed instructions, refer to the RX3000 station quick start at
QSG-RX3000
and the RX3000 station manual at www.onsetcomp.com/support/manuals/18255-rx3000-manual.
1
Perform initial station setup before
installation in the field.
a. Log in to HOBOlink. Go to www.hobolink.com and log in
to an existing account or create a new one.
b. Register the station. In HOBOlink, click
the left menu. Select RX Devices and then click the
Register a Device link.
c. If you will be setting up HOBOnet RXW wireless sensor
motes: Follow the instructions in the RXW manager
module and RXW wireless sensor quick starts that come
with those products, and are available at
www.onsetcomp.com/support/manuals.
d. Plug in the battery and charging device.
e. Check or configure HOBOlink connection.
• Cellular models (RX3003, RX3004) will automatically
connect to HOBOlink.
• Ethernet/Wi-Fi models (RX3001, RX3002) require
manual configuration to connect to HOBOlink. Refer to
the device communication steps in the station manual
at
www.onsetcomp.com/support/manuals/18255-
rx3000-manual.
f. Plug in and search for wired smart sensors.
Press the Select button to view the
smart sensor channels (pointed out
above)
g. Connect to HOBOlink.
Press the Select button to
return to the main LCD screen
Once this initial setup is complete, pack up the station to
bring it to the deployment site. Disconnect smart sensors and
charging devices as needed for transport.
2
Set up the station at your site.
The following picture shows the proper mounting of sensors
and the solar panel for a typical NEWA weather station. Refer
to the installation guidelines after the picture for additional
information on the recommended setup of your system.
More details on each smart sensor is available in the sensor
manuals at www.onsetcomp.com/support/manuals.
If your system has additional sensors not represented in the
example, follow the mounting instructions in the sensor
manuals at www.onsetcomp.com/support/manuals.
23631-A
from
Press the Search button for the station
to identify connected smart sensors
Press the Connect button
www.onsetcomp.com/support/manuals/18254-MAN-
For additional NEWA weather station deployment guidelines,
refer to:
http://newa.cornell.edu/index.php?
page=placement-guidelines.
Installation Guidelines
Tripod
• Refer to the Tripod Setup Guide for details on setting up
both the 2-meter or 3-meter tripod at
https://www.onsetcomp.com/support/manuals/12317-
MAN-TRIPOD.
• It is recommended that you use the guy wires supplied in
the tripod kit.
HOBO RX3000
• Mount the HOBO RX3000 so that it does not shade the
solar panel. Mounting it on the north side of the mast is
recommended (note that the station in the picture is
mounted on the south side for illustrative purposes only so
that you can see the front of the HOBO).
Wind Sensor
• Mount the wind sensor (S-WCF-M003) on the north side of
the mast, at either 2 or 3 m (6.6 or 9.8 ft) depending on
the tripod you are using.
Rain Gauge
• Mount the rain gauge and solar panel on the south side of
the mast. Make sure the top of the rain gauge is above the
top of the mast. Also make sure the top of the rain gauge
is level either by using your own level or by using a
stepladder to view the built-in level inside the rain gauge.
• Use the same U-bolt to mount the wind sensor and the top
of the rain gauge bracket so that both can be near the top
of the mast.
Solar Radiation Sensor
• Mount the solar radiation sensor (S-LIB-M003) on the
southwest side of the mast, making sure that top of the
sensor is above the top of the rain gauge.
Temperature Sensor
• Mount the temperature sensor at 1.5 m ±0.3 m (5 ft ±1 ft)
above the ground.
Advertisement
Table of Contents

Summary of Contents for Hobo RX3000
- Page 1 HOBO® RX3000 Station Quick Start for the NEWA Network This is a quick start for deploying a HOBO RX3000 station that will be linked to the Network for Environment and Weather Applications (NEWA). For more detailed instructions, refer to the RX3000 station quick start at www.onsetcomp.com/support/manuals/18254-MAN-...
- Page 2 Click Save. 1-800-LOGGERS (564-4377) • 508-759-9500 © 2019 Onset Computer Corporation. All rights reserved. Onset, HOBO, and HOBOlink are trademarks or registered www.onsetcomp.com/support/contact trademarks of Onset Computer Corporation. All other trademarks are the property of their respective companies. 23631-A...


Need help?
Do you have a question about the RX3000 and is the answer not in the manual?
Questions and answers