Advertisement
Quick Links
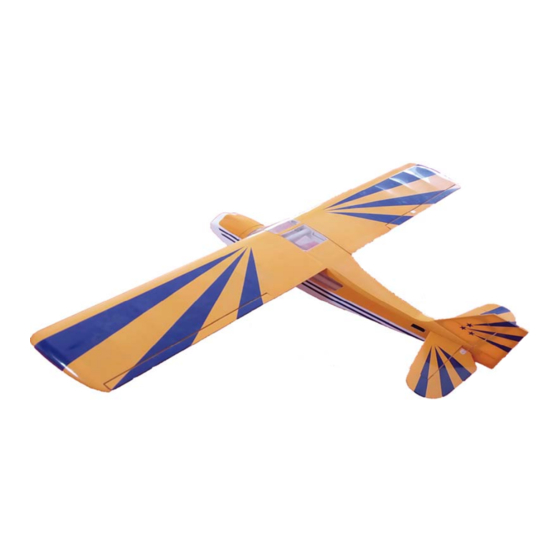
AIRCRAFT SPECIFICATIONS:
Wing Span: 1592mm/62.67"
Wing Area: 37.84 Sq dm/ 586
Lenght:1040mm/40.95in
Weight:1300g RTF less battery
R
ECOMMENDED EQUIPMENT:
Motor: 3520
Radio: 4 channels, 4 servos
Battery: 4S/5S 3800mAh-4200
ESC: 60A-80A
W
arning! This model is not a toy.
It is designed for maximum perfor
ad
vice if one is not familiar with this kind of electri
powered precision model.
Operating this model witho
in
juries.
Remember,
safety is the most important thing. Always keep
th
is instruction manual at hand for quick reference.
.5 Sq in
mAh
mance. Please seek
ut prior preparation may cause
c
Advertisement

Subscribe to Our Youtube Channel
Related Manuals for HobbyKing Decathlon-46


Summary of Contents for HobbyKing Decathlon-46
- Page 1 AIRCRAFT SPECIFICATIONS: Wing Span: 1592mm/62.67" Wing Area: 37.84 Sq dm/ 586 .5 Sq in Lenght:1040mm/40.95in Weight:1300g RTF less battery ECOMMENDED EQUIPMENT: Motor: 3520 Radio: 4 channels, 4 servos Battery: 4S/5S 3800mAh-4200 ESC: 60A-80A arning! This model is not a toy. It is designed for maximum perfor mance.
- Page 2 1. Main Wing Wings Part List Apply instant glue Cut the covering for installing the Apply epoxy glue aileron’s servos Install the aileron servos Fix the aileron servo’s cover plate...
- Page 3 Fix the aileron’s horn Complete aileron servo system install 2.Main Landing Wheel Main Landing Wheel Part List Cut the covering away Apply epoxy glue Cut away this part...
- Page 4 The shaft passes through the wheel and Put the complete wheel parts into the the main landing chassis. Then fixed wheel cowling using M4 skidproof nut Locking the skidproof nut Locking the Wheelchocks Fix the main landing gear...
- Page 5 3.Stabilizer/Vertical/Tail Wheel Stabilizer Part List Vertical/Tail Wheel Part List Cut the covering away for installing Draw a line for cutting the covering the elevator and elevator’s servos away Draw a line for cutting the covering Judging by the line to cutting the away covering away...
- Page 6 Drill diameter 2mm hole for inserting the Apply epoxy glue linkage rod Apply epoxy glue Before install the stabilizer must be passing through the elevator first Apply epoxy glue Apply instant glue Apply instant glue Locking the tail wheel Wheelchocks...
- Page 7 Cut the tail wheel’s steel wire then Locking the tail wheel bend the steel wire Cut this part away and Apply instant glue drill a diameter 2mm hole for inserting tail wheel’s steel wire Apply epoxy glue to fix the tail wheel’s Apply instant glue steel wire...
- Page 8 Fix the elevator’s servo Fix the elevator’s horn Complete elevator’s servo installing Fix the rudder’s servo Fix the rudder’s horn Complete rudder’s servo installing...
- Page 9 4.Canopy/ Main Wing Fix the main wing Canopy Part List Fix the canopy Wing strut Part List Fix the wing strut...
- Page 10 2. Cowing/ Motor Mounting Motor mounting Part List Apply instant glue Cowling Part List Apply epoxy glue or White latex Draw a mark for drilling the cowling’s Judging by the mark to drilling the hole hole...
- Page 11 Fix the cowling Install the canopy...
Need help?
Do you have a question about the Decathlon-46 and is the answer not in the manual?
Questions and answers