Table of Contents
Advertisement
Quick Links
Specifications:
Meterial:
Wingspan:
Length:
Flying weight: 800-900g
Motor:
2830-3600kV (Included)
EDF:
ESC:
Servo:
Battery:
Radio system:
Assembly manual
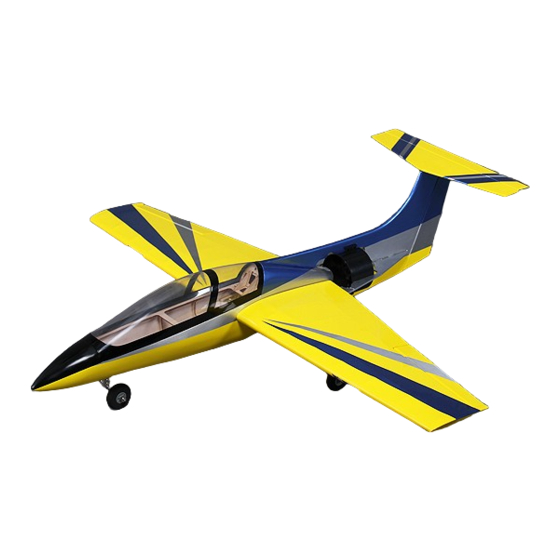
Intended for use by intermediate fliers.
Some build experience is required.
Plywood and film covered balsa.
920MM.
830MM
68mm (Included)
40A (Required)
5x9g (Required – MG90S is recommended)
2200 mah 3S (Required)
4+ channel (Required)
1
Advertisement
Table of Contents

Subscribe to Our Youtube Channel
Related Manuals for HobbyKing DragonFly EDF


Summary of Contents for HobbyKing DragonFly EDF
-
Page 1: Specifications
Assembly manual Intended for use by intermediate fliers. Some build experience is required. Specifications: Meterial: Plywood and film covered balsa. Wingspan: 920MM. Length: 830MM Flying weight: 800-900g Motor: 2830-3600kV (Included) EDF: 68mm (Included) ESC: 40A (Required) Servo: 5x9g (Required – MG90S is recommended) Battery: 2200 mah 3S (Required) Radio system:... - Page 2 Included in the box: Parts included in your kit: Equipment required (not included): ! Fuselage and canopy ! 4+ channel radio and receiver ! Main wings x2 ! 5x9g servos ! Horizontal stab ! 30-50A ESC ! Rudder ! Battery (2200mah 3S1P is ! EDF and motor (not shown) recommended) ! Motor mount add-ons x2...
- Page 3 Step 1: Main wing preparation Glue the ailerons and aileron hinges in place. To do so, use medium viscosity CA glue to glue the hinges in the main wings such that half of each hinge remains exposed. Place a drop of CA on the tip of each hinge and slide the ailerons in place.
- Page 4 Step 3: Tail assembly and pushrod install The rudder pushrod is run through the fuselage to the rudder, while the elevator pushrod is run through a flexible plastic sleeve to the top of the vertical stab. Begin by securing the rudder and hinges to the vertical stab and the elevator and Secure in position using two wood hinges to the horizontal stab using the...
- Page 5 Step 4: Rudder and elevator servo install Installing these servos relatively straightforward as depicted in the image to the right. Simply attach both servos in place as shown using two woodscrews each. Note that higher torque servos are required here (MG90S will suffice). Drill 2mm pilot holes before securing.
- Page 6 Next, glue the wooden piece shown in the image to the right in place. Use strong CA glue or epoxy to secure. Install the nose landing gear strut in position. Secure with the included control arm and hex screw. Attach a pushrod and metal clevis.
- Page 7 Step 7: EDF install The position of the EDF in the DragonFly is unique and makes your aircraft quite efficient for an EDF model. To begin the EDF install, assemble your motor and fan unit in the usual manner. Make sure that the collet is fully secure on the motor shaft and that the rotor runs true and balanced.
- Page 8 Step 8: Main wing installation First, add the small CF locator pins and eyehooks to the main wings. Use CA glue to secure the locator pins in place. Eyehook Locator Remove the covering film from the fuselage in the following locations. Slide the large CF rod into one of the main wings and slide that wing in place onto the fuselage.
- Page 9 Step 9: Finishing touches, CG and throws Install your electronics in the usual manner. If you have a 4 channel radio you will need to install 2 servo Y- harnesses to combine the two aileron servos and the rudder and nose wheel servos.
Need help?
Do you have a question about the DragonFly EDF and is the answer not in the manual?
Questions and answers