Table of Contents
Advertisement
Advertisement
Table of Contents

Related Manuals for Acroprint ES700


Summary of Contents for Acroprint ES700
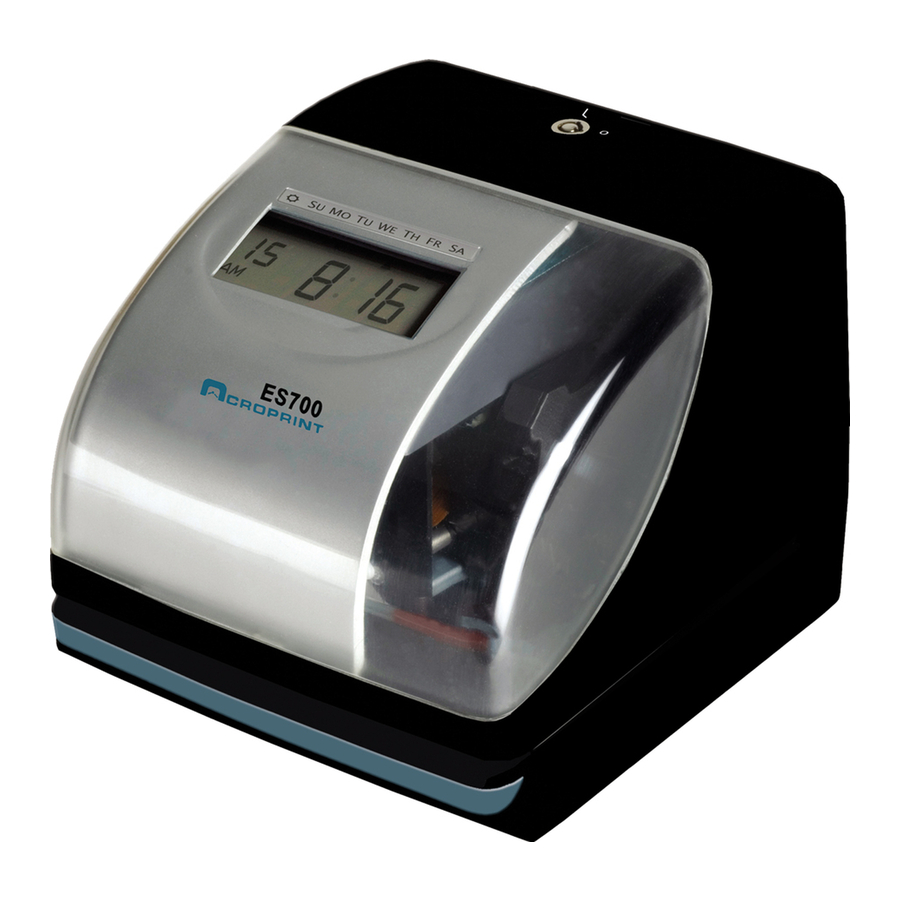
- Page 1 ES700 USER’S MANUAL...
- Page 2 BROUILLAGE RADIOÉLECTRIQUE COMMUNICATIONS DU CANADA. Information contained in this manual is company private to Acroprint Time Recorder Co., and shall not be modified, used, copied, reproduced or disclosed in whole or in part without the written consent of Acroprint. Contents herein are current as of the date of publication.
-
Page 3: Table Of Contents
Equipment ... ES700 ... Open and Close Unit ... Power the Unit/Print Positioning ... Important Things to Remember When Using The ES700 ... Quick Start ... Atomic Synchronization ... Set Time Zone (-5 EST, -6 CST, -7 MST, -8 PST) ... - Page 4 Reset Factory Default Settings ... Wall Mounting ... Replacing the Ribbon Cassette ... Troubleshooting ... Specifications ...
-
Page 5: Alert Definitions
Alerts you that improper handling may cause electrical shock resulting in serious injury or death. Alerts you not to disassemble or modify the unit. Alerts you to remove power cord from wall outlet. Alerts you “do not” perform an action. ES700 User’s Manual EANING... -
Page 6: Precautions
RECAUTIONS LERT • Insert the power plug as far as it will go. Improper insertion of the plug may result in fire or electric shock. • Do not disassemble the unit. High voltage is present inside that may lead to an electric shock. -
Page 7: Introduction
NTRODUCTION Thank you for purchasing an Acroprint Model ES700 Time Recorder. We are confident this unit will give you full satisfaction. Items such as the time and date are preset at the factory. After plugging in the power cord to the wall outlet, this unit can be used. However, we recommend reading this manual before you start using this unit. -
Page 8: Equipment
Unpack the unit and check its contents to ensure that the time recorder unit and all accessories shown below are included. If equipment has been damaged in transit, report the extent of damage to the transportation company and to Acroprint. Order replacement equipment, if necessary. ES700 Manual (1) -
Page 9: Open And Close Unit
Ribbon May Dislodge. To avoid damage to the printer, press the ribbon cartridge firmly into position after removing the protective pad. Refer to Pad and Cardboard Insert/Plug AC Adapter into Unit on page ES700 User’s Manual Open Unit below. Open Unit... - Page 10 Remove Protective Pad and Cardboard Insert/Plug AC Adapter into Unit Close Unit Replace the cover. Insert the key into the lock on the cover of the unit. Turn the key in the counter-clockwise position to lock the unit. Refer to Close Unit below.
-
Page 11: Power The Unit/Print Positioning
Print position from the card edge is adjustable by pressing and sliding the print position button located on the right outside bottom of the unit. Maximum distance from edge of form to print is approximately 1-3/16" (30 mm). Refer to Print Position on Time Card below. Print Position on Time Card ES700 User’s Manual... -
Page 12: Important Things To Remember When Using The Es700
Then press SET to lock the desired value in place. Printing is always disabled while settings are being changed. Once the final SET has been completed in any given operation, printing is enabled. EMEMBER “Open and Close Unit” on page ES700 SING... -
Page 13: Quick Start
If you do not observe DST, follow the procedure below to turn DST off. Turn DST OFF 1. Press SELECT (twice). Arrow points to DST. 2. Press CHANGE until "2" is displayed. 3. Press SET. ES700 User’s Manual page... - Page 14 ISPLAY ES-05 (Default) CS-06 PS-08 AS-09 HS-10 Atomic Synchronization Time Zones Default = ES-05 ESCRIPTION Greenwich Atlantic Standard Time Eastern Standard Time Central Standard Time Mountain Standard Time Pacific Standard Time Alaska Standard Time Hawaiian Standard Time...
-
Page 15: Program The Time Recorder
Press CHANGE to cycle through the options. Press SET to set the option. After an option has been set, always press SET again to return the unit to normal operation mode. ES700 User’s Manual ECORDER Time Recorder Menu below. Refer to... -
Page 16: Settings
ETTINGS Time Set the Time Zone before setting the Time (see Set Time Zone on Time Zone will change the Time. Example: Change the time from 9:08 AM to 10:09 AM. 1. Press SELECT until the 2. "Hour" flashes. Change Hour 1. -
Page 17: Date
3. The flashing changes from "Year" to "Month". Change Month 1. Press CHANGE until the Month is "10". 2. Press SET. 3. The flashing changes from "Month" to "Date". ES700 User’s Manual is under the "DATE" mark. Year Month DATE... -
Page 18: 12/24 Hour Format
Change Date 1. Press CHANGE until the Date is "21". 2. Press SET. 12/24 Hour Format Example: Change the hour format from 12 hour format to 24 hour format. 1. Press SELECT until the 2. The flashing digit indicates "Hour Display Format Options". Change Hour 1. -
Page 19: Print Order
2. The flashing digit indicates "Print Order Options". 3. Refer to Print Order Options on page 4. In this example, press CHANGE until the option is "3" (M.D.Y.H.Min.). 5. Press SET. ES700 User’s Manual is under the "PRINT ORDER" mark. PRINT ORDER SELECT CHANGE... -
Page 20: Year Digit
PTION M.D.H.Min D.M.H.Min M.D.Y.H.Min D.M.Y.H.Min Y.M.D.H.Min Y.M.D.H.Min.S D.H.Min DOW.D.H.Min Y.M.D DOW.D.M.Y C.M.D.Y C.D.M.Y C.Y.M.D M.D.Y.C D.M.Y.C Y.M.D.C C.D.H.Min Year Digit Change Year Digit If you have selected the unit to print the year, this allows you to choose the number of digits in the year (two or four). -
Page 21: Hour/Minute
3. In this example, press CHANGE until the option is "2" (24 Hour). Refer to Options below. 4. Press SET. PTION 12 Hour 24 Hour ES700 User’s Manual Year Digit Options IGIT PTIONS 2 Digits 4 Digits is under the "HOUR/MIN" mark. - Page 22 5. The flashing digit indicates from "Hour" to "Minute". 6. In this example, press CHANGE until the option is "2" (1/100 Min.). Refer to Options below. 7. Press SET. PTION 1/60 Min 1/100 Min 1/20 Min (=5/100 Min) 1/10 Min Type of Minute Options YPE OF INUTE...
-
Page 23: Leading Zero
3. In this example, press CHANGE until the option is "1" (Leading Zero Option disabled). Refer to Leading Zero Options 4. Press SET. PTION ES700 User’s Manual is under the "LEADING ZERO" mark. below. Leading Zero Options EADING Zero Disabled... -
Page 24: Preset Comments
Preset Comments Prior to enabling Preset Comments, refer to that you have set up the print order options to allow Preset Comments (options 12 through 18 allow Preset Comments). Example: Change the comment to "SENT". 1. Press SELECT until the 2. -
Page 25: Language
3. In this example, press CHANGE until the option is "2" (French). Refer to table below. 4. Press SET. PTION ENGLISH FRENCH SPANISH PORTUGUESE ES700 User’s Manual is beside the "LANGUAGE" mark. Language Options RINT ANGUAGE PTIONS Language Options RINT... -
Page 26: Print Length
Print Length The print length default is 4. You may select from six (1-6) font sizes (refer to Examples (1-6) below). If the font size is too large to print, the font will revert to a smaller size before printing correctly. -
Page 27: Print Method
1. In this example, press CHANGE until option is "2" (Left-Hand Margin Form). Refer to Direction Options below. 2. Press SET. 3. The flashing digit changes from "Print Direction" to "Print Activation". ES700 User’s Manual is above the "PRINT DIRECTION/PRINT ACTIVATION" mark. Print Direction Options PTION RINT... - Page 28 Change Print Activation 1. In this example, press CHANGE until the option is "3" (Manual). Refer to Options below. 2. Press SET. PTION Automatic – Allows you to print by inserting a card or piece of paper. Semi-Automatic – Allows you to print by pressing the push bar only when a card or piece of paper is inserted (prints only if the card or form reaches the sensor).
-
Page 29: Daylight Saving Time (Dst)
At 2:00 AM on the last day of DST, the clock automatically loses one hour to show 1:00 AM. Not all places in the US observe DST. DST Mode may be set to one of the following options: OPTION ES700 User’s Manual DST B EGINS 2 AM... - Page 30 Manually Setting DST Example: Start Date – Sunday, March 9, 2008 End Date – Sunday, November 2, 2008 In this example, the unit remembers the Start Date as the second Sunday in March and the End Date as the first Sunday in November. Once the unit is set, it automatically updates the settings every year thereafter.
- Page 31 3. The flashing changes from "Year" to "Month". Change the Month 1. In this example, press CHANGE until the month is "3" (March). Refer to 2. Press SET. 3. The flashing changes from "Month" to "Date". ES700 User’s Manual START SELECT CHANGE START...
- Page 32 Change the Date 1. In this example, press CHANGE until the date is "09". Refer to 2. Press SET. 3. The "Starting Date" of the display changes from flashing to steady and the displayed under "SU". End Date Change the Year 1.
-
Page 33: Set Password
Numbers "0000" and "9999" are not valid passwords. All settings must be reset if you forget the password. Refer to Settings” on page Example: Set the Password to "1234". 1. Press SELECT until the ES700 User’s Manual SELECT CHANGE SELECT CHANGE is above the "PASSWORD"... - Page 34 2. The first two digits flash. Change the First Two Digits 1. In this example, press CHANGE until the first two digits are "12". 2. Press SET. 3. The flashing changes to the last two digits. Change the Last Two Digits 1.
-
Page 35: Enter Password
3. The flashing changes to the last two digits. Set the Last Two Digits 1. In this example, press CHANGE until the last two digits are "34". 2. Press SET twice. Cancel the Password The code "0000" must be entered to cancel password activation. ES700 User’s Manual... -
Page 36: Reset Factory Default Settings
ESET ACTORY Press the reset switch with a pointed object to return all settings to the factory default settings. Refer to Press Reset Button All custom settings will be deleted and will revert to the factory default settings when the reset switch is pressed. Reset button EFAULT ETTINGS... - Page 37 Print Direction Default = 1 (right-hand margin form) Print Activation Default = 1 (automatic) Daylight Saving Time Default = 1 (automatic) Time Zone -05, Eastern Standard Time Password Default = 0000 ES700 User’s Manual Factory Default Settings ACTORY EFAULT ETTINGS...
-
Page 38: Wall Mounting
OUNTING The ES700 should be mounted on 1/2 inch drywall using two ST 4x20 screws and fasteners. 1. Install the supplied wall-mount screws by using the template. Refer to Screws below. Be sure to keep about 6mm (1/4") of the screw head away from the wall. The recommended height from the floor to the bottom of the unit is 45". -
Page 39: Replacing The Ribbon Cassette
Remove Ribbon Cassette 3. Turn the knob of the new ribbon cassette in the direction of the arrow (clockwise) to tighten the ribbon. Refer to Tighten Ribbon Cassette ES700 User’s Manual ASSETTE “Open Unit” on page below. Remove Ribbon Cassette below. - Page 40 4. Install the ribbon cassette inside the unit as shown. Refer to Install Ribbon Cassette below. Push the ribbon cassette until it snaps into position. Turning the knob on the ribbon cassette may make installation easier. Install Ribbon Cassette Install the ribbon cassette so that the ribbon is between the print head and the ribbon mask.
- Page 41 5. Turn the knob of the ribbon cassette in the direction of the arrow to tighten the ribbon. Refer to Tighten Ribbon Cassette below. Tighten Ribbon Cassette 6. Close the unit. Refer to “Close Unit” on page ES700 User’s Manual...
-
Page 42: Troubleshooting
Unit does not operate Unit does not print Card is jammed Error No. Appears ONTENTS Contact Acroprint at (800) 334-7190 (USA). Correctly insert the card. Make sure that the ribbon cassette is correctly inserted in place. Press the push bar. -
Page 43: Specifications
Weight Rating Use only the supplied AC Adapter with this unit. ES700 User’s Manual Monthly accuracy ± 15 sec. (at ordinary temperatures) Year up to 2099. Automatically adjusted to leap years, 31-day months and months with 30 or fewer days, and the days of the week. -
Page 45: Product Registration Card
(check all that apply) Manual Time Clocks Electronic Time Clocks Time Stamps Time and Attendance Software How likely is it that you would recommend Acroprint to a friend or colleague? Not at all likely Serial No. Last Name State Email Address... - Page 48 5640 Departure Drive Raleigh, NC 27616 USA 919.872.5800 800.334.7190 (in USA) 919.850.0720 (Fax) www.acroprint.com sales@acroprint.com P/N 06-0365-000 Rev. B...
Need help?
Do you have a question about the ES700 and is the answer not in the manual?
Questions and answers