
Related Manuals for Victrola VM-100B


Summary of Contents for Victrola VM-100B
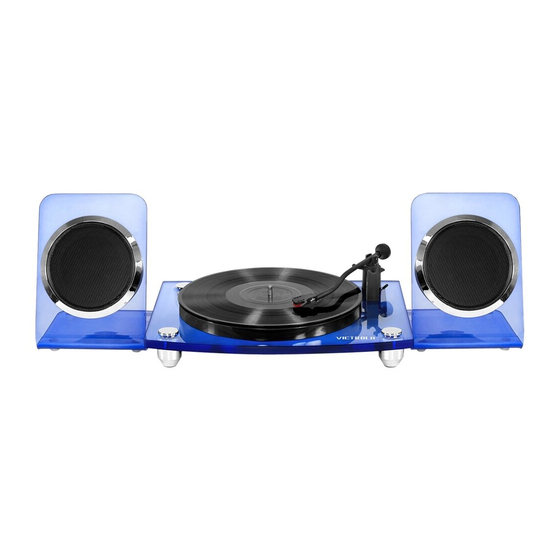
- Page 1 ACRILIC TURNTABLE WITH WIRELESS SPEAKERS MODEL:VM-100B PLEASE READ CAREFULLY BEFORE OPERATING THIS EQUIPMENT KEEP IT IN A SAFE PLACE FOR FUTURE REFERENCE...
-
Page 2: Fcc Notice
CAUTION RISK OF ELECTRIC SHOCK O NOT OPEN CAUTION: TO REDUCE THE ELECTRIC SHOCK, DO NOT REMOVE THE COVER (OR BACK). NO USER SERVICEABLE PART INSIDE, REFER SERVICING TO QUALIFIED SERVICE PERSONNEL. DANGEROUS VOLTAGE: The lighting flash with arrowhead symbol within an equilateral triangle is intended to alert the user to the presence of uninsulated “dangerous voltage”... -
Page 3: Fcc Statement
FCC STATEMENT: This device complies with part 15 of the FCC Rules. Operation is subject to the following two conditions: (1) This device may not cause harmful interference, and (2) This device must accept any interference received, including interference that may cause undesired o p erat i on. FCC Radiation Exposure Statement: This equipment complies with FCC radiation exposure limits set forth for an uncontrolled environment . - Page 4 (6) Clean only with dry cloth The appliance should be cleaned only as recommended by the manufacturer. (7) Do not block any ventilation openings. Install in accordance with the manufacturer’s instructions. Slots and openings in the cabinet and in the back or bottom are provided for ventilation, to ensure reliable operation of the product and to protect it from overheating.
- Page 5 (15) Power source This product should be operated only from the type of power source indicated on the marking label. If you are not sure of the type of power supply to your home, consult your appliance dealer or local power company.
- Page 6 (21) Replacement parts When replacement parts are required, be sure the service technician uses replacement parts specified by the manufacturer or those that have the same characteristics as the original parts. Unauthorized substitutions may result in fire or electric shock or other hazards. (22) Safety check Upon completion of any service or repairs to this product, ask the service technician to perform safety checks to determine that the product is in...
-
Page 7: Before Using The Unit
BEFORE USING THE UNIT As the unit may become warm during operation, always leave sufficient space around the unit for ventilation. The voltage supplied to the unit should match the voltage as printed on the rear panel. If you are in any doubt regarding this matter, consult an electrician. Choose the installation location of your unit carefully. -
Page 8: Handling Records
HANDLING RECORDS edges or the lable. Make sure Do not touch the record's grooves. Only handle records by the your hands are clean. Skin oils from even clean hands can leave a residue on the record surface that will gradually deteriorate the quality of your record. groove label edge... -
Page 9: How To Replace The Stylus
HOW TO REPLACE THE STYLUS The stylus should last about 50 hours under normal use. However, it is recommended that the stylus be replaced as soon as you notive a change in sound quality. Caution: Do not remove or bend the sylus. To avoid injury, do not touch the needle. -
Page 10: Product Overview
PRODUCT OVERVIEW Speaker: Turntable: 5. Tone Arm Holder and Clip 1. Speaker 2. Bluetooth Indicator 6. Tone Arm 3. Cue Lever 7. Turntable 4. Speed Selector 8. Stylus Cartridge... - Page 11 PRODUCT OVERVIEW Rear View of Turntable: LINE OUT DC IN PAIR Rear View of Deputy Speaker: Rear View of Main Speaker: LINE IN LINE IN LINE IN LINE IN PHONO CHARGE CHARGE DC IN DC IN Top View of Main & Deputy Speaker: VOL+ VOL- 16.
- Page 12 CONNECTIONS Connect the Turntable through LINE OUT Jacks to the external amplifier LINE OUT DC IN PAIR White RCA Audio Cable(not included) To the Line In/AUX In jacks on the external audio amplifier Connect the Turntable through LINE OUT Jacks to the LINE IN jack of the speaker LINE OUT DC IN PAIR...
- Page 13 CHARGING AND CONNECTIONS Powering the Turntable: Method 1: Insert one end of the AC/DC adapter plug into the DC IN Jack of the Turntable, plug another end of the AC/DC Adapter into the AC Walloutlet. LINE OUT DC IN PAIR Method 2: Insert the AC/DC Adapter plug into the DC Cable Splitter, plug one end of DC Cable Splitter into the DC IN Jack of the Turntable, then plug another end of the AC/DC Adapter into the AC Walloutlet.
- Page 14 LINE IN AND LINE OUT LINE IN: 1. Connect one end of the audio connection cable to the Phones jack; Line out jack or AUX out jack on the external audio player. 2. Connect the other end to the LINE IN jack of the Speaker as the illustrated below: Rear View of the Main or Deputy Speaker Mobile Phone LINE IN...
-
Page 15: Listening To A Record
LISTENING TO A RECORD NOTE: Before operation, detach the stylus guard ( white plastic cover ) by pulling it straight off the front of the cartridge. 1. Switch on the two speakers first, wait both speaker paird with each other, the Indicator on main speaker will flash when connected. - Page 16 LISTENING THROUGH BLUETOOTH OPERATION WITH TWO SPEAKERS 1. Switch on the two speakers. 2. Slide the BT/PHONO switch to BT position, the bluetooth indicator will blink, they will paird with each other automatically, the bluetooth indicator blinks on main speaker after successful connection (the bluetooth indicator will stay lit on deputy speaker).
-
Page 17: Troubleshooting
TROUBLESHOOTING If you experience any problems with the unit, please take a moment to look through and see if you can solve the problem yourself before calling for help. NO POWER Check the connection to AC power source. Check and make sure the AC power source is not a switched outlet and if it is, the switch is turned on. -
Page 18: Specifications
SPECIFICATIONS Power requirement..................DC9V Speaker output power....................2X10W(RMS) Bluetooth working range......................32feet Turntable speed......................33 rpm, 45rpm Speaker recharge time....................about 2-3 hour Speaker running time................about 4 hour(at 50%volume) Speaker built-in battery.....................7.4V, 2000mAh Design and specifications are subject to change without notice. Accessories: 1 X Instruction Manual 1 X AC/DC Adapter 1 X DC Cable Splitter 1 X Line In Cable...
Need help?
Do you have a question about the VM-100B and is the answer not in the manual?
Questions and answers