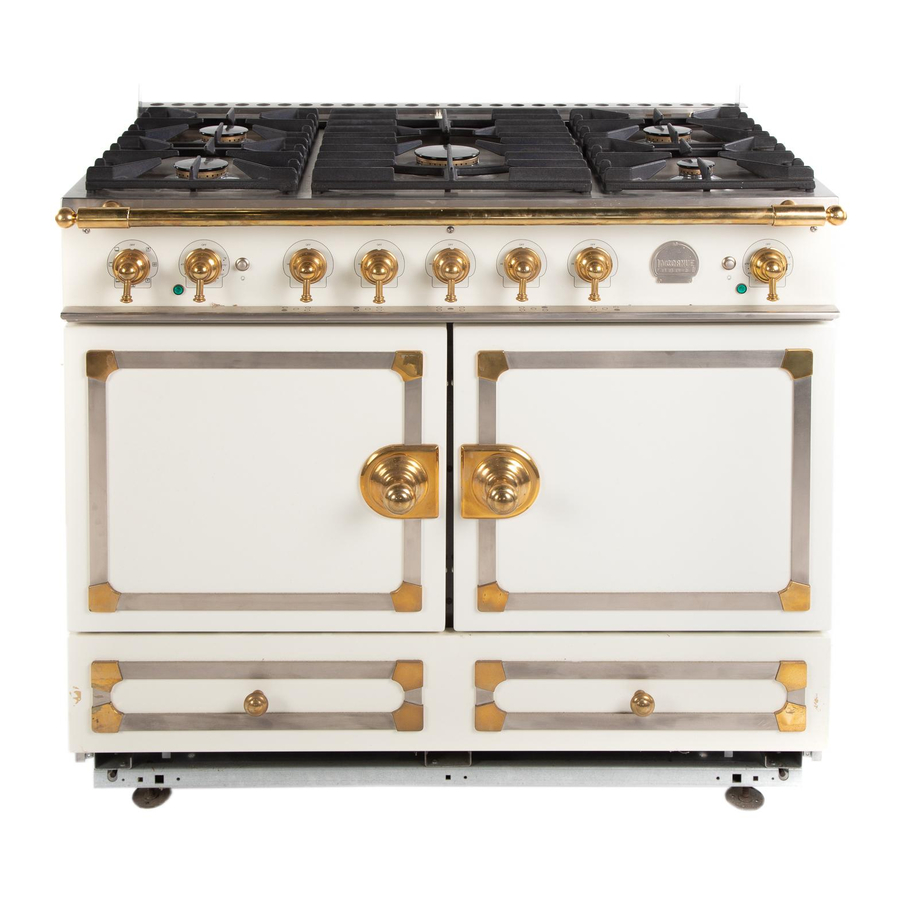
La Cornue CornuFé 44 User's Manual & Installation Instructions
Dual fuel range
Hide thumbs
Also See for CornuFé 44:
- User manual (40 pages) ,
- Conversion manual (13 pages) ,
- Quick start manual (12 pages)
Table of Contents
Advertisement
This book contains many important safety messages.
Always read and obey all safety messages.
Installer: Leave these instructions with the appliance
Important - Save the installation instructions for the local electrical inspector's use.
CornuFé 44 Dual Fuel Range
Users Guide
&
Installation Instructions
U107101-03
Advertisement
Chapters
Table of Contents

Related Manuals for La Cornue CornuFé 44


Summary of Contents for La Cornue CornuFé 44
- Page 1 This book contains many important safety messages. Always read and obey all safety messages. Installer: Leave these instructions with the appliance Important - Save the installation instructions for the local electrical inspector’s use. CornuFé 44 Dual Fuel Range Users Guide &...
- Page 3 WARNING If the information in this manual is not followed exactly, a fi re or explosion may result causing property damage, personal injury or death. Do not store or use gasoline or other flammable vapors and liquids in the vicinity of this or any other appliance. WHAT TO DO IF YOU SMELL GAS Do not try to light any appliance.
-
Page 4: Table Of Contents
Using your Range Contents Important Safety Information General Safety Instructions Cooktop Burners The Griddle (optional extra) The Ovens Multi-function oven Both ovens Oven racks Oven light Storage Multi-function (Left hand) Oven cooking guide Cooking chart Cleaning your range Troubleshooting Service and Parts Warranty Installation... -
Page 5: Important Safety Information
Read all instructions before using this appliance. IMPORTANT SAFETY INFORMATION Save these instructions for future reference. Important Safety Information Leaning, sitting or stepping on the doors or drawer of this range can result in serious injuries and also cause damage to the range. Do not allow anyone to climb, stand or hang on any part of the range. - Page 6 Read all instructions before using this appliance. IMPORTANT SAFETY INFORMATION Save these instructions for future reference. Storage should not be installed directly above a range. If anything is stored above the range, it should be limited to infrequently used items which can be safely stored in an area subjected Do Not Leave Children Alone to heat from a range.
- Page 7 Read all instructions before using this appliance. IMPORTANT SAFETY INFORMATION Save these instructions for future reference. Use dry oven gloves when applicable - using damp gloves might result in steam burns when you touch a hot surface. Never operate the range with wet hands.
- Page 8 Read all instructions before using this appliance. IMPORTANT SAFETY INFORMATION Save these instructions for future reference. Important: Never keep pet birds in the kitchen Cooktop burners or in rooms where the fumes from the Quality of Flames kitchen could reach. Birds have a very On Natural Gas the burners’...
- Page 9 Read all instructions before using this appliance. IMPORTANT SAFETY INFORMATION Save these instructions for future reference. Never Leave Cooktop burners unattended at Ovens high settings. Pans boiling over can cause Use Care When Opening Door smoking and greasy spills may catch on fi re. Let hot air and steam escape before Protective Liners - Do not use aluminum foil to removing or replacing food.
-
Page 10: General Safety Instructions
Read all instructions before using this appliance. IMPORTANT SAFETY INFORMATION Save these instructions for future reference. General Safety Instructions This appliance must be installed by a competent Clean only parts listed in this guide. person in accordance with the installation In the interests of hygiene and safety the range instructions. - Page 11 Read all instructions before using this appliance. IMPORTANT SAFETY INFORMATION Save these instructions for future reference. When an oven is on, do not use the top of the fl ue (the round holes along the back of the range) for warming plates, dishes, drying dish towels or softening butter.
-
Page 12: Cooktop Burners
Using your Range If, when you let go of the control knob, the burner goes Cooktop Burners out, the safety device has not held in. Turn the control Before using the cooktop make sure all burners are to the off position and wait one minute, then try again in place and all the grates on the range are properly this time holding in the control knob for slightly longer. -
Page 13: The Griddle (Optional Extra)
Using your Range (e.g. spatulas) will damage the surface. Use heat resistant plastic or wooden utensils. Warning The griddle will get very hot in use. Take great care. Do not touch it unless you are sure that it has cooled down. Avoid using unstable or oddly shapen pans that may tilt easily and pans with a very small base diameter e.g. -
Page 14: The Ovens
Using your Range The Ovens Before using for the fi rst time, to dispel manufacturing odors turn the ovens to 400°F (204°C) and run for one hour. To clear the smell make sure the room is well ventilated to the outside air, by opening windows for example or turning on your ventilation hood. - Page 15 Using your Range The Right Hand Convection Oven The fan in the right hand Convection oven circulates hot air continuously, to give fast, even cooking. The recommended cooking temperatures for a Convection oven are generally lower than a conventional oven. The right hand Convection oven control is at the right hand end of the control panel.
-
Page 16: Multi-Function Oven
Using your Range Convection oven Multi-function oven This function operates the fan and the heating The left hand oven of your range is Multi-function. element around it. An even heat is produced It has many varied uses. We suggest you keep a throughout the oven, allowing you to cook large careful eye on your cooking until you are familiar amounts quickly. -
Page 17: Both Ovens
Using your Range Conventional oven (top and base heat) Both ovens This function combines the heat from the top Before using for the fi rst time, to dispel and base elements. It is particularly suitable manufacturing odors turn the ovens to 400°F for roasting and baking pastry, cakes and biscuits. -
Page 18: Oven Racks
Using your Range Oven racks To remove a rack, pull it Each oven is supplied with three diff erent racks. forward until the back of the rack is stopped by the rack stop bumps in the oven sides. A deluxe oven tray. Lift up the front of the rack so the back of the rack will pass under the... -
Page 19: Storage
Using your Range Replace the storage drawer Storage To replace the drawer in the range, pull the side The bottom drawer is for storing oven trays and rails fully out. other cooking utensils. It can get very warm, don’t store anything in it which may melt or catch fi... -
Page 20: Multi-Function (Left Hand) Oven Cooking Guide
Using your Range Multi-function (Left hand) Oven cooking guide Remember - not all modes will be suitable for all food types. The oven control settings and cooking times given are intended to be used only as a guide. Individual tastes may require the temperature to be altered to provide a preferred result. -
Page 21: Cooking Chart
Using your Range Cooking chart Conventional Oven Convection Oven Approximate Cooking Time Rack Temperature Position Temperature Food FISH 375°F (191°C) 350°F (177°C) Fillets 15-20mins. 375°F (191°C) 350°F (177°C) Whole 10mins.per lb + 10mins. 375°F (191°C) 350°F (177°C) Steaks according to thickness. ROAST MEATS Beef with bone 325°F (163°C) -
Page 22: Cleaning Your Range
Using your Range Cleaning the Range - Daily care Cleaning your range Cleaning the range is not a welcomed chore, Essential information but it has to be done to maintain effi ciency and Before thorough cleaning turn off the circuit appearance. - Page 23 Using your Range Cleaning for spills Check burner ports are not blocked. If blockage occurs, remove stubborn particles using a piece of For spills and boil-overs that occur while cooking, fuse wire. as soon as possible turn the burner off and allow to cool.
-
Page 24: Troubleshooting
Using your Range Ovens Troubleshooting Some of the lining panels can be removed for Steam is coming from the oven cleaning and for cleaning behind. When cooking foods with a high water content (e.g. oven fries) there may be some steam visible at the Removing the Oven Linings rear grille. - Page 25 Using your Range The oven is not cooking evenly Unscrew the bulb cover by turning counter clockwise. It may be very stiff . If you are cooking a large item, be prepared to turn it round during cooking. If two racks are used, check that space has been left for the heat to circulate.
-
Page 26: Service And Parts
If you are still having diffi culty, contact : - your appliance. It may also be of benefi t to keep La Cornue Service Center your purchase receipt with this leafl et. You may be required to produce the receipt to validate a 15545N 77th Street, warranty service visit. -
Page 27: Warranty
The warranty applies even if you should move. Service must be provided by an Authorized Service Agency during normal working hours. LA CORNUE DOES NOT ASSUME ANY RESPONSIBILITY FOR INCIDENTAL OR For a Service Agency nearest you, please call CONSEQUENTIAL DAMAGES. - Page 28 Using your Range...
-
Page 29: Installation
Read all instructions before installing or using this appliance. Installation Instructions Save these instructions for future reference. Installation This book contains many important safety messages. Always read and obey all safety messages. Installer: Leave these instructions with the appliance Important - Save the installation instructions for the local electrical inspector’s use. - Page 30 WARNING If the information in this manual is not followed exactly, a fi re or explosion may result causing property damage, personal injury or death. Do not store or use gasoline or other flammable vapors and liquids in the vicinity of this or any other appliance. WHAT TO DO IF YOU SMELL GAS Do not try to light any appliance.
- Page 31 Installation Regulations If you smell gas Tools Materials Installation Safety Instructions Location guidelines Dimensions and clearances Moving the Range Checking the parts Anti-Tip Device Side Panel Extension kit Gas Connection Electrical Connection Assemble the range Range operational checks How To Move the Range for Servicing Schematic diagram of the Range Technical Data...
-
Page 32: Regulations
Read all instructions before installing or using this appliance. Installation Instructions Save these instructions for future reference. Regulations Tools Installation of this range must conform with local You will need the following tools codes, or in the absence of local codes, with the 1. -
Page 33: Installation Safety Instructions
Read all instructions before installing or using this appliance. Installation Instructions Save these instructions for future reference. Installation Safety Instructions Converting to Propane Gas This appliance is supplied set for Natural gas. Warning! A conversion kit for Propane gas is supplied with Improper installation, adjustment, alteration, the range. - Page 34 Read all instructions before installing or using this appliance. Installation Instructions Save these instructions for future reference. Positioning the Range The diagrams below show the minimum recommended distance from the range to nearby surfaces.
- Page 35 Read all instructions before installing or using this appliance. Installation Instructions Save these instructions for future reference. The cooktop surround should be level with, or above, any adjacent work surface. A minimum space of 31½” (80cm) is required between the top of the cooktop and a horizontal combustible surface.
-
Page 36: Moving The Range
Read all instructions before installing or using this appliance. Installation Instructions Save these instructions for future reference. LOWER THE FRONT ROLLER by doing 14 complete Moving the Range (360°) turns clockwise. The range is very heavy. Take great care. We recommend two people maneuver the range. Now LOWER THE TWO REAR ROLLERS. -
Page 37: Checking The Parts
Read all instructions before installing or using this appliance. Installation Instructions Save these instructions for future reference. Checking the parts Check that the range has the following parts. 6 grates Leveling tool and Allen keys Spare grate feet Rear Flue Grille Toe kick Hand rail and end pieces 5 burner control knobs and 3 oven control... - Page 38 Read all instructions before installing or using this appliance. Installation Instructions Save these instructions for future reference. Installing the cooling fan cover Installing the flue grille The fl ue grille is packed separately. The larger of the holes along the sides are for screwdriver access and should face to the rear.
- Page 39 Read all instructions before installing or using this appliance. Installation Instructions Save these instructions for future reference. Use the Allen key tool (supplied with range) to turn the center roller lowering mechanism (C in the fi g. below). Back of range showing fl ue extensions in the correct position. left rear roller, right rear roller, center roller...
-
Page 40: Anti-Tip Device
Read all instructions before installing or using this appliance. Installation Instructions Save these instructions for future reference. The assembled bracket should be fi rmly secured Anti-Tip Device to the fl oor to give a minimum engagement of WARNING 2’’ (5 cm) in the center channel of the range base. If Range must be secured by the Anti-Tip bracket the range is mounted on a protective sheet make supplied. -
Page 41: Side Panel Extension Kit
Read all instructions before installing or using this appliance. Installation Instructions Save these instructions for future reference. Side Panel Extension kit 2 Slide the side extension in from the side behind the washers. Two side extension panels are supplied with the 3 Tighten the top and bottom screws to hold the side range. -
Page 42: Gas Connection
Read all instructions before installing or using this appliance. Installation Instructions Save these instructions for future reference. Gas Connection Installation of this range must conform with local codes or, in the absence of local codes, with the National Fuel Gas Code, ANSI Z223.1-latest edition. In Canada the range must be installed in accordance with the current CGA Standard CAN/ CGA-B149 - Installation Codes for Gas Burning... - Page 43 Read all instructions before installing or using this appliance. Installation Instructions Save these instructions for future reference. Connect the Range to the Gas Supply CAUTION: DO NOT USE A FLAME TO Shut off the main gas supply valve before CHECK FOR GAS LEAKS. disconnecting the old range and leave it off...
-
Page 44: Electrical Connection
Read all instructions before installing or using this appliance. Installation Instructions Save these instructions for future reference. Recommended acceptable electrical outlet area. Orient the electrical receptacle Electrical Connection so the length is parallel to the fl oor. When installed the range must be electrically grounded in accordance with local codes or;... - Page 45 Read all instructions before installing or using this appliance. Installation Instructions Save these instructions for future reference. Free from the bottom tag. When replacing the cover fi rst locate it on the bottom tag second locate the two side tags and then replace the screws.
- Page 46 Read all instructions before installing or using this appliance. Installation Instructions Save these instructions for future reference. screws. Insert the power cord through the strain in the conversion kit and fi x them to the mounting relief device but do not tighten the device yet. bracket.
-
Page 47: Assemble The Range
Read all instructions before installing or using this appliance. Installation Instructions Save these instructions for future reference. Secure the squeeze connector in place in the Installing the handrail bracket by tightening the squeeze connector Description Quantity screws. Hand rail tube End cap with Allen fi... - Page 48 Read all instructions before installing or using this appliance. Installation Instructions Save these instructions for future reference. Install the assembled hand rail on the projecting Assemble the Grates mounting studs on the control panel and hold it in place by tightening the Allen screws. The Allen screws should be on the underside.
-
Page 49: Range Operational Checks
Read all instructions before installing or using this appliance. Installation Instructions Save these instructions for future reference. Range operational checks Oven check Turn on the oven and check that the oven fan starts to turn and that the oven starts to heat up. Turn off the oven. -
Page 50: How To Move The Range For Servicing
SERVICING WARNING finished. Disconnect from electricity and gas before servicing. Check ap pli ance is safe when you have Lower the front roller How To Move the Range for Use the Allen key tool supplied with the range to Servicing turn the center roller lowering mechanism (C in the Follow these procedures to remove appliance for... - Page 51 SERVICING WARNING finished. Disconnect from electricity and gas before servicing. Check ap pli ance is safe when you have Replace the storage drawer To replace the drawer in the range, pull the side rails fully out. Carefully move the drawer back between the rails and rest it on the side rails.
-
Page 52: Schematic Diagram Of The Range
Read all instructions before installing or using this appliance. Installation Instructions Save these instructions for future reference. Schematic diagram of the Range Caution: Label all wires prior to disconnection when servicing controls. Wiring errors can cause improper and dangerous operation. Verify proper operation after servicing. Code Description Convection hand oven element... - Page 53 Read all instructions before installing or using this appliance. Installation Instructions Save these instructions for future reference. Schematic diagram of the Range Caution: Label all wires prior to disconnection when servicing controls. Wiring errors can cause improper and dangerous operation. Verify proper operation after servicing.
-
Page 54: Technical Data
Technical Data This range is supplied set for Natural gas. A conversion kit from Natural Gas to Propane gas is included. INSTALLER: Please leave these instructions with the User. DATA BADGE LOCATION: Inside base of drawer cavity - remove drawer. For removal of drawer see installation instructions. - Page 55 Ovens Left hand Multifunction Oven Right hand Convection Oven Fan element 2500W 2500W Top element 1200W Browning Element 1150W Bottom element 1000W Maximum total electrical load at 240V 5100 W (approximate total including oven lights, oven fan etc.) 21 amps...
- Page 56 081205...
Need help?
Do you have a question about the CornuFé 44 and is the answer not in the manual?
Questions and answers