Table of Contents
Advertisement
Quick Links
Download this manual
See also:
Operator's Manual
Laser Unpacking:
Important
See your
instructions.
Note:
Read all
Safety Hazard information) sections in the Laser's Operation Manual and in our Laser Safety/Compliance
101 on our website.
Caution
Caution
Caution! Unpacking the wire harness incorrectly can lead to damage.
Possible
Keep All specially designed Foam Packaging and end-caps, you will need to re-use it
Equipment
when re-packaging/moving your laser. Refer to this guide and the Technical Reference
Damage
chapters in the laser's Operation Manual when re-packaging for shipping and/or reloca-
tion. Hint-if laser doesn't re-seat into the foam easily, try flipping it around 180 degrees.
Mounting feet and/or rails are optional, for complete details, refer to the laser's Operator's
drawings
and
Mounting Quick Start Guide
If you discover shipping damage, document the damage (photographically if possible), then immediately
notify the shipping carrier (responsible party) and SYNRAD. After unpacking, review the Inventory list in the
Intro section within the operators manual.
If you need a replacement box for packing and/or shipping your laser,
Caution! When re-packing the laser for relocation or shipment, nothing can be on the sides of the
laser at any time as damage will occur. There is only one way the laser fits into the foam! All components
must be stowed under the laser. Re-package the wire harness as shown in this guide. The wire harness
&/or ports can be damaged in shipping if not re-packaged as shown in this guide, the drawings, operation
manual, and/or resources located in our website.
1
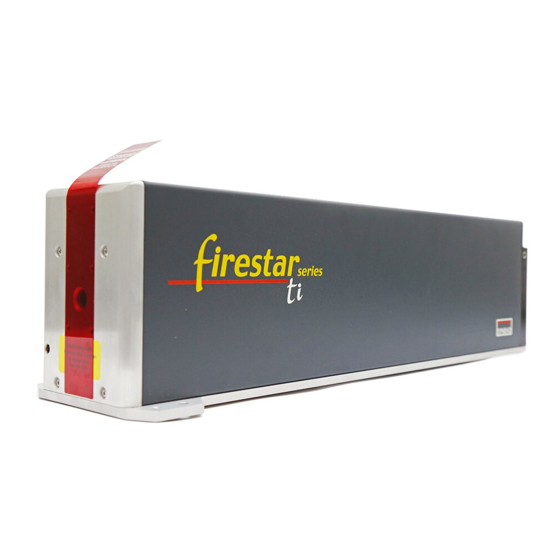
ti-Series Laser Quick Start Guide
Marking Head
(If utilized) and the
Danger,
Warning,
Caution
Do not use any fitting
or anything on the
side to lift the laser as
damage can occur.
located on our website.
laser's Operators Manual
Caution terms, symbols, and instructions located in the (Laser
for complete installation details and
Correct
Manual
contact
us.
QSG ti-Series Laser Ver 2.5
and
Advertisement
Table of Contents

Related Manuals for Synrad Firestar TI Series


Summary of Contents for Synrad Firestar TI Series
- Page 1 If you discover shipping damage, document the damage (photographically if possible), then immediately notify the shipping carrier (responsible party) and SYNRAD. After unpacking, review the Inventory list in the Intro section within the operators manual. If you need a replacement box for packing and/or shipping your laser,...
- Page 2 ti-Series Laser Quick Start Guide Laser Unpacking (Continued): Unseat the wiring by sliding the harness out of the notch, then down and out of the foam as shown. Locate the shipping components for the at the bottom of the box under the laser. 1.1 Locate the wire harness in 1.2 Push the wire harness through the side one of the foam end caps.
- Page 3 Laser Quick Start Guide Readying your Laser for use: SYNRAD offers the UC-2000 controller for those who want simplicity. If you are using the UC-2000 to control your laser, see the UC-2000 Quick Start Guide located on our website. Do not forget to perform the...
- Page 4 Tighten all three capscrews to a torque of 6 ft lb (8 Nm) maximum. Note: IF not using a SYNRAD marking head OR mounting kit with your laser, see the following appli- cable sections in this guide. ti80 shown.
- Page 5 Laser Quick Start Guide Mounting (With a SYNRAD Marking Had): Locate the Mounting Hardware ( ) path enclosure tube, marking head & laser hard- ware (varies per laser & kit ordered. Marking head mounting hardware ships with the head in a sepa rate box and/or packaging depending on the package ordered.
-
Page 6: Guidelines For Cutting And Installing Tubing
ti-Series Laser Quick Start Guide Cooling Guidelines (Water Cooled Models Only): Caution Use distilled water as the coolant. If glycol is necessary, (temperatures below freez- ing) add no more than 10% by volume. Use a corrosion inhibitor/algaecide such Possible Equipment as Optishield . -
Page 7: Cooling Connections
ti-Series Laser Quick Start Guide Cooling Connections: When coolant temperature is lower than the dew point, the temperature at which moisture condens- es out of the surrounding air, condensation forms inside the laser housing leading to failure of laser electronics as well as damage to optical surfaces. Do not operate your laser in these conditions. The greatest risk of condensation damage occurs when water-cooled lasers are run in a high heat/high humidity environment and the chiller’s coolant temperature is colder than the dew point temperature of the surrounding air or when the system is shut down, but coolant continues to flow through the laser for... - Page 8 ti-Series Laser Quick Start Guide Cooling (Continued): Caution Operating the laser with a coolant temperature below the dew point of the sur- Possible rounding air may cause condensation to occur that will damage the laser! Equipment Damage The setpoint temperature MUST be maintained above the dew point temperature. Use distilled water as the coolant.
-
Page 9: Things To Know
Serious Personal beam delivery components are damaged. In the event of damage to Injury laser, marking head, or beam delivery optics, contact SYNRAD, or the optics manufacturer for handling instructions. Caution Do not exceed coolant pressure of 414 kPa (60 PSI)! -
Page 10: Control Connections
The User I/O port receives power commands Possible equipment from SYNRAD UC-2000 Universal Laser Controller, or F3D/ marking head, and also damage serves as the connection point for auxiliary signals between the laser and any parts handling, automation, or monitoring equipment. -
Page 11: Electrical Connections
Laser Quick Start Guide Electrical Connections: If you are using a SYNRAD Marking Head with your laser, and have completed control connections, refer to Marking Heads Quick Start Guide. If you are using the SYNRAD controller, see the UC-2000 Quick Start Guide. - Page 12 Laser Quick Start Guide Control Connections (Continued): Note: IF using a SYNRAD Flyer 3D Marking Head, should have something that looks like he figure below. Should look something like this. To F3D DC Power To PC Ethernet port DB- 15...
-
Page 13: Initial Start-Up
Marking Head’s Quick Start Guide. Note: IF not using a SYNRAD controller for your laser, AND your OEM laser is put into service the first time, OR it has been re-located and has not been used yet in its new location, functionality should be verified. -
Page 14: Important Note
Laser Quick Start Guide Initial Startup (Without a SYNRAD Controller Continued): Warning! Always, use lockout/tagout for safety. Always wear safety goggles. Always use shielded cable when connecting your PWM Command signal source to Serious Personal PWM Positive/PWM Negative inputs. - Page 15 Verify that input power to the power supply is physically locked out and/or disconnected. Place an appropriate beam block 61cm (24 in) from the laser aperture, in this case a power meter, (such as SYNRAD® PW-250 Power Wizard ) to verify that output power is consistent with the power ®...
Need help?
Do you have a question about the Firestar TI Series and is the answer not in the manual?
Questions and answers