Advertisement
Quick Links
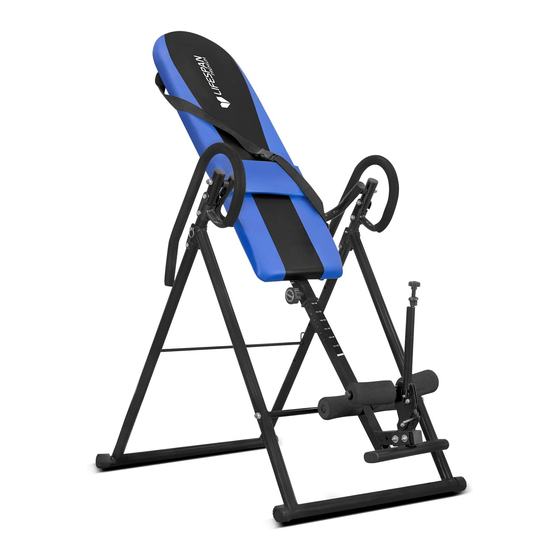
QUANTUM 2 INVERSION TABLE
OWNER'S MANUAL
Product may vary slightly from the item pictured due to model upgrades
Read all instructions carefully before using this product. Retain this owner's manual for
future reference.
NOTE: This manual may be subject to updates or changes. Up to date manuals are available through our website at www.lifespanfitness.com.au
Advertisement

Summary of Contents for LifeSpan QUANTUM 2
- Page 1 QUANTUM 2 INVERSION TABLE OWNER’S MANUAL Product may vary slightly from the item pictured due to model upgrades Read all instructions carefully before using this product. Retain this owner’s manual for future reference. NOTE: This manual may be subject to updates or changes. Up to date manuals are available through our website at www.lifespanfitness.com.au...
-
Page 2: Table Of Contents
TABLE OF CONTENTS IMPORTANT SAFETY INSTRUCTIONS CARE INSTRUCTIONS EXPLODED DIAGRAM PARTS LIST ASSEMBLY INSTRUCTIONS WARRANTY WARRANTY Quantum 2 Inversion Table... -
Page 3: Important Safety Instructions
Do not use the equipment until the problem has been rectified. Wear suitable clothing while using the equipment. Avoid wearing loose clothing that may get caught in the equipment or that may restrict or prevent movement. Quantum 2 Inversion Table... -
Page 4: Care Instructions
Lubricate moving joints with grease after periods of usage b. Be careful not to damage plastic or metal parts of the machine with heavy or sharp objects c. The machine can be kept clean by wiping it down using dry cloth Quantum 2 Inversion Table... -
Page 5: Exploded Diagram
3. EXPLODED DIAGRAM Quantum 2 Inversion Table... -
Page 6: Parts List
Cross flat head M6x16 pipe screw Φ8x55 Back foot lock Pin with draw ring pipe Foot Plate Draw pin M16x20 Left and Right Wrench 13#-17# Handrail Foam Wrench 14#-17# Z type bracket Allen key 5# Cross Head rest Quantum 2 Inversion Table... -
Page 7: Assembly Instructions
To adjust your decline angle, insert the Back support bar (4) into the Back leg bracket (2) and secure with 1x Pin with draw ring (21). c. Attach 2x Z type bracket (12) to part (2) and secure with 2x part (21). Quantum 2 Inversion Table... - Page 8 Use the 2x Flat head screw (20) to secure the Head rest (13) onto part (5). b. Use 4x Hex screw (16), 4x Washer (15) and 4x Nut (16) to secure part (5) to part (12). Quantum 2 Inversion Table...
- Page 9 Insert the Back foot lock pipe (8) into the Height adjusting pipe (6) and secure with 1x Hex screw (16). b. Attach the Foam (11) onto part (8). c. Secure Front foot lock pipe (7) to the foot locking lever (as pictured), using 1x Washer (19) and 1x Nut (17). Quantum 2 Inversion Table...
- Page 10 STEP 4: a. Secure part (6) to Foot Plate (9) with 2x Hex screw (14), 4x Washer (15) and 2x Nut (18). Quantum 2 Inversion Table...
-
Page 11: Back Rest Frame (
Insert Height adjusting pipe (6) into the Back rest frame (5). b. Secure with Drawing pin (22) and Draw pin with ring (21) into part (6) at the required height of user. Tighten the pin. Quantum 2 Inversion Table... - Page 12 6. INSTRUCTION GUIDE Quantum 2 Inversion Table...
-
Page 13: Warranty
For all warranty or support related enquiries an email must be sent before contacting us via other means. Head Office and Customer Service: Global Fitness and Leisure Pty Ltd 17 Fordson Rd Campbellfield VIC, 3061 Australia PH: 03 9357 2166 Quantum 2 Inversion Table...


Need help?
Do you have a question about the QUANTUM 2 and is the answer not in the manual?
Questions and answers