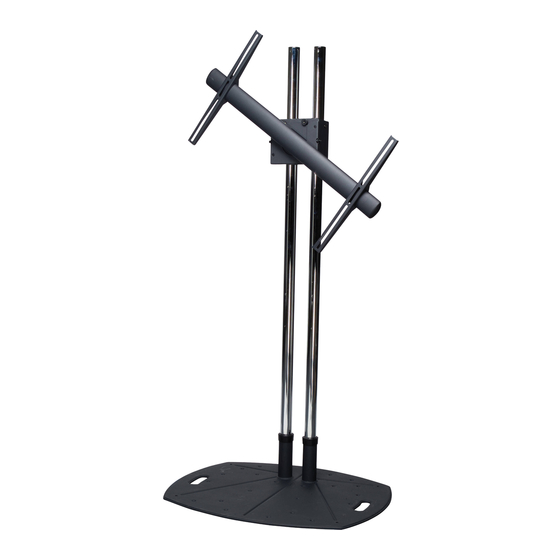
Premier Mounts RTM-L Installation Manual
Hide thumbs
Also See for RTM-L:
- Installation manual (22 pages) ,
- Installation instructions manual (9 pages) ,
- Installation manual (9 pages)
Summary of Contents for Premier Mounts RTM-L
-
Page 1: Installation Guide
RTM-L Installation Guide www.mounts.com | North America 800.368.9700 | International +1-714-632-7100 1321 S. State College Blvd., Fullerton, CA 92831 USA... -
Page 2: Weight Limit
COMPLETELY UNDERSTOOD. KEEP THESE INSTALLATION INSTRUCTIONS IN AN EASILY ACCESSIBLE LOCATION FOR FUTURE REFERENCE. PREMIER MOUNTS DOES NOT WARRANT AGAINST DAMAGE CAUSED BY THE USE OF ANY PREMIER MOUNTS PRODUCT FOR PURPOSES OTHER THAN THOSE FOR WHICH IT WAS DESIGNED OR DAMAGE CAUSED BY... -
Page 3: Included Components
RTM-L Installation Guide Included Components: M5 Security Allen Universal Spacer Griplate™(Qty.4) Straw (Qty.1) 5/32" Allen Key Key (Qty.1) (Qty.8) (Qty.1) Mounting Block (Qty.1) M6 x 12mm Button M6 Lock Washer M10 x 30mm Screw M4 x 16mm Screw Security (Qty.1) (Qty.1) -
Page 4: Selecting The Mounting Hardware
RTM-L Installation Guide Tighten the four (4) pre-installed M8 set screws using the supplied 5/32" Allen Key. Selecting the Mounting Hardware Insert a small straw or toothpick into the threaded inserts found on the back of the flat-panel. Use a pencil to mark the depth of the threaded insert on the small straw or toothpick. - Page 5 RTM-L Installation Guide Slide the mounting brackets into the cross bar. Bottom M4, M6, or M8 screws Griplate™ (Universal Washer) Universal Spacer (Optional) Align the brackets to the display mounting holes. Use the depth measuring straw to determine the appropriate hardware. Use four (4) M4, M6, or M8 screws depending on display and four (4) Griplate™...
- Page 6 RTM-L Installation Guide M8 x 10mm Set Screw Center the cross bar to the display and tighten the two (2) M8 x 10 Set Screws using the 5/32" Allen Key to secure the brackets. Two persons are recommended for this step. Lift the display bar and place the disk it into the receiver plate.
- Page 7 RTM-L Installation Guide Install the M6 Knurl Knob removed from step 1 to secure (Optional Security Screw) Install the M6 x 12mm Button the cross bar from dislodging. Security Screw and M6 lock washer to secure the cross bar from dislodging.
- Page 8 Premier Mounts intends to make this manual accurate and complete. However, Premier Mounts makes no claim that the information contained herein covers all details, conditions or variations, nor does it provide for every possible contingency in connection with the installation or use of this product.


Need help?
Do you have a question about the RTM-L and is the answer not in the manual?
Questions and answers