Advertisement
Advertisement
Table of Contents

Related Manuals for Timeguard TRT033N


Summary of Contents for Timeguard TRT033N
- Page 1 Digital Room Thermostat with Night Set-back Model: TRT033N...
-
Page 2: General Information
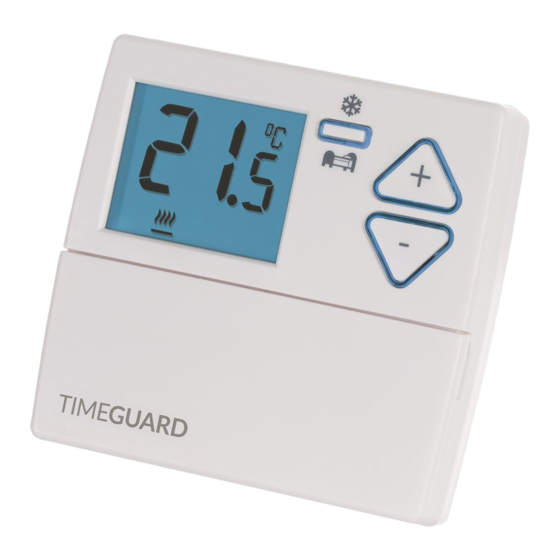
1. General Information These instructions should be read carefully and retained for further reference and maintenance. 2. Safety • Before installation or maintenance, ensure the mains supply to the thermostat is switched off and the circuit supply fuses are removed or the circuit breaker turned off. - Page 3 • Batteries: 2x 1.5V AA • CE Compliant • Dimensions (H x W x D): 90 x 95 x 30mm TRT033N Front View Digital room temperature display Night set-back (reduces temperature (illuminated on setting) by 4°C, 1-9 hours recall) and frost protection setting mode 10°C to 30°C...
-
Page 4: Installation
4. Siting • The TRT033N must be sited where it will not be influenced by heat sources, for example above a radiator or a television or a refrigerator/freezer or in direct sunlight or subjected to draughts. • The product requires air circulation, so do not position above or below shelving or other wall mounted obstacles. - Page 5 5.8 To reinstall the unit onto the wall plate, first ensure the wall plate retaining screws are loosened enough to clear the TRT033N body, then engage the top of the TRT033N onto the wall plate retaining tabs, and push firmly downwards and then upwards. There will be some resistance from the terminals.
-
Page 6: Connection Diagram
6. Connection Diagram Connect the 230V 50Hz mains supply and load cables to the terminal block which are marked as follows; • Note: Check boiler instructions before connecting. Switch Live from NO (normally open contact for heating) to bolier 230V AC BOILER 50Hz MAINS... -
Page 7: Dip Switch Settings
• The boiler type can be set to either 3CYC (Gas) or 6CYC (Oil), using the DIP switches on the rear of the unit. Press the reset button after changing. TRT033N Rear of Unit DIP switch for PID setting DIP switch for... -
Page 8: Operation
8. Operation • Restore mains to the unit after making sure to check all system wiring is complete, and after you have selected the desired DIP switch settings. • Press the reset button located beneath the flip down cover on the front of the unit, all of the characters will briefly appear on the display, followed by the current room temperature. -
Page 9: Frost Protection Mode
• When the room temperature is below the set temperature, the heating symbol will appear on the display to indicate output. Heating symbol will show when heat is demanded. Frost Protection Mode • Use the +/- setting buttons to change the set temperature. •... -
Page 10: Battery Low Indicator
• When the correct number of hours is selected, the display will time out 3 seconds after the last button is pressed. The display will then alternate every 2.5 seconds between the number of hours of night set back remaining, and the current room temperature. The Night set back bed symbol will flash continuously whilst active. -
Page 11: Year Guarantee
020 8450 0515. Note: A proof of purchase is required in all cases. For all eligible replacements (where agreed by Timeguard) the customer is responsible for all shipping/postage charges outside of the UK. All shipping costs... - Page 12 If you experience problems, do not immediately return the unit to the store. Telephone the Timeguard Customer Helpline; HELPLINE 020 8450 0515 or email helpline @ timeguard.com Qualified Customer Support Co-ordinators will be on-line to assist in resolving your query.
Need help?
Do you have a question about the TRT033N and is the answer not in the manual?
Questions and answers
Just purchased a small Flat with two thermostats not sure how to set heating on off times?
The Timeguard TRT033N thermostat does not have programmable heating on and off times. Instead, it operates by maintaining a set temperature, which can be adjusted using the +/- buttons. The thermostat will automatically turn the heating on and off as the room temperature approaches the set temperature. Additionally, the night set-back function allows the temperature to be reduced by 4°C for 1-9 hours.
This answer is automatically generated