Table of Contents
Advertisement
Quick Links
8' HARTFORD CABINET INSTALLATION INSTRUCTION
Tools required by the installer:
3/8" Drive ratchet and Extension
1/2" Sockets for above
1/2" Combo end wrench
# 2 and # 3 Phillips screwdriver
Electric drill/ driver
1/8" & 3/16" Drill bits
Speed Square
Prior to installation of the table please check for damaged or missing parts. Call Presidential Billiards at
866-728-2253 if there is a problem. The assembly hardware is packed according to the steps below to
facilitate the cabinet assembly.
STEP 1
ASSEMBLE THE CABINET
1.1
Lay the cabinet panels upside down on a clean, flat, level surface.
Loosely assemble the leg and beam bracket to cabinet panels. Wide "L" beam brackets are for
1.2
slate beams, narrow "L" beam brackets are for drawer beams.
1.3
Once cabinet is loosely assembled, place top corner bracket in position.
1.4
Attach wings to cabinet using bolts and washers from hardware pack.
STEP 2
ATTACH CABINET BEAMS
2.1
Place slate beams in wide beam brackets. Do not attach drawer beams at this time!!
2.2
Use bolt, square washer, round washer and nut from hardware pack to fasten beam to beam
bracket.
2.3
Using a square pull the beam flush with the top of the cabinet while making sure the bottom of
the beam in resting fully on the bracket.
2.4
Tighten slate beam to the bracket. DO NOT TIGHTEN DAWER BEAMS AT THIS TIME!!!
2.5
Tighten the slate beam brackets to the cabinet. (Note: Long beam must be flush or slightly
below short cross beams or slate will not set level on table.)
2.6
Starting in one corner tighten bolts in leg and corner brackets. Use a square to make sure the
corner bracket is flush or slightly below the top of the cabinet.
Attach drawer slides to drawer beam. Slides line up with @ 1" of slide overhanging front of
2.7
beam.
2.8
Loosely attach drawer beams to cabinet.
1
Advertisement
Table of Contents

Related Manuals for Presidential Billiards HARTFORD


Summary of Contents for Presidential Billiards HARTFORD
- Page 1 1/8” & 3/16” Drill bits Speed Square Prior to installation of the table please check for damaged or missing parts. Call Presidential Billiards at 866-728-2253 if there is a problem. The assembly hardware is packed according to the steps below to facilitate the cabinet assembly.
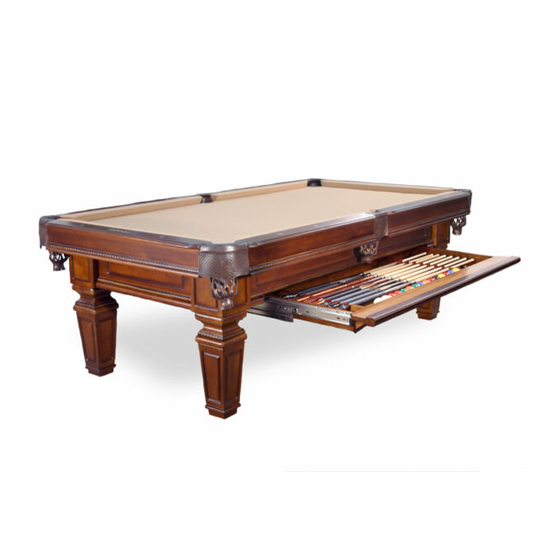
- Page 2 STEP 3 ATTACH DRAWER BEAMS AND DRAWER Extend drawer slides and place drawer on slides. Making sure they lock in place. Close drawer and adjust up or down with beams to align drawer in position. Tighten beam to bracket and bracket to table. Recheck alignment. Screw drawer slides to drawer using small screws in hardware pack.
- Page 3 Hartford Cabinet Hardware Step 1.2 90° Leg Brackets NE90801 Wide L Beam Brackets NE90702 90° Corner Brackets NE90902 68 5/16 18 x 3/4" flange bolt NU3960 Narrow L Beam Brackets NE90701 Step 1.4 8 5/16 – 18 x 2” bolts...
- Page 4 9/16” Socket (1/2” drive) 3’ or 4’ Spirit level Prior to installation of the table please check for damaged or missing parts. Call Presidential Billiards at 866-728-2253 if there is a problem. The hardware is packed in several different packets. Each packet indicates a step number.
- Page 5 Lay out all the rails upside down and install the pockets using the bolts supplied. Keep the rail/pocket joint as tight as possible. WARNING: Use of non-Presidential Billiards pocket bolts will result in damaged rails. Having bolted the U frame rails together turn the rail and pocket assembly right side up and place on the table.
- Page 6 Hardware for Hartford Installation Step 1 Leg Installation 3/8” – 16 x 4” Hanger bolts NU24461 3/8” Pyramidal tooth washer NE3649 3/8– 16 Zinc Finish Grade A Finished Hex Nut NU0013 #12– 11 x 1-3/4" Phillips Pan Head Sheet Metal...
Need help?
Do you have a question about the HARTFORD and is the answer not in the manual?
Questions and answers