Advertisement
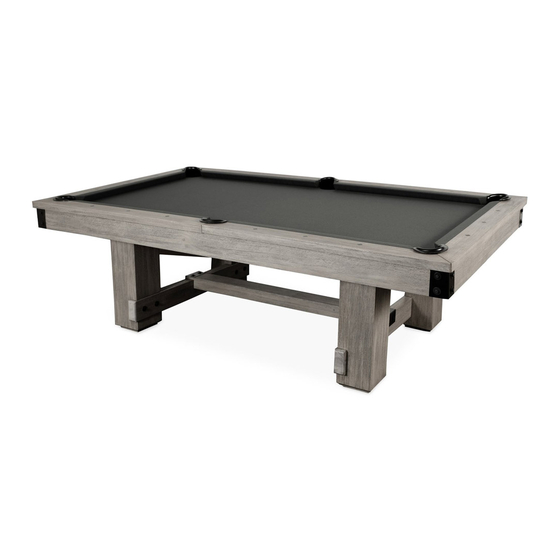
SILVERTON BILLIARD TABLE INSTALLATION INSTRUCTIONS
Tools required by the installer:
3/8" and 1/2" Drive ratchet and Extension
9/16" and 1/2" Sockets for above
9/16" and 1/2" Combo end wrench
# 2 and # 3 Phillips screwdriver
Utility Knife
Level and shim material
Material to fill slate seams (beeswax, water putty, bondo, etc.)
Prior to installation of the table please check for damaged or missing parts. Call Presidential Billiards at
866-728-2253 if there is a problem. The hardware is packed in several different packets. This coincides
with the steps in this installation instruction and will hopefully reduce your time to verify what hardware
is required where. It is suggested that you retain the bolts in their respective packets for ease of
installation.
STEP 1
TRESTLE AND LEG ASSEMBLY
The trestle assembly consists two short stretchers attached to legs and a long stretcher.
Attach legs to short stretcher using 5/16 – 18 x 3 1/2" bolt.
1.1
Attach long stretcher to shorts using 5/16 – 18 x 1 1/4" bolts, 5/16 – 18 x 4" bolts and black
1.2
corner caps (found in blind box).
STEP 2
FRAME ASSEMBLY
*Caution – Do not tighten any frame assembly bolts until all are in place!!
2.1
Place the leg/trestle assembly in the location selected for the table.
Loosely attach long beam to leg beams using 3/8 – 18 x 8" bolt, washer and nut. Attach slate
2.2
beams and end beams to long beam using 3/8 -18 x 4 1/2" bolt, barrel nut and washer. Repeat for
other long beam.
2.3
Square and tighten all bolts on frame.
Attach wigs to beams using 5/16 x 3 1/2" bolts and washers.
2.4
STEP 3
INSTALL THE SLATE
3.1
Level the table frame to the floor.
3.2
Place the three pieces of slate on the crossbeams. Measure to make sure that the slate
overhangs the main beams and the cross beams by the same amount. This will square the
slate to the frame.
3.3
Secure the slate to the cross beams, using the #14 screws from the hardware package. (Pre-drill
with 3/16" drill bit)
Small Hammer
Tape Measure
Stapler and staples
1/8" & 3/16" Drill bits
1
Advertisement
Table of Contents

Related Manuals for Presidential Billiards SILVERTON


Summary of Contents for Presidential Billiards SILVERTON
- Page 1 Material to fill slate seams (beeswax, water putty, bondo, etc.) Prior to installation of the table please check for damaged or missing parts. Call Presidential Billiards at 866-728-2253 if there is a problem. The hardware is packed in several different packets. This coincides with the steps in this installation instruction and will hopefully reduce your time to verify what hardware is required where.
- Page 2 Note: Before installing pockets, they may need to be trimmed to the fit correctly in the pocket. Trim in small increments as to not trim too much. Once trimmed, use a Sharpe to blacken the edge. Should there be any problems please contact us at: Presidential Billiards, L.P. Tel: 281-572-4522 20221 Caroline Way...
- Page 3 SILVERTON INSTALLATION HARDWARE Step 1 5/16 – 18 x 3 1/2" Bolt 5/16 – 18 x 1 1/4" Bolt 5/16 – 18 x 4” Bolt Step 2 3/8” – 16 x 8” bolt NU1845 3/8" x 1.250" Fender Washer NE46481 3/8”...
Need help?
Do you have a question about the SILVERTON and is the answer not in the manual?
Questions and answers