Table of Contents
Advertisement
Traulsen Refrigeration
SERVICE MANUAL #01
Instructions For The Troubleshooting And
Repair Of Traulsen Compact Undercounter
Refrigerator, Freezer & Prep Table Models
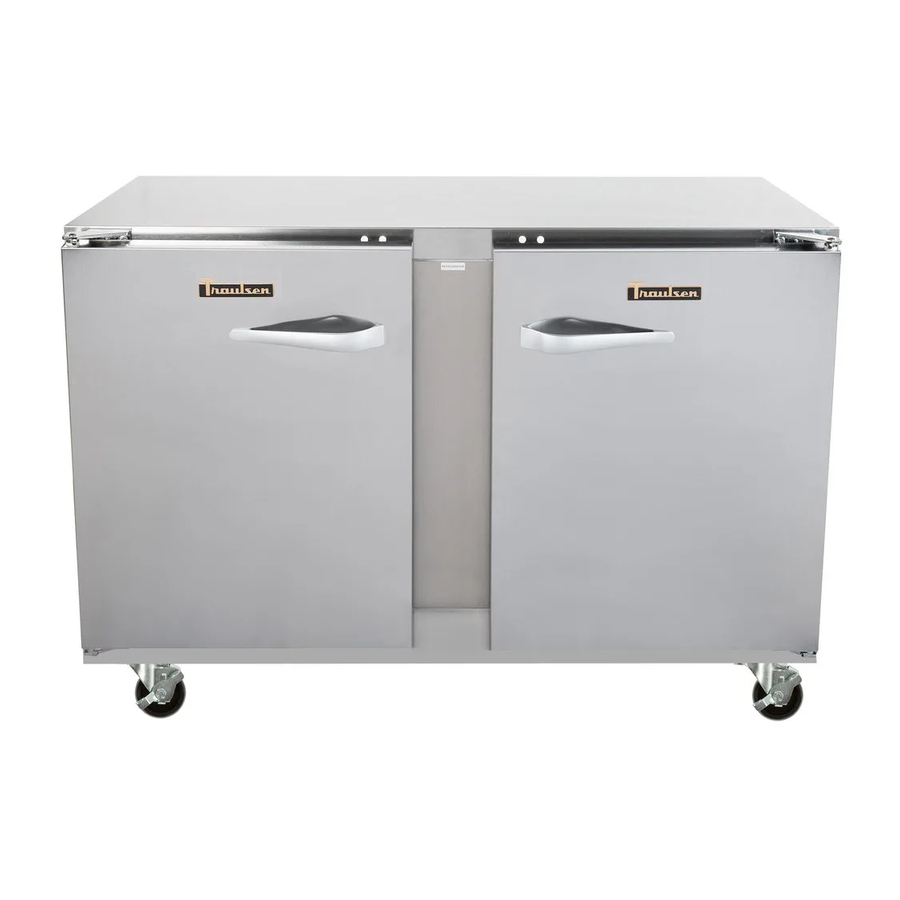
27", 48" & 60" Compact Undercounter Refrigerator Models
27", 48" & 60" Compact Undercounter Freezer Models
27", 48" & 60" Compact Prep Table Models
-NOTICE-
This Manual is prepared for the use of trained Authorized Traulsen Service Agents and should not be used
by those not properly qualified, nor should the equipment for which it is prepared be adjusted or repaired by
anyone except properly qualified personnel. This manual is not intended to be all encompassing, but is
written to supplement the formal training, on-the-job experience and other product knowledge acquired by
Authorized Traulsen Service Agents. Reproduction or other use of this Manual, without the express written
consent of Traulsen & Co., Inc. is prohibited.
FORM NUMBER TR35751 - REV. 5/03
Advertisement
Table of Contents

Related Manuals for Traulsen UHT48


Summary of Contents for Traulsen UHT48
- Page 1 27”, 48” & 60” Compact Prep Table Models -NOTICE- This Manual is prepared for the use of trained Authorized Traulsen Service Agents and should not be used by those not properly qualified, nor should the equipment for which it is prepared be adjusted or repaired by anyone except properly qualified personnel.
- Page 2 The serial tag is a permanently affixed sticker on which is recorded vital electrical and refrigeration data MAX. OPERATING AMBIENT about your Traulsen product, as well as the model and serial number. This tag is located on the left TOTAL...
- Page 3 II. GENERAL INFORMATION II. a - INTRODUCTION: II. f - TOOL REQUIREMENTS: This manual applies to the following Traulsen For most jobs a standard set of hand tools, a VOM models: with AC current tester, along with a temperature tester or thermometer are adequate.
- Page 4 III. SPECIFICATIONS Refrigerant Refrigerant Cond. Unit Amp Model No. Type Charge Draw (LRA) Voltage Amps UHT27 R-134a 8 oz. 120/60/1 UHT48 R-134a 12oz. 120/60/1 UHT60 R-134a 12oz. 120/60/1 ULT27 R-134a 9 oz. 120/60/1 ULT48 R-404A 14 oz. 120/60/1 10.0 ULT60 R-404A 14 oz.
- Page 5 IV. OPERATING DATA Refrigerator Model: UHT48 Freezer Model: ULT48 Refrigerant R-134a R-134a Refrigerant R-404A R-404A Ambient Temperature 70° F 100° F Ambient Temperature 70° F 100° F Suction Presure Suction Presure Start of Cycle 37 psig 36 psig Start of Cycle...
- Page 6 V. REMOVAL & REPLACEMENT OF PARTS WARNING: UNPLUG UNIT BEFORE SERVICING 27” Models 48” & 60” Models V. a - EVAPORATOR COVERS: Begin by removing the shelves from inside the cabi- Begin by removing the shelves from inside the cabi- net.
- Page 7 V. REMOVAL & REPLACEMENT OF PARTS (cont’d) WARNING: UNPLUG UNIT BEFORE SERVICING 27” Models 48” & 60” Models V. c - THERMOSTAT: NOTE: The thermostat bulb for the refrigerator is em- NOTE: The thermostat bulb for the refrigerator is above bedded in the coil, top center location.
- Page 8 V. REMOVAL & REPLACEMENT OF PARTS (cont’d) WARNING: UNPLUG UNIT BEFORE SERVICING V. d - DOOR GASKET: Begin by removing the old gasket by pulling it out from the gasket retainer. Begin installing the new gasket by installing the four corners first, pushing straight into the gasket until it is hooked behind the gasket retainer (see figure 9).
- Page 9 Self-Tapping Screw -20 x Hex Washer Hd., Type TT ⁄ ⁄ Plate-Hinge (Lower LH,Upper RH) Self-Tapping Screw 10-24 x Phil Truss Hd., Type D ⁄ Door Assembly. (Right Hand) Door Assembly. (Left Hand) Tape For Door Handle Traulsen Nameplate with adhesive...
- Page 10 V. REMOVAL & REPLACEMENT OF PARTS (cont’d) WARNING: UNPLUG UNIT BEFORE SERVICING 27” Models 48” & 60” Models V. g - DEFROST TIMER: Begin by removing the evaporator cover as outlined Begin by removing the evaporator cover as outlined in section “V a.” Next, remove the screws that secure in section “V a.”...
- Page 11 V. REMOVAL & REPLACEMENT OF PARTS (cont’d) WARNING: UNPLUG UNIT BEFORE SERVICING V. i - DOOR FRAME HEATER: Begin by opening the door past 90 degrees. Next re- move the door frame heater covers from the door frame by gently prying out on the inside edge of the cover. NOTE: Do not bend the covers.
- Page 12 V. REMOVAL & REPLACEMENT OF PARTS (cont’d) WARNING: UNPLUG UNIT BEFORE SERVICING 27” Models 48” & 60” Models V. j - CONDENSING UNIT COMPONENTS: NOTE: Condensing components may vary on some systems, but the following procedures are general guidelines for replacement of condensing unit components.
- Page 13 V. REMOVAL & REPLACEMENT OF PARTS (cont’d) WARNING: UNPLUG UNIT BEFORE SERVICING 27” Models 48” & 60” Models V. l - CONDENSER COIL: WARNING: THIS PROCEDURE REQUIRES THE USE WARNING: THIS PROCEDURE REQUIRES THE USE OF REFRIGERANTS. BE CERTAIN THE WORK AREA OF REFRIGERANTS.
- Page 14 V. REMOVAL & REPLACEMENT OF PARTS (cont’d) WARNING: UNPLUG UNIT BEFORE SERVICING 27” Models 48” & 60” Models V. m - COMPRESSOR: WARNING: THIS PROCEDURE REQUIRES THE USE WARNING: THIS PROCEDURE REQUIRES THE USE OF REFRIGERANTS. BE CERTAIN THE WORK AREA OF REFRIGERANTS.
- Page 15 V. REMOVAL & REPLACEMENT OF PARTS (cont’d) WARNING: UNPLUG UNIT BEFORE SERVICING 27” Models 48” & 60” Models V. n- CONDENSER FAN ASSEMBLY: Begin by removing the screws that secure the fan Begin by disconnecting the lead wires from the motor mounting bracket and remove it from the condensing (see figure 29).
- Page 16 V. REMOVAL & REPLACEMENT OF PARTS (cont’d) WARNING: UNPLUG UNIT BEFORE SERVICING 27” Models 48” & 60” Models V. o- EVAPORATOR COIL: WARNING: THIS PROCEDURE REQUIRES THE USE WARNING: THIS PROCEDURE REQUIRES THE USE OF REFRIGERANTS. BE CERTAIN THE WORK AREA OF REFRIGERANTS.
- Page 17 VI. SERVICE PROCEDURES & ADJUSTMENTS WARNING: CERTAIN PROCEDURES IN THIS SECTION REQUIRE ELECTRICAL TEST OR MEASUREMENTS WHILE POWER IS APPLIED TO THE MACHINE. EXERCISE EXTREME CAUTION AT ALL TIMES. IF TEST POINTS ARE NOT EASILY ACCESSIBLE, DISCONNECT POWER, ATTACH TEST EQUIPMENT AND REAPPLY POWER TO TEST. VI.
- Page 18 VI. SERVICE PROCEDURES & ADJUSTMENTS (cont’d) WARNING: CERTAIN PROCEDURES IN THIS SECTION REQUIRE ELECTRICAL TEST OR MEASUREMENTS WHILE POWER IS APPLIED TO THE MACHINE. EXERCISE EXTREME CAUTION AT ALL TIMES. IF TEST POINTS ARE NOT EASILY ACCESSIBLE, DISCONNECT POWER, ATTACH TEST EQUIPMENT AND REAPPLY POWER TO TEST. VI.
- Page 19 VI. SERVICE PROCEDURES & ADJUSTMENTS (cont’d) WARNING: CERTAIN PROCEDURES IN THIS SECTION REQUIRE ELECTRICAL TEST OR MEASUREMENTS WHILE POWER IS APPLIED TO THE MACHINE. EXERCISE EXTREME CAUTION AT ALL TIMES. IF TEST POINTS ARE NOT EASILY ACCESSIBLE, DISCONNECT POWER, ATTACH TEST EQUIPMENT AND REAPPLY POWER TO TEST. VI.
- Page 20 VI. SERVICE PROCEDURES & ADJUSTMENTS (cont’d) WARNING: CERTAIN PROCEDURES IN THIS SECTION REQUIRE ELECTRICAL TEST OR MEASUREMENTS WHILE POWER IS APPLIED TO THE MACHINE. EXERCISE EXTREME CAUTION AT ALL TIMES. IF TEST POINTS ARE NOT EASILY ACCESSIBLE, DISCONNECT POWER, ATTACH TEST EQUIPMENT AND REAPPLY POWER TO TEST. VI.
- Page 21 VII. ELECTRICAL OPERATION (cont’d) VII. b - SEQUENCE OF OPERATION: VII. b - SEQUENCE OF OPERATION (cont’d): REFRIGERATION DEFROST MODE (freezer) 1 - Conditions: 1 - Unit Operating In Refrigeration Mode. a. Unit connected to correct voltage. b. Condensing unit controlled by thermostat. 2 - Defrost Intiated By Defrost Timer.
- Page 22 VIII. WIRING DIAGRAMS - 27” MODELS Electrical Diagram - Refrigerator Cabinet With Digital Thermometer Option Models: UHT27, UPT276 & UPT276, 120VAC/60HZ/1PH Electrical Diagram - Freezer Cabinet With Digital Thermometer Option Model: ULT27, 120VAC/60HZ/1PH -21-...
- Page 23 VIII. WIRING DIAGRAMS - 48” & 60” MODELS Electrical Diagram - Refrigerator Cabinets Models: UHT48, UHT60, UPT488, UPT4812, UPT4818, UPT6012, UPT6018 & UPT6024, 120VAC/60HZ/1PH Electrical Diagram - Freezer Cabinets Model: ULT48 & ULT60, 120VAC/60HZ/1PH -22-...
- Page 24 Gasket leaking. Drain tube plugged. Non-frozen product in freezer. Traulsen 4401 Blue Mound Road Fort Worth, TX 76106 Phone: (800) 825-8220 Fax-Svce: (817) 740-6757 Website: www.traulsen.com Quality Refrigeration HOURS OF OPERATION: Monday thru Friday 7:30 am - 4:30 pm CST...
Need help?
Do you have a question about the UHT48 and is the answer not in the manual?
Questions and answers