Table of Contents
Advertisement
Quick Links
I N S T A L L A T I O N I N S T R U C T I O N S
Instrucciones de instalación
Installationsanleitung
Instruções de Instalação
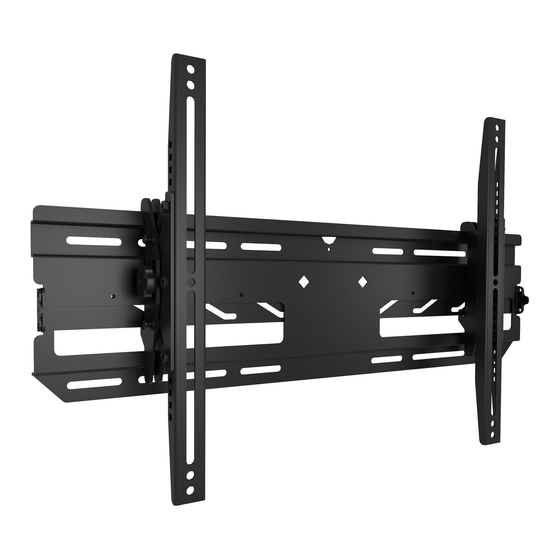
Outdoor Universal Tilting Wall Mount
Istruzioni di installazione
Installatie-instructies
Instructions d´installation
Spanish Product Description
German Product Description
Portuguese Product Description
Italian Product Description
Dutch Product Description
French Product Description
ODMLT
Advertisement
Table of Contents

Subscribe to Our Youtube Channel
Related Manuals for CHIEF ODMLT


Summary of Contents for CHIEF ODMLT
- Page 1 I N S T A L L A T I O N I N S T R U C T I O N S Instrucciones de instalación Istruzioni di installazione Installationsanleitung Installatie-instructies Instruções de Instalação Instructions d´installation Outdoor Universal Tilting Wall Mount Spanish Product Description German Product Description Portuguese Product Description Italian Product Description Dutch Product Description French Product Description ODMLT...
- Page 2 ACCESSORY: AN ACCESSORY is the secondary Chief all components does not exceed 175 lbs (80 kg). product which is attached to a primary Chief product, and may have a component attached or setting on it. WARNING: Use this mounting system only for its intended...
-
Page 3: Installation Instructions
Installation Instructions ODMLT LEGEND Tighten Fastener Pencil Mark Apretar elemento de fijación Marcar con lápiz Befestigungsteil festziehen Stiftmarkierung Apertar fixador Marcar com lápis Serrare il fissaggio Segno a matita Bevestiging vastdraaien Potloodmerkteken Serrez les fixations Marquage au crayon Loosen Fastener Drill Hole Aflojar elemento de fijación... -
Page 4: Tools Required For Installation
ODMLT Installation Instructions TOOLS REQUIRED FOR INSTALLATION 1/2" (12.7mm) - wood stud 7/32" - wood stud 3/8" (9.5mm) - concrete 1/4" - concrete PARTS A (1) [wall plate] D (4) E (4) 5/16 x 3 1/2” B (1) 5/16” [left interface bracket] C (1) 5/16 x 3"... -
Page 5: Assembly And Installation
5/8" thick drywall, plywood, OSB, fiberboard, buffalo board or other similar sheathing materials. IMPORTANT ! : The ODMLT mounts may be installed to a (X) x 4 bare 8" concrete wall if 5/16 x 3" Buildex® Tapcon® anchors with Blue Climaseal®... -
Page 6: Concrete Installation
ODMLT Installation Instructions Concrete Installation Interface Bracket Installation Place display face down on a soft, non-abrasive surface. WARNING: Place left and right interface brackets (B and C) on the back It is the responsibility of the installer to verify of the display, with the tension knob on each bracket facing that the structure to which the mount is anchored will safely toward the outside of the television. -
Page 7: Display Installation
It is the installer’s responsibility to make sure the combined weight of all components located between the ODMLT up to (and including) the display does not exceed 175 lbs (80 kg). Place the display on the wall plate (A) by hooking the hooks of the brackets (B and C) in the top of the wall plate. - Page 8 F 877.894.6918 / 952.894.6918 Europe A Franklinstraat 14, 6003 DK Weert, Netherlands P +31 (0) 495 580 852 Chief, a products division of F +31 (0) 495 580 845 Milestone AV Technologies Asia Pacific A Office No. 918 on 9/F, Shatin Galleria...
Need help?
Do you have a question about the ODMLT and is the answer not in the manual?
Questions and answers