Table of Contents
Advertisement
Quick Links
For complete operating instructions, please
download the manual from: www.baracuda.com.au
For installation and troubleshooting questions,
please directly contact: BARACUDA
Support: 1300 784 423
We have a trained team on hand to help walk you
through how to set up your cleaner and equipment.
Happy swimming!
RISK OF SUCTION HAZARD, WHICH IF NOT AVOIDED, CAN RESULT IN SERIOUS INJURY OR DEATH.
READ THIS GUIDE IN ITS ENTIRETY BEFORE INSTALLING AND OPERATING THE CLEANER. Do not block the
suction fi ttings in the pool, the suction opening on the cleaner, or the cleaner hoses with any part of your body.
Do not expose your hair, loose clothing, jewellery, etc, to any suction outlet fi ttings in the pool/ spa or on the cleaner.
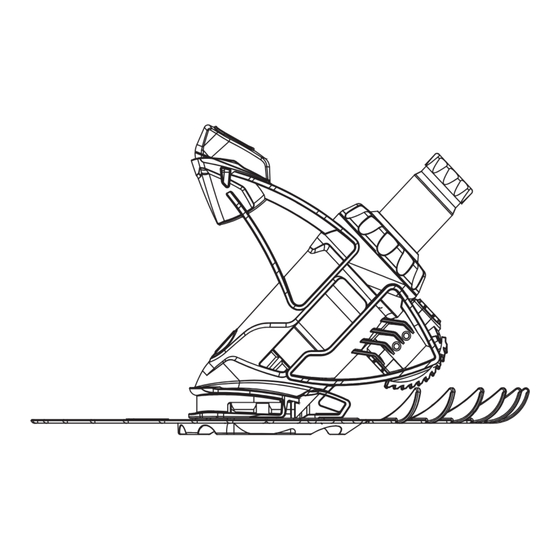
Cleaner Body
AD Flow Valve
Universal Weir Cuff
Hose mesh
Hose Weight
Pool Pulse™
Hose Section
Rotating Wheel Defl ector
with Quick Connector
Start to orientate the return line (s) down towards the walls so the water is divided.
1
Install the AD Flow valve into the skimmer box. The way you connect the AD fl ow valve varies depending on the type of
2
skimmer you have.
1st case: with Waterco skimmer box
Screw the AD Flow Valve connector
into the top of the Vac Plate.
Assemble the hose sections, starting from the skimmer box until you reach the furthest point of your pool and add
3
2 extra sections. Add the hose weight on the last hose section as per the drawing below.
Connect the hose to the valve in the skimmer box.
Submerge the whole hose under water until there is no air left in the hose.
After Sales
®
Example of a pool with 1 return line
2nd case: with Poolrite skimmer box
Screw the AD Flow Valve connector
into the bottom of the Vac plate.
QUICK START GUIDE
QUICK START GUIDE
Example of a pool with 2 return lines
3rd case: with other types of skimmer box
1
AD Flow valve
2
1
Universal Weir Cuff
5
6
5
6
2
3
3
4
6 5 4 3 2 1 0
4
6 5 4 3 2 1 0
Advertisement
Table of Contents

Related Manuals for baracuda b3


Summary of Contents for baracuda b3
- Page 1 For complete operating instructions, please download the manual from: www.baracuda.com.au For installation and troubleshooting questions, please directly contact: BARACUDA After Sales ® Support: 1300 784 423 We have a trained team on hand to help walk you QUICK START GUIDE QUICK START GUIDE through how to set up your cleaner and equipment.
- Page 2 ™ the pool. For more information visit www.baracuda.com.au Baracuda is a registered trademark of Zodiac Group Australia Pty Ltd or call Customer Care 1300 784 423 ABN 87 002 641 965 PO Box 7238, Wetherill Park, NSW 2164 Australia...
Need help?
Do you have a question about the b3 and is the answer not in the manual?
Questions and answers