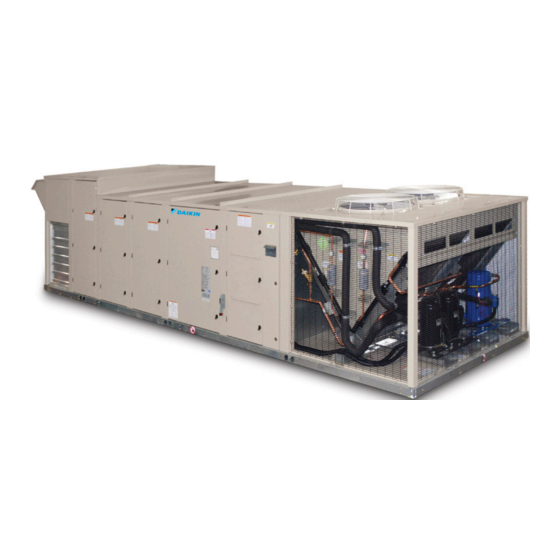
Daikin MPS015 F Installation And Maintenance Manual
Maverick ii series heating and cooling r-410a refrigerant commercial packaged rooftop systems with energy recovery wheel and microtech iii unit controller
Maverick ii series heating and cooling r-410a refrigerant commercial packaged rooftop systems with energy recovery wheel and microtech iii unit controller (132 pages)
Maverick ii series heating and cooling r-410a refrigerant commercial packaged rooftop systems with energy recovery wheel and microtech iii unit controller (132 pages)
Maverick ii series heating and cooling r-410a refrigerant commercial packaged rooftop systems with energy recovery wheel and microtech iii unit controller (132 pages)


Need help?
Do you have a question about the MPS015 F and is the answer not in the manual?
Questions and answers
What is the design ststaic pressure for the Daikin MPS050?