Advertisement
Quick Links
S
D
HOWER
IMPORTANT
DreamLine
reserves the right to alter, modify or redesign products at any time
TM
without prior notice. For the latest up-to-date technical drawings, manuals or any
other details please refer to the
Please carefully read the instructions before installing. If you have any questions
regarding installation, please call our technical support specialists Monday through
Friday 9:00 AM – 5:00 PM EST at 1-866-731-8378, ext. 3 or e-mail our technical
support@BathAuthority.com.
support group at
For more information on
Rev 1.1
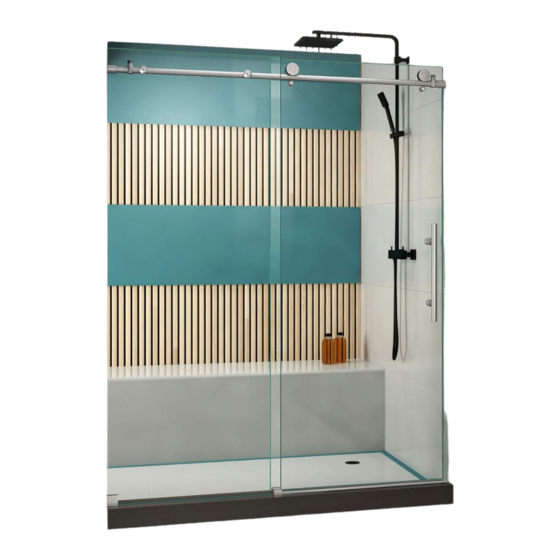
ENIGMA X
T
D
OOR &
UB
OOR
support.bathauthority.com
TM
DreamLine
Shower Doors
I
NSTALLATION
web page.
&
Tub Doors
please visit
I
NSTRUCTIONS
www.BathAuthority.com
1
Advertisement

Related Manuals for Dreamline Enigma X


Summary of Contents for Dreamline Enigma X
- Page 1 ENIGMA X HOWER OOR & NSTALLATION NSTRUCTIONS IMPORTANT DreamLine reserves the right to alter, modify or redesign products at any time without prior notice. For the latest up-to-date technical drawings, manuals or any other details please refer to the support.bathauthority.com web page.
-
Page 2: Tools Required
2. Please note that you should consult your local building codes on questions on installation compliance standards. Building and plumbing codes vary by location, and DreamLine is not responsible for code compliance standards for your project. 3. Please ensure that prior to the installation the installation surface is leveled and solid. Also make sure the walls are at right angles. -
Page 3: Packing List
Before discarding the carton, check for small hardware bags that tend to fall to the bottom of the box. If any parts are damaged or missing, please contact DreamLine for replacement. - Page 4 Shower Door Installation 1. Measure the distance between two finished walls. This distance is marked as “W”. See Fig. 1 for details. 2. Your Guide rail (03) has been precut for the installation between the walls with a distance of: a) 48”.
- Page 5 3. Install the Upper guide rail (03) to the Stationary glass (02) with the Glass brackets (07) and tighten the set screws. Slide the Door stoppers (01) on each end of the Upper guide rail and secure them temporarily. Slide the Guide Rail brackets (08) on each Upper guide rail...
- Page 6 4. Place the Stationary glass (02) on the preinstalled shower base or threshold and butt it up against the wall. (Please note that the Guide rail (03) secured on the Stationary Glass should face inside the shower). Make sure the Stationary glass and the Guide rail are leveled and aligned with the shower base or threshold.
- Page 7 6. Drill the holes for the Wall bracket (19) using Ø 5/16 drill bit and insert the Wall Ø 5/16" anchors (9b). Drill the holes for the Rail brackets (08) using Ø 3/8” drill bit and insert the Wall anchors (9a). See Fig.
- Page 8 8. Place the Guide Block (12) on the shower base or the threshold and place the Stationary glass (02) back in to the designated position so it gets in the groove of the Guide block. See Fig. 9 for details. 9.
- Page 9 . 11 10. Parallel the Stationary glass (02) to the shower base or threshold. Measure the distance from the side wall to the far edge of the Guide block (12). This distance will be “X”. Cut the Anti-splash threshold (15) to the ½...
- Page 10 11. Drill the holes for the Guide block Threshold bracket using Ø 1/8” drill bit Ø 1/8" Apply silicone to the bottom of the Anti-splash threshold; place back into designated position. Fasten the Guide block and the Threshold bracket to the shower base or threshold with Ø...
- Page 11 13. Press the Anti-water strip (14) on the vertical edges of the Stationary glass and the Glass door. Also press the Bumper strip (13) on the vertical edge of the Glass door. Mount the Handle (06) to the Glass door. Adjust both Door stoppers (01) to ensure that they are positioned upright and the door is in its maximum opening and closing...
-
Page 12: Product Maintenance
15. Apply the sealant along the connection of the Stationary glass with the wall and the shower base or the threshold. See Fig. 17 for details. . 17 Product Maintenance To insure long lasting life for your acrylic back walls, wipe them off after each use with a soft cloth. To clean the acrylic back walls use non-abrasive sprays or cream based cleaners. -
Page 13: Warranty
Any product replaced or repaired during the warranty period will be covered only for the remaining period of the original warranty. In no event will DreamLine be liable for costs of repair or replacement of any installation material, including but not limited to tiles, marble, etc. - Page 14 TEL: 866-731-8378 – 215-957-1411 FAX: 866-227-9245 – 215-893-1780 WWW.B .COM UTHORITY For more information on please visit www.BathAuthority.com DreamLine Shower Doors & Tub Doors Rev 1.1...
Need help?
Do you have a question about the Enigma X and is the answer not in the manual?
Questions and answers