Advertisement
Quick Links
Quick Installation Guide
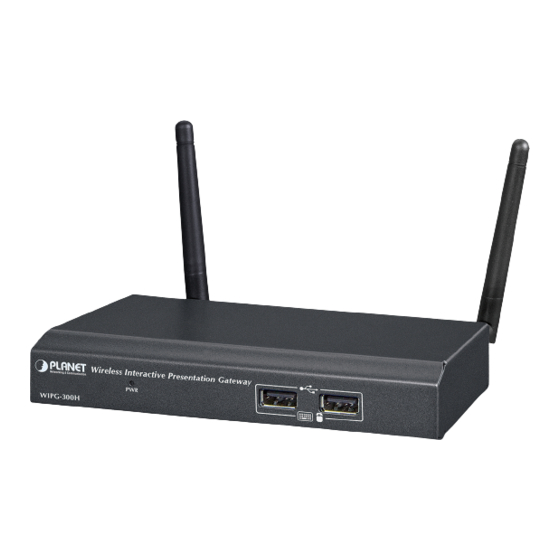
WIPG-300H
802.11n Wireless Interactive
Presentation Gateway
1. Package Contents
Thank you for choosing PLANET WIPG-300H. Before installing
the device, please verify the contents inside the package box.
WIPG-300H
Quick Guide
Antenna x 2
5V DC Power Adapter &
Worldwide Adapter Set
If there is any item missing or damaged, please
contact the seller immediately.
Note
3. Hardware Installation
Step 1: Please turn on your projector first and connect HDMI
or D-sub cable of the projector to the WIPG-300H.
Now you can power on the WIPG-300H.
VGA
HDMI
Projector
USB Token
Wall-mount Kit
– 1 –
WIPG-300H
Power
Power Adapter
Speaker
– 3 –
2. Physical Introduction
Front Panel Description
Power LED
Rear Panel Description
2 dBi Detachable Antenna x 2
15 Pin D-Sub VGA Port
LAN Port
USB
Step 2: When the projector shows the default screen as
shown below, it indicates the WIPG-300H is ready
now.
4. Software Installation – Windows
Step 1: The
site
surveys
WIPG-300H, and connect your PC with it wirelessly.
* The connection information (SSID) can be found on the
projector screen.
2 x USB
Audio Out
Power Connector
HDMI Port
– 2 –
the
wireless
signal
of
– 4 –
the
Advertisement

Related Manuals for Planet WIPG-300H


Summary of Contents for Planet WIPG-300H
-
Page 1: Package Contents
Step 2: When the projector shows the default screen as shown below, it indicates the WIPG-300H is ready now. Step 1: Please turn on your projector first and connect HDMI or D-sub cable of the projector to the WIPG-300H. Now you can power on the WIPG-300H. WIPG-300H Power 4. - Page 2 WIPG software to pass through. Note Step 5: When the default SSID “WIPG-300H” is displayed in the list, please click it to connect and then enter the Step 3: Download the client utility (WIPG) of XP / Vista / Login Code shown on the projector screen.
Need help?
Do you have a question about the WIPG-300H and is the answer not in the manual?
Questions and answers