Table of Contents
Advertisement
Advertisement
Table of Contents

Related Manuals for LEGRAND The Radiant Collection


Summary of Contents for LEGRAND The Radiant Collection
- Page 1 Wi-Fi Smart Switch...
-
Page 2: Table Of Contents
table of contents before you start ........3 faqs ..........23 what you need ........4 regulatory information ..24–27 installation and setup ....6–19 warranty ........28 getting to know your switch ..20-21 support ........29 specifications ........22... -
Page 3: Before You Start
• Install in a non-metallic electrical box • Do not use to power medical equipment. to protect wireless signal strength. • Not suitable as a disconnecting means. Visit the Legrand website at www.legrand.us/radiant/smart-lighting/support installation videos or to learn more about your smart device. -
Page 4: What You Need
what you need REQUIRED: Phillips-head screwdriver Flat blade screwdriver YOU MAY ALSO NEED: Voltage tester, pliers, wire cutter, wire stripper, electrical tape, flashlight, wiring leads (included), and wire nuts (included) -
Page 6: Installation And Setup
installation & setup step one turn off the power for your device at the circuit breaker Flip the existing light switch multiple times to confirm the power is off. NOTE: If there are multiple devices next to your existing light switch, make sure power is off at the circuit breaker for all of those devices. - Page 8 installation & setup step two remove the existing device Check for the following wires: HOT or LINE: Receives power from the circuit box. Referred to as “hot” for the purposes of this guide. Do not touch or let “hot” wires contact other wires. LOAD: Directs power to your light(s).
- Page 9 Load Supply “Hot”...
- Page 10 installation & setup step three wire the smart switch Use the wire nuts provided to secure the wires together. Connect the WHITE neutral wire on the switch to the neutral wires in the box, using the red wire nut. Connect the LOAD wire on the switch to the load wire in the box. Connect the HOT wire on the switch to the hot wire(s) in the box.
- Page 11 Load Supply “Hot”...
- Page 12 installation & setup step four secure the smart switch Gently fold the wires into the electrical box. Be careful not to pinch a wire or loosen any wire nuts. Use the device screws to secure the smart switch to the electrical box. Do not fully tighten the screws.
- Page 14 installation & setup step five test the smart switch NOTE: See page 20 for feature details. Turn the power back on at the circuit breaker. Press the paddle switch to turn your light on and off. TROUBLESHOOTING TIP: If the device is not powering, reference the “faqs” on page 23 to determine if you have reversed the “hot”...
- Page 16 installation & setup step six attach the screwless wall plate Noting which side faces out, align the sub-plate over the device screws. Use the sub-plate screws (provided) to secure the sub-plate to the smart switch. Tighten the device screws to secure the smart switch to the electrical box. Angle the end of the screwless wall plate over the top edge of the sub-plate.
-
Page 19: Installation And Setup
Download and launch the Smart Lights app by Legrand. The app is available on the App Store or on Google Play. Connect your smart switch to your home network by following the step by step instructions in the app. -
Page 20: Getting To Know Your Switch
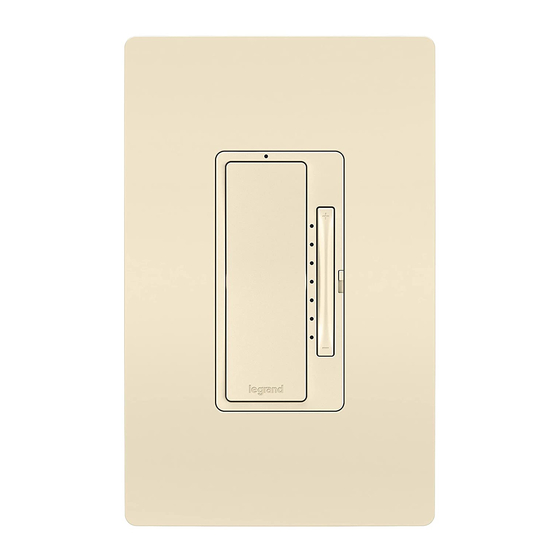
getting to know your switch Item Name Description • Press the top of the paddle to turn the light on and the bottom to turn the light off. Paddle Switch • To return the switch to factory default, with the load off, press and hold the “off”... - Page 21 LED LOCATOR LIGHT EXPLANATIONS State of Explanation Color Light Device is not ready. Solid Wait for blinking Amber Amber Device is ready for Blinking setup on your network Amber Solid Device is connected to your White network and is switched off...
-
Page 22: Specifications
Load Rating Resistive 120 VAC, 60 Hz,15 A Incandescent/halogen 1800 W Ballast 15 A standard/electronic Motor 1/2 HP Legrand reserves the right to change specifications without notice. -
Page 23: Faqs
faqs Which wire is the “hot” wire versus the “load” wire? To determine this safely, begin by confirming that power is off to the device location at the circuit breaker. Cap all of the exposed wires in the electrical box, then turn the power back on at the device location. Find your non-contact voltage tester. -
Page 24: Regulatory Information
regulatory information FCC NOTICE This device complies with Part 15 of the FCC rules. Operation is subject to the following two conditions: (1) this device may not cause harmful interference, and (2) this device must accept any interference received, including interference that may cause undesirable operation. - Page 25 If this equipment does cause harmful interference to radio or television reception, which can be determined by turning the equipment off and on, the user is encouraged to try to correct the interference by one or more of the following measures: •...
-
Page 26: Regulatory Information
regulatory information This equipment complies with FCC radiation exposure limits set forth for an uncontrolled environment. This equipment should be installed and operated with a minimum distance of 20 cm between the transmitter’s radiating structure(s) and the body of the user or nearby persons. NOTE: Any changes or modifications to this device that are not expressly approved by the manufacturer will void the warranty and the user’s authority to operate the equipment. - Page 27 IC NOTICE This device complies with Industry Canada license-exempt RSS standards. Operation is subject to the following two conditions: (1) this device may not cause interference; and (2) this device must accept any interference, including interference that may cause undesired operation of the device. RF EXPOSURE STATEMENT This equipment meets the SAR evaluation limits given in RSS-102 Issue 5 requirements at the minimum separation distance of 15 mm to the human body.
-
Page 28: Warranty
1-877-833-3303. A dated sales receipt must be provided for all replacement requests (legible copies are acceptable). Additional warranty details are available at http://www.legrand.us under your device’s product page. -
Page 29: Support
IF YOU NEED HELP INSTALLING YOUR SMART SWITCH, TALK TO OUR TECHNICAL SUPPORT TEAM: PHONE: 1-877-833-3303 8:00 a.m. to 8:00 p.m. EST (M-F). 8 a.m. to 5 p.m. EST (Sat) EMAIL: smartlighting@legrand.us CHAT: https://www.legrand.us/radiant/smart-lighting.aspx (Click on the icon to open a dialogue box) - Page 30 Legrand, North America 50 Boyd Avenue Syracuse, NY 13209 1-877-833-3303 www.legrand.us ©2018 Legrand All Rights Reserved 341216 Rev A 05/18 11-12-2018...
Need help?
Do you have a question about the The Radiant Collection and is the answer not in the manual?
Questions and answers