
Related Manuals for Insignia NS-WC29SS9


Summary of Contents for Insignia NS-WC29SS9
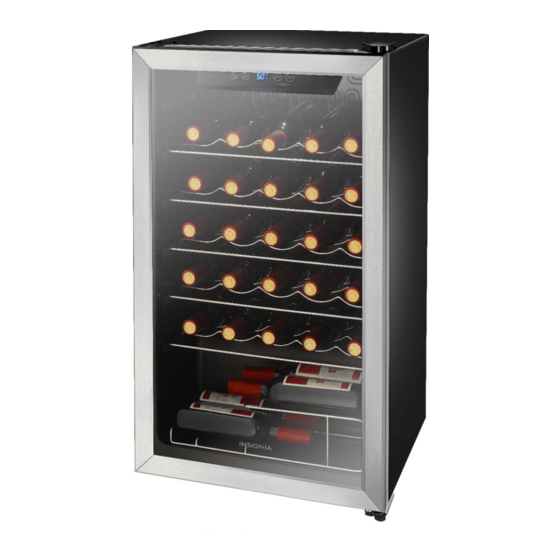
- Page 1 USER GUIDE 29-Bottle Wine Cooler NS-WC29SS9 Before using your new product, please read these instructions to prevent any damage.
-
Page 2: Table Of Contents
Contents Introduction ............3 IMPORTANT SAFETY INSTRUCTIONS . -
Page 3: Introduction
29-Bottle Wine Cooler Introduction Congratulations on your purchase of a high-quality Insignia product. Your NS-WC29SS9 represents the state of the art in wine cooler design and is designed for reliable and trouble-free performance. IMPORTANT SAFETY INSTRUCTIONS CAUTION RISK OF ELECTRIC SHOCK... - Page 4 NS-WC29SS9 Unplug this appliance during lightning storms or when it will not be used for long periods of time. Make sure that the available AC power matches the voltage requirements of this appliance. Do not handle the plug with wet hands. This could result in an electric shock.
-
Page 5: Features
29-Bottle Wine Cooler This appliance is not intended for use by persons (including children) with reduced physical, sensory, or mental capabilities, or lack of experience and knowledge, unless they have been given supervision or instruction concerning use of the appliance by a person responsible for their safety. Children should be supervised to ensure that they do not play with the appliance. -
Page 6: Components
NS-WC29SS9 Components Control and display panel Glass door Wire shelf Wire basket Leveling feet www.insigniaproducts.com... -
Page 7: Control And Display Panel
29-Bottle Wine Cooler Control and display panel Temperature +/- Light LED Display Lock BUTTON FUNCTION Press to lock or unlock the control panel. Press to turn the interior light on or off. Press to increase the temperature by one degree. Press to decrease the temperature by one degree. -
Page 8: Leveling Your Cooler
NS-WC29SS9 • Place the cooler away from direct sunlight and sources of heat (stove, heater, radiator, etc.). Direct sunlight may affect the acrylic coating and heat sources may increase electrical consumption. Ambient temperature below 50°F (10°C) or above 85°F (29.4 °C) will hinder the performance of this cooler. This cooler is not designed for use in a garage or any other outside location. - Page 9 29-Bottle Wine Cooler Use a blade to remove the hinge cover, then use a Phillips screwdriver to remove the hinge bolts. Remove the upper hinge. Rivets Hinge cover Axle sleeve Hinge bolts Upper hinge Axle sleeve Remove the door from the wine cooler. Use a Phillips screwdriver to remove the door stopper screws, then remove the door stopper.
-
Page 10: Grounding Requirement
NS-WC29SS9 Use a Phillips screwdriver to remove the hinge bolts, then remove the lower hinge and the leveling foot. Leveling foot Lower hinge Hinge bolts Attach the lower hinge and leveling feet to the opposite sides of the wine cooler. -
Page 11: Connecting To Power
29-Bottle Wine Cooler Consult a qualified electrician or service person if the grounding instructions are not completely understood, or if doubt exists as to whether the cooler is properly grounded. WARNINGS: • Improper use of the grounding plug can result in a risk of electric shock. •... -
Page 12: Using Your Wine Cooler
NS-WC29SS9 Memory function If you experience a power outage, when your cooler is turned on again it resumes the same temperature that was set when the power went off. Using the display • When you plug in your cooler for the first time, the display screen turns on for three seconds, and you hear a start-up tone. -
Page 13: Arranging Your Wine
29-Bottle Wine Cooler Arranging your wine In order to maintain good air circulation in the cooler, do not let the bottles touch the back of the cooler. Different temperature zones are generated within the cooler due to air circulation. The upper area’s temperature is the highest while the lower area is the lowest. It is best to store different types of wine within the cooler, in the following sequence, from top to bottom: •... -
Page 14: Maintaining Your Wine Cooler
NS-WC29SS9 Maintaining your wine cooler Your cooler is designed for year-round use with only minimal cleaning and maintenance. When you first receive it, wipe the cabinet with a mild detergent and warm water, then wipe dry with a dry cloth. Do this periodically to keep your cooler looking new. -
Page 15: Moving Your Wine Cooler
29-Bottle Wine Cooler Moving your wine cooler Note: Make sure that the cooler stays in the upright position during transportation. Turn off the cooler and unplug it from the wall outlet. Remove all beverages. Securely tape down all loose items inside your cooler. Tape the door shut. -
Page 16: Specifications
NS-WC29SS9 PROBLEM SOLUTION Moisture is building up in • Make sure that the door is closed properly. the interior of the cooler. • Move the cooler to a dryer location. The cooler turns on and off • Make sure that your cooler is in a room that is 50–... -
Page 17: One-Year Limited Warranty
Product is determined to be defective by an authorized Insignia repair center or store personnel, Insignia will (at its sole option): (1) repair the Product with new or rebuilt parts; or (2) replace the Product at no charge with new or rebuilt comparable products or parts. - Page 18 NS-WC29SS9 • Connection to an incorrect voltage or power supply • Attempted repair by any person not authorized by Insignia to service the Product • Products sold “as is” or “with all faults” • Consumables, including but not limited to batteries (i.e. AA, AAA, C, etc.) •...
- Page 19 1-877-467-4289 (U.S. and Canada) or 01-800-926-3000 (Mexico) INSIGNIA is a trademark of Best Buy and its affiliated companies. Distributed by Best Buy Purchasing, LLC 7601 Penn Ave South, Richfield, MN 55423 U.S.A. V1 ENGLISH ©2018 Best Buy. All rights reserved.
Need help?
Do you have a question about the NS-WC29SS9 and is the answer not in the manual?
Questions and answers