Advertisement
Part 1
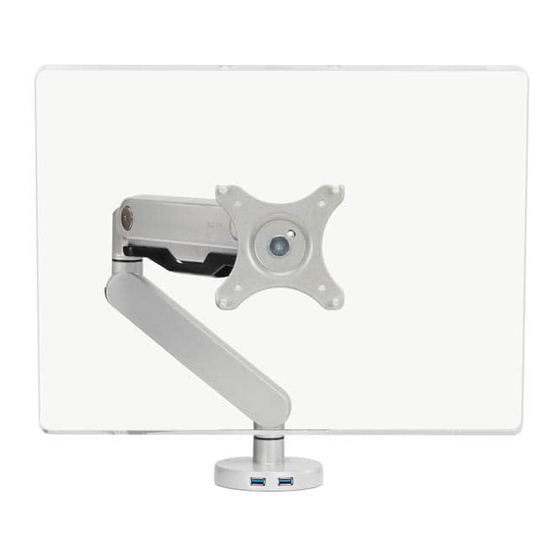
UPLIFT View ™ arm
There are two ways to attach your UPLIFT View™ Monitor Arm to your desktop: Clamp and Bolt-thru assembly.
Clamp Assembly -
© UPLIFT Desk • 1-800-349-3839 • info@upliftdesk.com • www.upliftdesk.com
Part 2
Part 7
Arm gasket
Bolt top clamp
Part 3
Part 8
Top Clamp
Bolt
Part 4
Part 9
Cable Cover
Bolt gasket
Part 5
Part 10
Clamp Gasket
Bolt bottom clamp
Part 6
Part 11
Bottom Clamp
Bolt knob
Attach the arm to the back of your desk
Clamp Step 1
Connect the top clamp (part 3) to the Adapt View ™ arm assembly using
the three M6x12mm screws (part C) and the small Allen wrench (part G).
Clamp Step 2
Apply the arm gasket (part 2) under the arm's mount, and the clamp
gaskets (part 5) to the bottom clamp (part 6).
Clamp Step 3
Connect the bottom clamp assembly (part 6) by using M6x10mm (part D)
and the small Allen wrench (part H). Affix the Clamp gaskets as shown.
Please select the appropriate
mounting holes according
to the thickness of the desk.
Clamp Step 4
Turn the knobs counterclockwise to loosen them.
Slide the assembly onto your desk and turn the knobs clockwise
to tighten the clamp to the desk. Make sure that the clamp is secure.
If the clamp is too loose, the unit may wobble or fall.
Snap the cable cover to the back.
®
View™ Monitor Arm Instructions
ACC301
Part A
M4x12mm screws
(qty 4)
Part B
M5x12mm screws
(qty 4)
Part C
M6x12mm screws
(qty 3)
Part D
M6x10mm screws
(qty 2)
Screws & Tools
Part F
Washers
(qty 8)
Part G
Allen wrench
(small)
Part H
Allen wrench
(large)
Advertisement
Table of Contents

Subscribe to Our Youtube Channel
Related Manuals for Uplift Desk ACC301


Summary of Contents for Uplift Desk ACC301
- Page 1 Make sure that the clamp is secure. If the clamp is too loose, the unit may wobble or fall. Snap the cable cover to the back. © UPLIFT Desk • 1-800-349-3839 • info@upliftdesk.com • www.upliftdesk.com...
- Page 2 Using 2 more washers and screws, screw into the lower two holes on the Vesa mounting plate. (see Fig 2). Fig. 2 When finsihed, tighten up all screws from this step and step 2. © UPLIFT Desk • 1-800-349-3839 • info@upliftdesk.com • www.upliftdesk.com...
- Page 3 “+” if your arm will not adjust to a higher position. When the arm stays in place after you’ve adjusted it, your UPLIFT Adapt Mobile is properly counterbalanced. © UPLIFT Desk • 1-800-349-3839 • info@upliftdesk.com • www.upliftdesk.com...
- Page 4 Copyright Notice: These instructions are a component of the UPLIFT View™ Monitor Arm. These instructions are part of the scope of delivery, even if the item is resold. These instructions are also available on the UPLIFT Desk website: upliftdesk.com. Excerpts or copies may not be forwarded to third parties or used in any other published ©...
Need help?
Do you have a question about the ACC301 and is the answer not in the manual?
Questions and answers