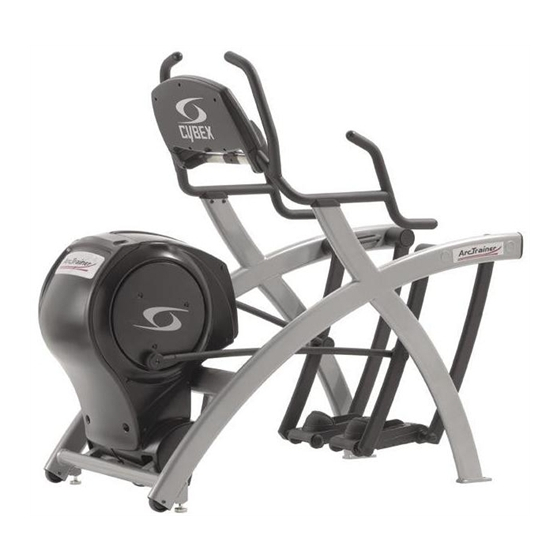
CYBEX Arc Trainer 600A Installation Instructions Manual
Primary drive 16 rib belt arc trainer series
Hide thumbs
Also See for Arc Trainer 600A:
- Owner's service manual (107 pages) ,
- Owner's service manual (62 pages)
Table of Contents
Advertisement
Quick Links
Arc Trainer
Kit No. 600AK020
NOTE: This instruction sheet describes how to replace
the primary drive 16 rib belt on the Arc Trainer
600A/610A.
TOOLS REQUIRED
• Cloth or rag (2)
• Phillips screwdriver
• 3/16" Allen wrench
• 7/16" Socket wrench • 9/16" Open end wrench
• 3" Socket wrench extension
• 600AK012 (not supplied with this kit)
1. Read and understand all instructions thoroughly
before installing this kit.
2. Verify kit contents. See Figure 1.
A
B
C
D
E
F
A. Primary Drive 16 Rib Belt (1), 600A-343
B. Hex Nut .312-18 (2), HN664000
C. Split Lockwasher .312 (2), HS328300
D. Washer .312 (2), HS327600
E. Hex Head Cap Screw (HHCS) .312-18 x
3.75 (2), HC661240
F. Loctite #242, YA000201
Figure 1
3. Disconnect the power source.
A. Turn the main power switch to the off (0)
position and unplug the power cord from
the power outlet.
®
600A/610A Primary Drive 16 Rib Belt
• 1/2" Socket wrench
• 1/2" Open end wrench
• 9/16" Socket wrench
! WARNING: Disconnect the power cord before
continuing this procedure. Keep wet
items away from inside parts of the
unit. Electrical shock could occur
even if the unit is unplugged.
4. Remove the access cover.
A. Using a Phillips head screwdriver, remove the
four screws and four washers securing the
access cover. See Figure 2.
B. Remove the access cover.
Screw (4)
Figure 2
5. Detach the linkage arms.
A. Using a 3/16" Allen wrench, remove the
SHCS, washer, cap and spacer securing the
linkage arm. See Figure 3. NOTE: Figure 3
shows the contents of the linkage cap kit
that will be installed in step 19A.
B. Lay the linkage arm down on the frame.
NOTE: Place a cloth in between the linkage
arm and the frame to prevent scratches.
SHCS
Spacer
Figure 3
Installation Instructions
Washer
Cap
Linkage Arm
Advertisement
Table of Contents

Subscribe to Our Youtube Channel
Summary of Contents for CYBEX Arc Trainer 600A
- Page 1 ® Arc Trainer 600A/610A Primary Drive 16 Rib Belt Installation Instructions Kit No. 600AK020 NOTE: This instruction sheet describes how to replace ! WARNING: Disconnect the power cord before the primary drive 16 rib belt on the Arc Trainer continuing this procedure. Keep wet items away from inside parts of the 600A/610A.
- Page 2 6. Remove the side covers. Idler Screw Pulley A. Remove Gasket Washer the six screws and Washer/Bolt six washers securing each side Figure 7 cover in place. See Side 9. Remove HHCS on lower pulley. Figure 4. Cover A. Using a 7/16” socket wrench with a 3” B.
- Page 3 11. Crank shaft assembly pillow block bolts. D. Turn each HHCS in a couple of turns by hand. A. Using a 9/16” socket wrench and a 9/16” open E. Place secondary drive belt on the (secondary wrench remove the two bolts, four washers and pulley and then on the lower pulley.
- Page 4 Arc Trainer ® and its mark are registered trademarks of Cybex International, Inc. 10 Trotter Drive Medway, MA 02053 • 508-533-4300 • FAX 508-533-5183 • www.cybexinternational.com • techhelp@cybexintl.com techpubs@cybexintl.com • Copyright © 2008, Cybex International, Inc. All rights reserved • 600A-342 C • March 2008...


Need help?
Do you have a question about the Arc Trainer 600A and is the answer not in the manual?
Questions and answers