
Related Manuals for CEL-MAR ADA-I911W


Summary of Contents for CEL-MAR ADA-I911W
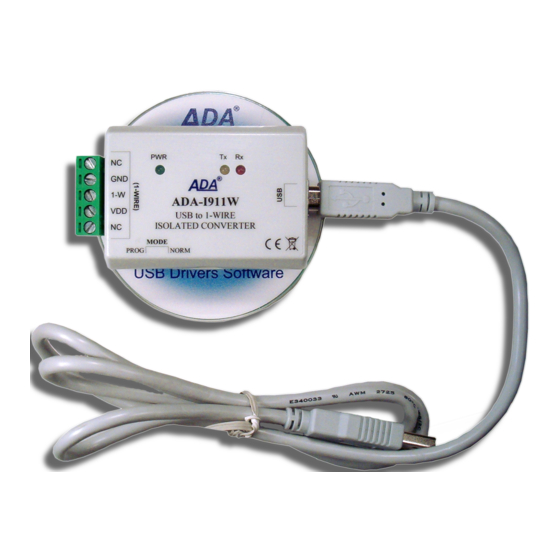
- Page 1 ADA-I911W User manual ADA-I911W USB to 1-WIRE converter Copyright © 2001-2017 CEL-MAR sp.j. io_ada-i911w_v en. 1.01...
-
Page 2: Table Of Contents
ADA-I911W Contents 1. GENERAL INFORMATION..................................3 1.1. WARRANTED INFORMATION............................... 3 1.2. GENERAL CONDITIONS FOR SAFE USE............................ 3 1.3. CE LABEL....................................... 3 1.4. ENVIRONMENTAL PRESERVATION............................3 1.5. SERVICE AND MAINTENANCE..............................3 1.6. PACK CONTENTS..................................3 2. PRODUCT INFORMATION..................................3 2.1. PROPERTIES....................................3 2.2. -
Page 3: General Information
1.1. WARRANTED INFORMATION The ADA-I911W converter is covered by a two year warranty from date of sale. In case of being damaged it will be repair or the damaged component will be replace. The warranty does not cover damage caused from improper use, materials consumption or any unauthorized changes. -
Page 4: Description
EPROM memory, A/C transducers etc., to common 1-WIRE bus. The transition from 1-WIRE interface to USB interface in ADA-I911W provides controller 1-Wire bus and the USB controller. In this way, the user does not need to delve into the quite complicated protocol 1-WIRE. -
Page 5: Isolation
1-WIRE Fig. 2. Isolation diagram 3. CONFIGURATION ADA-I911W converter can be set for operating in normal mode or programming mode by the use of MODE switch (fig.1). Description of the switch modes is shown in the table below. MODE switch... -
Page 6: Power Supply
- the correctness of driver installation. 5. DRIVERS INSTALLATION IN SYSTEM WINDOWS ADA-I911W is delivered with the driver package Installer for Windows systems on CD-ROM. For installation follow the steps below: a/ insert the CD-ROM to optical driver of the computer, b/ the installation wizard will run automatically, if not double click ADAUSBDRV.exe. - Page 7 ADA-I911W Press [Next] Select STANDARD Drivers and press [Next]...
- Page 8 ADA-I911W Press [Install] Press [Next], will be installed Drivers for USB Bus.
- Page 9 ADA-I911W Press [Install this driver software anyway]. Installation of drivers for USB Bus will start.
- Page 10 ADA-I911W Press [Install this driver software anyway]. Installation of drivers for Virtual Port will start.
- Page 11 ADA-I911W Press [Finish] Press [Finish]. The driver for ADA-I911W have been installed. This can be checked in “Uninstall or change a program“.
-
Page 12: Driver Uninstallation
After connection will appear the Tool tip with [Your device is ready to use]. To see the details press the Tooltip, and will appear information window where is shown which COM port was assigned to converter. After this installation, RS232 port of ADA-I911W converter is available in the system as normal COM port. Should remember about specified baud rate for communication If during installation was selected driver for Standard baud rates, it is possible to use: 9600 bps (standard), 19200 bps, 57600 bps, 115200 bps supported by the DS9097U adapter. -
Page 13: Driver Uninstallation In Windows 2000/Xp/2003/Vista/7/2008 Systems
Start > Setting > Control Panel > Add > Remove Programs, d/ select from the list Windows Driver Package – CEL-MAR ADA – Virtual USB Serial Port, e/ press [Change / Remove], Virtual USB Serial Port driver will be uninstalled, f/ select from the list Windows Driver Package –... -
Page 14: Emergency Driver Uninstallation
Signalling of Powering Signalling of data receiving through ADA-I911W from 1-WIRE port. Signalling of data transmitting from ADA-I911W through 1-WIRE port . 7.1. SELECTION OF COM PORT LARGER THEN COM9 If virtual port COM of converter will install in Windows OS as COM10 or larger then in application using this port, should be typed COM port address as: \\.\COM10. -
Page 15: Specification
ADA-I911W 10. SPECIFICATION TECHNICAL DATA Transmission Parameters Interface 1-WIRE Connector B-type female Screw terminal block, max. wire Ø2,5mm² Line length up to 5 m up to 300 m – for DS1820 sensors Maximum number of connected devices up to 100 of DS18B20 circuits Twisted cable 1-pair, 2- pair UTP Cat.5e,... - Page 16 Thank you for purchasing CEL-MAR Company products. We hope that this user manual helped connect and start up the ADA-I911W converter. We also wish to inform you that we are a manufacturer of the widest selections of data communications products in the world such as: data transmission converters with interface RS232, RS485, RS422, USB, Current Loop, Fibre-Optic Converters and Ethernet or Wi-Fi.
Need help?
Do you have a question about the ADA-I911W and is the answer not in the manual?
Questions and answers