Advertisement
Quick Links
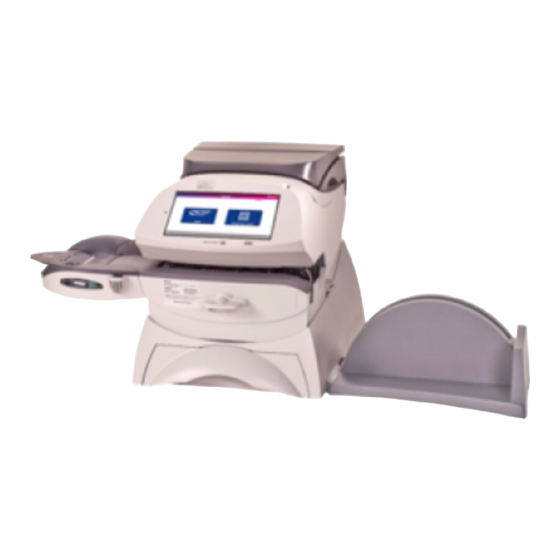
SendPro
™
300
Mailing Systems
Installation setup instructions
Watch an online tutorial.
For a tutorial of the installation, visit: pitneybowes.com/us/support/
As you follow these steps, also follow the screen prompts on your meter.
What's in the box
SendPro 300
Power adapter 1
Quick install guide
Print head
Ink
Tape sheet
Scale
Moistener and EZ Seal
Stacker
Label printer
Sheet roll
Stacker tray
1
Assemble your meter and lifter base.
.
Put your meter on top of the lifter base.
© 2016 Pitney Bowes Inc. All rights Reserved
2
Connect the cables to your meter.
.
Look on the back side of your meter. You'll see
several attached USB cables. Connect them to
the appropriate ports as shown.
2a.
Connect USB (green cable) to
the bottom port.
Lifter base
Power adapter 2
2d.
Connect power adapter 2.
Internet cable
Power adapter 3
USB cable
3
Connect your label printer to your meter.
.
3a.
Attach the stacker tray.
2a
2b
2c
2d
2e
2b.
Connect USB to
2c.
Connect USB to
the middle port.
the top port.
2e.
Connect the Internet cable to blue jack.
3b.
Open the cover.
3c.
Remove the protective sheet.
3d.
Insert the sheet roll.
3e.
Make sure the sheet is fed properly.
3g.
Connect your label printer to your meter
3h.
with the USB cable.
4
Connect your meter
.
.
to a power source
4b.
4a.
Connect your meter to a power source, and turn on the
power switch at the back.
Quick Install Guide
3f.
Close the cover.
Make sure it clicks
into place.
Click
Click
Connect your label printer to a power source.
When you see the touchscreen come
on you can continue with setup
Wait until you see the touchscreen
turn on. This can take up to 30
seconds.
Advertisement

Related Manuals for Pitney Bowes SendPro 300


Summary of Contents for Pitney Bowes SendPro 300
- Page 1 Assemble your meter and lifter base. Connect your label printer to your meter. Put your meter on top of the lifter base. Attach the stacker tray. Open the cover. Remove the protective sheet. © 2016 Pitney Bowes Inc. All rights Reserved...
- Page 2 Find the included ink cartridge and remove Drop the cartridge in next to the print head. The Your meter will automatically connect to Pitney Bowes to get your available funds for adding postage. pitneybowes.com/signin Key in a postage amount to add, then press Enter.
Need help?
Do you have a question about the SendPro 300 and is the answer not in the manual?
Questions and answers