Table of Contents

Related Manuals for Stelpro SONOMA


Summary of Contents for Stelpro SONOMA
- Page 1 OWNER'S MANUAL IT’S GOT BRAINS. AND LOOKS. ASSO SERIES ASSOH SERIES THANK YOU FOR YOUR PURCHASE! QUESTION? PROBLEM? CONTACT STELPRO CUSTOMER SERVICE. WWW.STELPRO.COM CONTACT@STELPRO.COM 1-866-766-6020 THIS UNIT COMPLIES WITH CSA STANDARDS...
-
Page 2: Important Instructions
“Calculation Tools/Heating Calculator” section Do not insert or allow foreign objects to enter any air vent as of the °STELPRO Design website. this may cause electric shocks, fires or damages to the unit. If the unit capacity is insufficient for the size of the room, it... -
Page 3: Tools Required
2 Screws (1-1/2") with a 1/4" (6.5 mm) diameter head minimum, suitable for securing the back box directly to a stud. CONTROL AND COMPATIBILITY You can control your Sonoma fan heater in multiple ways: ASSO(H) ... WCW ASSO(H) ... T2W ASSO ... T2TW... - Page 4 WARNING: This product must be installed by a certified electrician according to the electrical and building codes effective in your region. WHERE TO INSTALL YOUR FAN HEATER Make sure that objects or furniture near the heater can Install your fan heater in an unobstructed location at least withstand the heat it gives off.
- Page 5 CUTTING THE POWER SUPPLY To protect yourself from the risk of electric shock, turn off the power to the lead wires from the electrical panel. PREPARING THE SURFACE FOR INSTALLATION 1. Locate the studs and any other structures that might be inside the wall.
- Page 6 PREPARING THE FAN HEATER 1. Pivot the fan heater’s front panel toward the top of 2. Remove the two screws. Keep the screws with the the unit [1] and slide it up. Remove the front panel front panel. completely [2] and place it on a clean surface where 3.
- Page 7 ATTACHING THE BACK BOX TO THE WALL 1. Insert the fan heater’s back box in 2. According to your installation, screw* the opening you’ve made in the wall, the box to the wall making sure it is level. stud using two mounting holes [A].
-
Page 8: Connecting The Wiring
CONNECTION DIAGRAM CONNECTING THE WIRING 1. If needed, strip the power cable wires with a wire stripper. 2. Connect the fan heater and power supply wires with the supplied connection caps [A] according to the connection diagram. Tighten caps on the wires to make sure the connections are secure. -
Page 9: Attaching The Front Panel
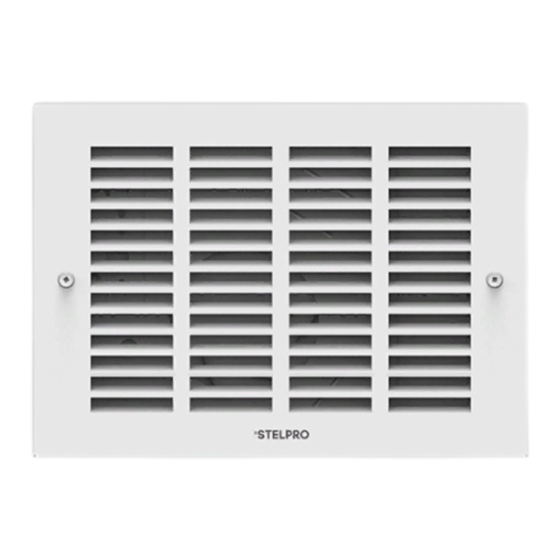
ATTACHING THE FRONT PANEL 1. Press the top of the front panel against the wall, keeping it slightly tilted [A] and centered with respect to the mechanical housing. 2. Carefully slide the front panel down until the hooks behind the front panel [B] are engaged and then pivot it toward the wall. - Page 10 USING AND MAINTAINING THE FAN HEATER WARNING: Before using your fan heater, make sure that it has been installed by a certified electrician in accor- dance with the electrical and building codes in your area. Do not operate without front panel. CONTROLING THE FAN HEATER According on your model, see the table below for how to control your fan heater.
- Page 11 • Make sure the unit is powerful enough for the size of the room. continuously. • If the fan heater never stops, the thermostat or timer may be defective. Contact STELPRO Customer Service. • Make sure the temperature setpoint is adequate.
-
Page 12: Claim Procedure
STELPRO’s liability with respect to products is limited as pro- vided above. STELPRO shall not be subject to any other ob- ligations or liabilities whatsoever, whether based on contract, tort or other theories of law, with respect to goods or services furnished by it, or any undertakings, acts or omissions relating thereto.
Need help?
Do you have a question about the SONOMA and is the answer not in the manual?
Questions and answers