Table of Contents
Advertisement
Quick Links
Download this manual
See also:
User Manual
Quick Start
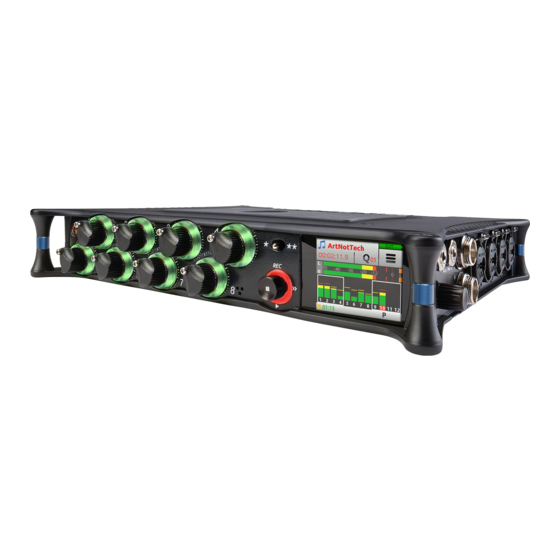
Multitrack Recording Step-by-Step
This Quick Start is meant as a "step-by-step, how-to" reference for setting up
the recorder and making music with the MixPre-10M right out of the box.
For more information on features and steps mentioned in this procedure,
refer to the product's User Guide.
To begin multitrack recording:
1. Connect power.
Provide at least one power source, either batteries (via included sled)
X
or AC adaptor (included).
2.
Power up the MixPre 10M.
Slide the power switch (left side panel) to On. The MixPre will boot and
X
light up.
3.
Connect an audio source.
Connect an audio source, either a microphone, line or instrument line-
X
level signal to one of the input jacks on the side panels.
4.
Connect headphones.
Connect your preferred headphones to the headphone jack on the right
X
side panel.
5.
Insert & Format Media — Insert a Class 10 SD card into the slot on the
rear of the MixPre-10.
(A) Tap
(B) Tap
The number of dots indicate the number of pages; the solid dot shows what page
L
is displayed.
(C) Tap SD Card > Edit > Format.
(D) Tap OK to confirm formatting of the card.
. The Main menu appears with multiple pages of settings.
(the Dots icon) to "page" through the sub-menu.
1
Advertisement
Table of Contents

Subscribe to Our Youtube Channel
Related Manuals for Sound Devices MixPre-10M


Summary of Contents for Sound Devices MixPre-10M
-
Page 1: Quick Start
Multitrack Recording Step-by-Step This Quick Start is meant as a “step-by-step, how-to” reference for setting up the recorder and making music with the MixPre-10M right out of the box. For more information on features and steps mentioned in this procedure, refer to the product’s User Guide. - Page 2 (B) Tap Project > New. (C) Tap Name to customize the name of the new project. If no custom name is provided, the MixPre-10M creates new projects with unique names, such as Song 1, Song 2, etc. by default. (D) Tap Sample Rate to select from available rates.
- Page 3 QUICK START fader setting is 0dB. Then, tap Gain (on Channel screen) and turn the HP encoder to adjust input sensitivity for the source. If possible, adjust with signal coming in at the intended level and observe the LED ring around the Channel knob. Aim for the LED ring to remain green for the majority of the time.
- Page 4 User Guide and Mute settings. You can only use Air on one track at a time. 13. (Optional) Should you want to scrap the recording and try again, tap and then tap History. Using the HP encoder, rotate to highlight and select Restart Song.
Need help?
Do you have a question about the MixPre-10M and is the answer not in the manual?
Questions and answers