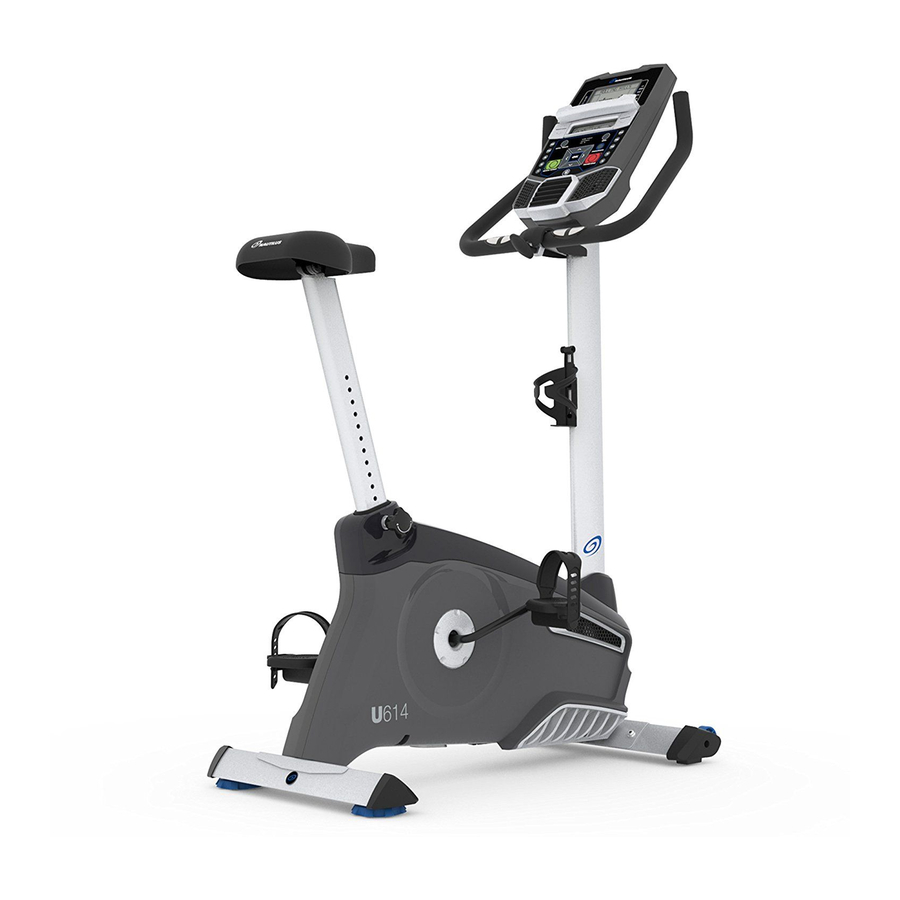
Nautilus U614 Assembly Manual / Owner's Manual
Hide thumbs
Also See for U614:
- Assembly manual / owner's manual (38 pages) ,
- Service manual (66 pages)
Table of Contents
Advertisement
Advertisement
Table of Contents

Related Manuals for Nautilus U614


Summary of Contents for Nautilus U614
- Page 1 ASSEMBLY MANUAL / OWNER’S MANUAL...
-
Page 2: Table Of Contents
Console Setup Mode Maintenance Console Features Troubleshooting Contact Heart Rate (CHR) To validate warranty support, keep the original proof of purchase and record the following information: Serial Number __________________________ Date of Purchase ____________________ To register your product warranty , go to: www.Nautilus.com/register... -
Page 3: Important Safety Instructions
Before using this equipment, obey the following warnings: Read and understand the complete Manual. Keep the Manual for future reference. Read and understand all warnings on this machine. If at any time the Warning labels become loose, unreadable or dislodged, contact Nautilus Customer Service for replacement labels. -
Page 4: Safety Warning Labels / Serial Number
SAFETY WARNING LABELS AND SERIAL NUMBER Serial number • Read, understand and obey all warnings on this machine. • Keep children away. • Not intended for use by anyone under 14 years of age. • Prior to use, read and understand the Owner’s Manual. - Page 5 SPECIFICATIONS Maximum User Weight: Machine Weight: Power Requirements: Regulatory Approvals: 57.6” (146cm) 41.8” (104cm) 21.6” (55cm) Before Assembly Basic Assembly Tips Follow these basic points when you assemble your machine:...
-
Page 6: Parts
PARTS 13 (R) 12 (L) Item Description Item Description Main Frame Seat Post Front Stabilizer Adjustment Knob Rear Stabilizer Seat Mast Boot Left Pedal (L) Console Mast (with Handlebar Mount) Right Pedal (R) Handlebar Mount Cover Water Bottle Holder Handlebars AC Adapter Console MP3 Cord... -
Page 7: Hardware
HARDWARE / TOOLS Item Description Lock Washer M8 Flat Washer M8 Flat Washer, Narrow M8 Tools Included Not Included 6 mm (recommended) -
Page 8: Assembly
ASSEMBLY 1. Attach Stabilizers to Main Frame Note: 6 mm 6 mm 2. Install Console Mast and Mast Gasket on Main Assembly NOTICE: 6 mm... - Page 9 3. Install Handlebars on Console Mast NOTICE:...
- Page 10 4. Install Console on Console Mast Note: If desired, NOTICE:...
- Page 11 5. Install Seat Post on Frame NOTICE: Do not set the Seat Post position higher than the stop mark (STOP) on the tube. STOP 6. Attach Seat to Seat Post NOTICE:...
- Page 12 7. Install Pedals Note: The Left Pedal is reverse-threaded. 13 (R) 12 (L)
- Page 13 8. Install Water Bottle Holder Note: 9. Connect AC Adapter 10. Final Inspection Do not use or put the machine into service until the machine has been fully assembled and inspected for correct performance in accordance with the Owner’s Manual.
-
Page 14: Leveling The Bike
BEFORE YOU START Leveling Your Bike Do not adjust the levelers to such a height that they detach or unscrew from the machine. Injury to you or damage to the machine can occur. Moving Your Bike NOTICE:... - Page 15 FEATURES Console Power Connector Handlebars Water Bottle Holder Adjustable Seat MP3 Input Adjustment Knob USB Port Pedals Contact Heart Rate (CHR) Sensors Stabilizers Speakers Levelers Fully Shrouded Flywheel Media Tray Transport Rollers MP3 Cord WARNING! Use the values calculated or measured by the machine’s computer for reference purposes only. The heart rate displayed is an approximation and should be used for reference only.
-
Page 16: Console Features
Console Features The Console provides important information about your workout and lets you control the resistance levels while you Upper Display 100% Anaerobic 80-90% Aerobic 70-80% Fat burn 50-70% Warm up Less than SPEED TIME DISTANCE DISTANCE LEVEL HEART RATE CALORIES MPH km/h Hr MIN MILES KM... - Page 17 Nautilus Dual Track™ Display Upper Display Data Program Display 100% Anaerobic 80-90% Aerobic 70-80% Fat burn 50-70% User Display Warm up Less than Achievement Display Program Display Intensity Display Heart Rate Zone Display Consult a physician before you start an exercise program. Stop exercising if you feel pain or tightness in your chest, become short of breath, or feel faint.
- Page 18 Achievement Display The Achievement Display activates when a workout goal is reached or a workout milestone is surpassed from past Lower Display Data SPEED TIME DISTANCE DISTANCE LEVEL HEART RATE CALORIES MPH km/h Hr MIN MILES KM Speed Time Note: Distance Note: Level...
-
Page 19: Contact Heart Rate (Chr)
USB Charging Contact Heart Rate Sensors • Movement of the upper body muscles (including arms) produces an electrical signal (muscle artifact) that can inter • • Some Electrocardiogram (EKG) signals generated by individuals are not strong enough to be detected by the •... - Page 20 Note:...
-
Page 21: Operations
OPERATIONS What to Wear How Often Should You Exercise Consult a physician before you start an exercise program. Stop exercising if you feel pain or tightness in your chest, become short of breath, or feel faint. Contact your doctor before you use the machine again. Use the values calculated or measured by the machine’s computer for reference purposes only. -
Page 22: Quick Start / Manual Program
Note: Quick Start ( Manual ) Program During a Manual Workout, each column represents anual Note: Note: User Profiles The User profile stores the following data: • Name—up to 10 characters • • Weight • Height • Gender • Select a User Profile... - Page 23 Edit User Profile screen Note: Left( ) or Right( ) buttons to shift between segments ) or Left( ) buttons to view the other workout value which Workout the Increase( ) or Decrease( ) buttons to hide the active workout value, and push the Left( ) or Right( ) buttons to shift the active value Note: Reset a User Profile...
- Page 24 Changing Resistance Levels Push the Resistance Level Increase( ) or Decrease( ) buttons to change the resistance level at any time in a workout Profile Programs Note: FUN RIDES Rolling Hills Ride in the Park Easy Tour MOUNTAINS Pike’s Peak Mount Hood Pyramids CHALLENGES...
- Page 25 Workout Profile and Goal Program Programs button Left( ) or Right( ) buttons to s Increase( ) or Decrease( ) buttons to s the Increase( ) or Decrease( ) buttons to select a type of Goal (Distance, Time or Calories) Use the Increase( ) or Decrease( ) buttons The GOAL value will count down as the value for percent completed Note: During a Calories Goal, each column is for...
-
Page 26: Pausing Or Stopping
Increase( ) or Decrease( ) buttons to select Consult a physician before you start an exercise program. Stop exercising if you feel pain or tightness in your chest, become short of breath, or feel faint. Contact your doctor before you use the machine again. The heart rate displayed on the console is an approximation and should be used for reference only. -
Page 27: Results
Results / Cool Down Mode The LCD display shows the Current Workout values in three channels: Push the Left( ) or Right( Down resistance level can be adjusted with the Resistance Increase and Decrease buttons, but the Console will not dis GOAL TRACK Statistics (and Achievements) *, and CALORIES (average) GOAL TRACK button... - Page 28 Increase( ) button The BMI Measurement is a useful tool that shows the relationship between weight and height that is associated with body Underweight Normal Overweight Obesity Note: Increase( ) button the Increase( nsert a USB Flash Drive into the USB Port Note: Increase( ) button Increase( ) button to change to the...
-
Page 29: Console Setup Mode
CONSOLE SETUP MODE The Console Setup Mode lets you input the date and time, set the units of measurement to either English or Metric, Note: Note:... -
Page 30: Maintenance
Worn or damaged components must be repaired or replaced immediately. Only manufacturer supplied components can be used to maintain and repair the equipment. If at any time the Warning labels become loose, unreadable or dislodged, contact Nautilus Customer Service for replacement labels. - Page 31 Maintenance Parts Console HR Cable Flywheel Console Mast CHR Sensors Brake Assembly Pedals Seat RPM Sensor Crank Arms Seat Post w/ Slider Speed Sensor Magnet Left Shroud Adjustment Knob Servo Motor Power Inlet AC Adapter Drive Belt Right Shroud Water Bottle Holder Drive Pulley Top Shroud Rear Stabilizer...
-
Page 32: Troubleshooting
TROUBLESHOOTING Condition/Problem Things to Check Solution No display/partial display/ Check electrical (wall) unit will not turn on outlet Check connection on console Check data cable integrity Check data cable connections/orientation Check console display for Check for visual sign that console display is cracked or other damage Console Display If the above steps do not resolve the problem, contact Cus... - Page 33 Condition/Problem Things to Check Solution Console shuts off (enters Check electrical (wall) sleep mode) while in use outlet Check connection on console Check data cable integrity Check data cable connections/orientation Reset Machine Check magnet position (requires shroud removal) Check Speed Sensor Speed sensor should be aligned with magnet and connected to (requires shroud removal) Unit rocks/does not sit...
- Page 35 Expirations If the warranty has expired, Nautilus, Inc. may assist with replacements or repairs to parts and labor, but there will be a charge for these services. Contact a Nautilus office for information on post-warranty parts and services. Nautilus does not guarantee availability of spare parts after expiration of warranty period.
- Page 36 Nautilus Schwinn ® ® ® ®...
Need help?
Do you have a question about the U614 and is the answer not in the manual?
Questions and answers