Advertisement
Package Contents
- (1) Keypad and faceplate assembly
- (1) Foam gasket (CM-120W only)
- (1) Lock Varistor (MOV)
- (2) #6-32 x 1" S/S Phillips screws
- (2) #6-32 x 1" Tamperproof screws
- (1) Tamperproof screwdriver
Section 1__________________
General Description
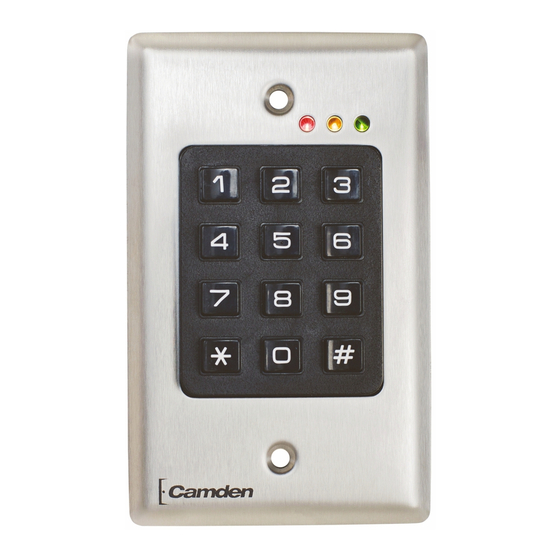
Models:
CM-120i Indoor model with plastic buttons
CM120W Outdoor illuminated model with all metal
keypad
Camden CM-120 series are versatile self contained,
single-gang, stand-alone keypads mounted on a
heavy stainless steel single gang faceplate. They
feature up to 999 users, and offer over 1,000,000
possible user codes (from one to eight digits). They
operate
on
12-24V
AC/DC,
configurable relay outputs, and have a non-volatile
memory.
Another unique feature is the ability to simultaneously
transmit wirelessly to one or two 915Mhz Lazerpoint
receivers. The CM-120 can also output in 26-bit
Wiegand format.
Section 2__________________
Installation
Mounting
The CM-120 has been designed to fit into a standard
single gang electrical box. The terminal strips are
carefully positioned so all wiring exits is out the back,
so it won't interfere with, or short out on, the sides of
the box.
Wiring
Wiring of this unit is per Wiring Diagrams 1-3, on
pages 9-11. Included with the keypad is an MOV to
be used when an electric strike or magnetic lock is
connected directly. See diagrams for correct wiring
procedure.
have
two
user-
CM-120i/CM-120wV2 Ver. 3
Once wiring is complete, fasten the keypad to the
enclosure using the two #6-32 screws provided and
turn
on
power.
Proceed
programming instructions.
Section 3__________________
How to Program Keypad
Using This Manual
Brackets and spaces are not part of the codes. They
are used here to clarify the operations and group like
functions. Square brackets [ ] are used to indicate
that the keys inside the brackets are to be pressed at
the same time. (Requiring two keys to be pressed
simultaneously reduces the chance that someone will
accidentally get into programming mode.)
When entering a code in brackets, first press the
star key and, while holding down the star key,
press the second key. Release them both
together.
Using the Keypad
Each user on the system is assigned two different
numbers. The first is the User Number, which he/she
does not use directly. This number, from 1 to 999, is
used to keep track of who is assigned to the system.
All leading zeroes are ignored. The second is the
User Code, a 1 to 8 digit programmable code that the
user will enter into the keypad to activate certain
functions. This code can have leading zeroes as part
of the code. This information should be recorded and
stored in a safe place for future reference. The
keypad can support a total of 999 users, from 1 to
999 (See chart on page 10).
User number one belongs to the Master User and has
a default user code of 1234. Note that the master
user code is used for administration ONLY, and will
not (normally) operate relays, wiegand, or wireless
functions. When a global disable is engaged (all
users locked out), the master code will still operate
relay one.
Digital Keypads
Installation Instructions
to
next
section
for
Advertisement
Table of Contents


Need help?
Do you have a question about the CM-120wV2 and is the answer not in the manual?
Questions and answers