Table of Contents
Advertisement
Advertisement
Table of Contents

Subscribe to Our Youtube Channel
Related Manuals for enervent Neo


Summary of Contents for enervent Neo
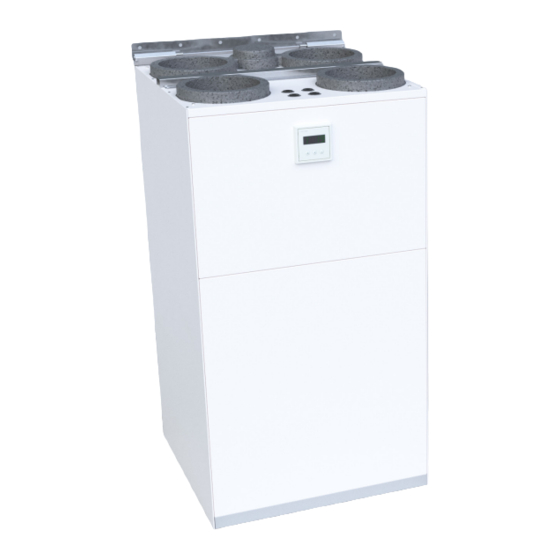
- Page 1 29.11.2017 Enervent Neo Maintenance, Repair and Recycling manual...
- Page 2 Copyright © Enervent 2017. Unauthorised copying and distribution is forbidden.
-
Page 3: Table Of Contents
CONTENTS READ FIRST ....................... . 4 TYPE PLATE . -
Page 4: Read First
READ FIRST This instruction manual is intended for all people involved in maintenance and repairing of the Enervent ventilation units. Only professionally skilled persons may maintain and repair the equipment described in this manual, according to the instructions provided in this manual and to the local laws and regulations. -
Page 5: Type Plate
TYYPPI/TYPE: W/ V/ HZ / A: SRJ. NRO/SERIAL NO: IP 20 www.enervent.com Should you need any technical support, refer to the type plate for the equipment type and serial number before contacting support. Technical support: www.enervent.com/contact-information/ Webshop for supplies and spareparts: webshop.enervent.com... -
Page 6: Safety
SAFETY General Electrical safety DANGER DANGER Always check that the equipment supply voltage Only an authorised electrician may perform any is switched off before opening the service hatch. actions in the electrical box. DANGER WARNING Follow the local regulations on electrical In case of malfunction, always find out the reason installations. -
Page 7: Unit Maintenance
UNIT MAINTENANCE Opening the lower service hatch DANGER Always check that the equipment supply voltage is switched off before opening the service hatch. Taking the spare belt into use Maintenance , Repair and Recycling manual... -
Page 8: Changing The Heat Exchanger Motor
Changing the heat exchanger motor... -
Page 9: Dismantling Of Lower Part
DANGER Always check that the equipment supply voltage is switched off before opening the service hatch. Dismantling of lower part Before dismantling the lower part, open the lower service hatch, see page 7 picture 1. Maintenance , Repair and Recycling manual... -
Page 10: Cleaning The Heat Exchanger
Cleaning the heat exchanger Check the cleanliness of the rotating heat exchanger visually when changing filters, and clean it if it looks dirty. Before cleaning the heat exchanger, see. "Dismantling of lower part" on page. 9. The cleaning is to be performed by an authorized service provider. -
Page 11: Changing The Heat Exchanger Drive Belt
Changing the heat exchanger drive belt Before changing the belt, see. "Dismantling of lower part" on page. 9. Maintenance , Repair and Recycling manual... -
Page 13: Dismantling Of Upper Part
DANGER Dismantling of upper part Always check that the equipment supply voltage is switched off before opening the service hatch. Only an authorized service provider may dismantle the unit Å power cord Å external sensors Maintenance , Repair and Recycling manual... -
Page 14: Maintenance Of Fans And Heater Element
Maintenance of fans and heater element Look first. "Dismantling of lower part" on page. 9.. -
Page 15: Cleaning Of Fans
Cleaning of fans Supply air fan Maintenance , Repair and Recycling manual... - Page 16 Extract air fan...
-
Page 17: Taking Unit Into Use After Service
TAKING UNIT INTO USE AFTER SERVICE Reassembling the unit silicone Å external sensors Å power cord Maintenance , Repair and Recycling manual... - Page 18 push all the way in 20 mm 22 mm 5 mm at a time +2 mm 0 mm...
- Page 19 0 mm 0 mm Maintenance , Repair and Recycling manual...
- Page 21 Maintenance , Repair and Recycling manual...
-
Page 22: Appendices
APPENDICES Troubleshooting Description Alarm Alarm Symptoms Possible cause Action Notes limit FILS Service 4 or 6 It is time for regular maintenance. Replace the filters. Acknowledge by reminder. pressing any button months Inspect the ventilation unit. for 5 seconds. Clean as necessary. See if there are any damages visible. -
Page 23: Recycling Instructions
Check if there are any heat air. sources. Repair or replace the tem- Temperature sensor TE30 is faulty. Fire hazard. perature sensor. RECYCLING INSTRUCTIONS Check the recycling instructions regarding the end-of-life of the unit on the webpage www.enervent.com. Maintenance , Repair and Recycling manual... -
Page 24: Dimensional Drawings
Dimensional drawings Dimensional drawing, left handed... -
Page 25: Dimensional Drawing, Right Handed
Dimensional drawing, right handed Maintenance , Repair and Recycling manual... -
Page 26: Electrical Diagrams
Electrical diagrams External connections... - Page 27 Maintenance , Repair and Recycling manual...
-
Page 28: Internal Connections
Internal connections... - Page 29 Maintenance , Repair and Recycling manual...
-
Page 30: Electrical Heater
Electrical heater... -
Page 31: Spare Parts List
EDA temperature sensor 500mm 2-nap NTC 10K sensor 500 2-pol con K160163001 Electrical heater Neo eWind E M710600007 EDA electrical heater control circuit board Enerpoint K580040003 eWind control panel Neo Package includes operating panel and 350mm cable M210190142 Exchange filters F7/M5 (supply/extract) Unit size Neo M03P160010022 Wall mounting bracket M490300002... - Page 32 Enervent Oy Kipinätie 1 FIN-06150 Porvoo, Finland Tel. +358 207 528 800 Fax. +358 207 528 844 enervent@enervent.com www.enervent.com...
Need help?
Do you have a question about the Neo and is the answer not in the manual?
Questions and answers