Schwinn 411 Assembly Manual / Owner's Manual
Hide thumbs
Also See for 411:
- Installation manual ,
- Service manual (77 pages) ,
- Quick start manual (17 pages)
Table of Contents
Advertisement
Advertisement
Table of Contents

Related Manuals for Schwinn 411


Summary of Contents for Schwinn 411
- Page 1 ™ ASSEMBLY MANUAL / OWNER’S MANUAL...
-
Page 2: Table Of Contents
2018 Nautilus, Inc. ® indicates trademarks registered in the United States. These marks may be registered in other nations or otherwise protected by common law. Schwinn, the Schwinn Quality logo, Schwinn 411, Schwinn 510e, Schwinn Toolbox, Bow ex, Nautilus, and Universal are trademarks owned by or licensed to Nautilus, Inc. Google Play is a trademark of Google Inc. -
Page 3: Important Safety Instructions
IMPORTANT SAFETY INSTRUCTIONS • Keep bystanders and children away from the product you are assembling at all times. • Do not connect power supply to the machine until instructed to do so. • The machine should never be left unattended when plugged in. Unplug from outlet when not in use, and before putting on or taking off parts. - Page 4 • Children must not be let on or near to this machine. Moving parts and other features of the machine can be dangerous to children. • Not intended for use by anyone under 14 years of age. • Consult a physician before you start an exercise program. Stop exercising if you feel pain or tightness in your chest, become short of breath, or feel faint.
-
Page 5: Safety Warning Labels / Serial Number
SAFETY WARNING LABELS AND SERIAL NUMBER Serial Number Product Speci cation (bottom side of Rail Assembly) (Label is available in English and French Canadian only.) FCC Compliance The machine and power supply comply with Part 15 of the FCC rules. Operation is subject to the following two conditions: (1) This device may not cause harmful interference, and (2) this device must accept any interference received, including interference that may cause undesired operation. -
Page 6: Speci Cations
SPECIFICATIONS 258.6 cm ( 101.8” ) 13 kg ( 300 lbs.) 43.2 cm ( 17 ) 0.6 m 45.4 kg ( 100 lbs.) ( 24” ) 8180.1 cm2 136.7 cm (53.8”) 0.6 m ( 24” ) 61 cm Input Voltage: 100-240V AC, 50- 0Hz, 0.4A 183 cm (24”) -
Page 7: Parts
PARTS A decal has been applied to all right (“ R ) and left (“ L ) parts to assist with assembly. Console Pedal Arm, Right Console Mast Right Leg Frame Assembly Rail Assembly Water Bottle Holder Leveler Upper Right Handlebar Arm Left Leg Lower Right Handlebar Arm Foot Pad, Left... -
Page 8: Hardware
HARDWARE / TOOLS Button Head Hex Screw, M8x70 Spacer, Crank Arm Button Head Hex Screw, M8x55 Spacer, Handlebar Lock Washer, M8 Pan Phillips Head Screw, M x10 Curved Washer, M8 Interior Threaded Bolt Flat Washer, M8 Button Head Hex Screw, M x12 Button Head Hex Screw, M8x20 Carriage Bolt Wide Washer, M8... -
Page 9: Assembly
ASSEMBLY... - Page 10 NOTICE: Do not crimp Console Cable.
- Page 17 NOTICE: Do not crimp the cable. Hardware is pre-installed and not on the Hardware Card. * NOTICE: Align the clips on the cable connectors and make sure the connectors lock. Do not crimp cables.
- Page 18 Apply silicone lubricant to a cloth and wipe the rails to eliminate roller noise. Be sure to record the serial number in the eld provided at the front of this manual, and download the “Schwinn Tool- App to keep your machine updated with the latest software.
-
Page 19: Moving The Machine
BEFORE YOU START Moving the Machine Remove the AC Adapter. Use the Transport Handle to carefully lift the machine onto the transport rollers. Push the machine into position. Carefully lower the machine into position. NOTICE: Be careful when you move the elliptical. Abrupt motions can affect the computer operation. -
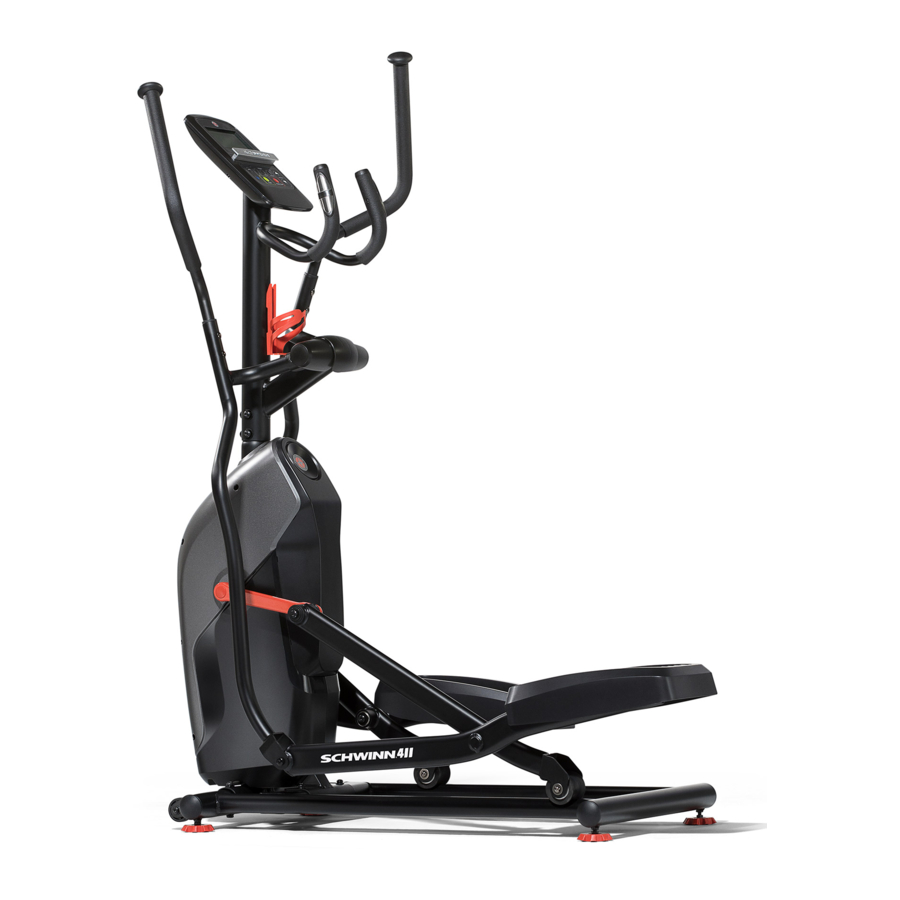
Page 20: Features
FEATURES Console Transport Handle Media Tray Roller Upper Handlebar Rail Assembly Contact Heart Rate Sensor Transport Roller Static Handlebar Power Inlet Water Bottle Holder Fully Shrouded Flywheel Foot Pedal Bluetooth ® Heart Rate (HR) Receiver (not shown) Leveler Bluetooth Connectivity (not shown) ®... -
Page 21: Console Features
Console Features The Console provides important information about your workout and lets you control the resistance levels while you exercise. The Console features touch control buttons to navigate you through the exercise programs. Customized selections made to the Console will not be remembered after a shut down. Connect Bluetooth button ®... - Page 22 Program Display The Program Display shows information to the User and the grid display area shows the course pro le for the program. Each column in the pro le shows one interval (workout segment). The higher the column, the higher the resistance level. The ashing column shows your current interval.
-
Page 23: Bluetooth ® Heart Rate Chest Strap
This tness machine is equipped with Bluetooth connectivity and can be wirelessly updated with the “Schwinn Toolbox ® App. Once the App is installed on your device, the App will inform you of when there is an update to your machine. - Page 24 • Some Electrocardiogram (EKG) signals generated by individuals are not strong enough to be detected by the sensors. • The proximity of other electronic machines can generate interference. If your heart rate signal ever seems erratic after validation, wipe off your hands and the sensors and try again. Your maximum heart rate usually decreases from 220 Beats Per Minute (BPM) in childhood to approximately 1 0 BPM by age 0.
-
Page 25: Operations
OPERATIONS Wear rubber-soled athletic shoes. You will need the appropriate clothes for exercise that allow you to move freely. • 3 times a week for 30 minutes each day. • Schedule workouts in advance and try to follow the schedule. To mount the tness machine: Move the Pedals until the one nearest you is in the lowest position. - Page 26 The Manual (Quick Start) program lets you start a workout without entering any information. During a Manual Workout, each column represents a 1 minute time period. The active column will advance across the screen every minute. If the workout lasts for more than 18 minutes, the active column will stay to the right where an additional column is added to the workout program.
- Page 27 Pyramids Summit Pass Stream Crossing Cross Training Uphill Finish Mount Hood Heart Rate Control The Heart Rate Control program lets you select a base heart rate for your workout. The Console monitors your heart rate in beats per minute (BPM) from the Contact Heart Rate (CHR) Sensors on the machine or from your Bluetooth Heart Rate Chest Strap, ®...
-
Page 28: Modify Display Of Workout Values
Push the DISPLAY button to select the desired display configuration during your workout. The display configuration options can be cycled through until the workout ends. a.) SPEED- MPH / RPM (Default) b.) SPEED- MPH only c.) RPM only (miles) d.) SPEED- km/h / RPM e.) SPEED- km/h only f.) RPM only (kilometers) Note: If the desired display is not the default, it will need to be selected after each power-up. -
Page 29: Maintenance
MAINTENANCE Read all maintenance instructions fully before you start any repair work. In some conditions, an assistant is required to do the necessary tasks. Before each use, examine the exercise machine for loose, broken, damaged, or worn parts. Daily: Do not use if found in this condition. Repair or replace all parts at the rst sign of wear or damage. -
Page 30: Maintenance Parts
Maintenance Parts... - Page 31 Console Left Front Shroud Handlebar Arm, Lower Right Console Mast Right Front Shroud Pedal Arm, Right Console Cable, Upper Rail Assembly Speed Sensor Rear Shroud Transport Wheel Servo Motor Right Side Shroud Leveler Brake Assembly Console Cable, Lower Roller Power Inlet Frame Assembly Leg, Right GG Fly Wheel...
-
Page 32: Troubleshooting
TROUBLESHOOTING Condition/Problem Things to Check Solution No display/partial display/ Check electrical (wall) Make sure unit is plugged into a functioning wall outlet. unit will not turn on outlet Check connection at front Connection should be secure and undamaged. Replace of unit adapter or connection at unit if either are damaged. - Page 33 Condition/Problem Things to Check Solution Resistance does not Check Console Check for visual sign that Console is damaged. Replace Con- change (machine turns on sole if damaged. and operates) Check data cable integrity All wires in cable should be intact. If any are visibly crimped or cut, replace cable.
- Page 34 Condition/Problem Things to Check Solution Squeaking noise Bolt that connects the Loosen pivot rod bolt slightly until noise goes away. White that appears a few swing arms to the axle lithium grease can also be applied for a temporary x. Contact minutes into a workout running through the Customer Service (if inside US/Canada) or your local distribu-...
-
Page 35: Warranty (Us/Canada Only)
WARRANTY ( if purchased in US/Canada ) Who Is Covered This warranty is valid only to the original purchaser and is not transferable or applicable to any other person(s). What Is Covered Nautilus, Inc. warrants that this product is free from defects in materials and workmanship, when used for the purpose intended, under normal conditions, and provided it receives proper care and maintenance as described in the Product’s Assembly and Owner’s manual. - Page 36 ™ Nautilus Bow ex Schwinn Universal ™ ™ ™ ™ 801822 .071518.B...
Need help?
Do you have a question about the 411 and is the answer not in the manual?
Questions and answers
Trying to remove rollers to replace. Took of hex screws but do not see how tto remove washers that hold axle in place? Special tool required???
How do I access the main bearing in the center of the wheel on my schwinn 418 elliptical so I can grease my t?