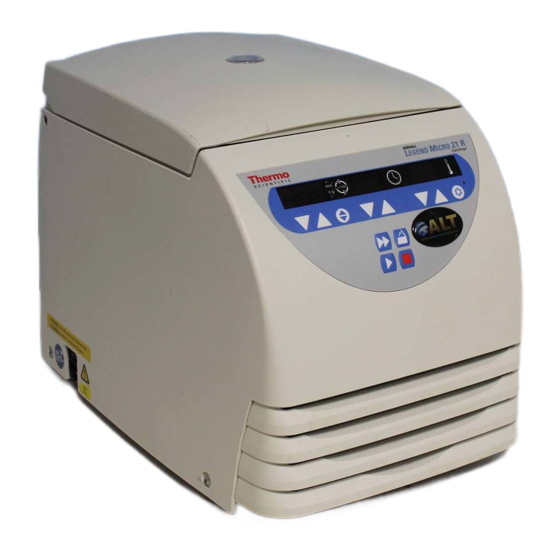
Thermo Scientific Sorvall Legend Micro 21R Operating Instructions
Centrifuge
Hide thumbs
Also See for Sorvall Legend Micro 21R:
- Instruction manual (94 pages) ,
- Instruction manual (83 pages)
Table of Contents
Advertisement
Quick Links
Operating the Thermo Scientific Sorvall Legend Micro 21R Centrifuge
Switching on the centrifuge
Set the main power switch of the instrument. The display shows that the instrument is going through an
internal check of its software. After this check the display switched into the current value mode. The
speed and the remaining run time show 0; the refrigeration unit display shows the current temperature
of the sample.
Opening the lid
The main power must be on to open the lid. To open the lid press the "open‐lid" button.
Closing the lid
The centrifuge lid is locked by slightly pressing down the front part of the lid. DO NOT SLAM THE LID!
Filling the centrifuge tubes
The smaller the centrifuge imbalance, the better the separation, because separate zones are no longer
perturbed by vibration. It is therefore important to balance the centrifuge tubes as well as possible. To
minimize imbalance you should fill the tubes as evenly as possible. You can achieve this by eye,
however, you must nonetheless ensure that opposite tubes are filled to the same level.
Placing the tubes in the rotor
The rotor must be loaded symmetrically. When loading the rotor only partially, you must ensure that
opposite bores always receive tubes of equal weight (when centrifuging a single sample, place a
centrifuge tube e.g. filled with water opposite). The following gives examples for proper loading:
Advertisement
Table of Contents

Related Manuals for Thermo Scientific Sorvall Legend Micro 21R


Summary of Contents for Thermo Scientific Sorvall Legend Micro 21R
- Page 1 Operating the Thermo Scientific Sorvall Legend Micro 21R Centrifuge Switching on the centrifuge Set the main power switch of the instrument. The display shows that the instrument is going through an internal check of its software. After this check the display switched into the current value mode. The speed and the remaining run time show 0; the refrigeration unit display shows the current temperature of the sample. Opening the lid The main power must be on to open the lid. To open the lid press the “open‐lid” button. Closing the lid The centrifuge lid is locked by slightly pressing down the front part of the lid. DO NOT SLAM THE LID! Filling the centrifuge tubes The smaller the centrifuge imbalance, the better the separation, because separate zones are no longer perturbed by vibration. It is therefore important to balance the centrifuge tubes as well as possible. To minimize imbalance you should fill the tubes as evenly as possible. You can achieve this by eye, however, you must nonetheless ensure that opposite tubes are filled to the same level. Placing the tubes in the rotor The rotor must be loaded symmetrically. When loading the rotor only partially, you must ensure that opposite bores always receive tubes of equal weight (when centrifuging a single sample, place a centrifuge tube e.g. filled with water opposite). The following gives examples for proper loading: ...
- Page 2 The following are examples of improperly loaded rotors: After you have loaded the tubes close the rotor lid. After you have closed the rotor lid close the centrifuge lid. Entering Parameters Switching from speed to RCF (relative centrifugal force) display Upon turning on the centrifuge the speed display is set. By activating the selection key you can switch to the RCF‐value or change between rpm and RCF displays: Selecting speed The centrifuge speed can be set to a minimum of 300 rpm. You can adjust the speed in 100 rpm increments. Proceed as follows: 1. Press one of the set keys (˄ for increase or ˅ for decrease) in the field of speed of the control panel. 2. If you hold the key pressed, the display changes continuously at first slowly, and after a few seconds at an accelerated pace to the higher or lower values. 3. Release the key as soon as you have reached the desired value and fine tune if necessary by repeatedly briefly pressing on of the keys. The first digit behind the decimal point flashes for a few seconds and then switches permanently into the current value mode. The new pre‐selected speed is now stored. Entering the RCF value You can adjust the RCF pre‐selected value in steps of 100 g. The RCF value can be set to a minimum of 100 x g. You can adjust the RCF values the same as you adjust the rpm values. The displayed RCF value is always corresponding to the maximum of centrifuge radius of the Micro liter rotor 24 x 2mL. For other rotors please calculate the RCF value. Selecting the run time You can select a run time between 1 and 99 minutes or continuous operation [hd]. Run time selection ...
- Page 3 Proceed as follows: 1. Press one of the “set” keys (˄ for increase or ˅ for decrease) in the field of me of the control panel. 2. If you keep the key pressed, the display changes at first slowly and after a few seconds at an accelerated pace to the higher or lower value. 3. Release the key as soon as you have reached the desired value and fine tune if necessary by repeatedly briefly pressing on of the keys. The run time display flashes for a number of seconds, then changes to permanent display of the current value mode. The new pre‐selected run time is now stored. Continuous operation To operate the centrifuge in the continuous mode, you must press and key (˅) un l the display changed to “hd” for “hold”. In this mode the centrifuge runs until you stop the run by manually pressing the “stop” button. Setting the temperature To determine the sample temperature, operate as advised: 1. Press one of the “set” keys (˄ for increase or ˅ for decrease) in the field of “temperature” of the control panel. By pressing the key briefly, you increase or decrease the temperature in steps of 1 ˚C. This option is supposed to be used for small changes and fine tuning. 2. If you keep the key pressed, the display changes at first slowly and after a few seconds at an accelerated pace to the higher or lower values. 3. Release the key as soon as you are close to the desired value and fine tune if necessary by repeatedly briefly pressing the key. The display flashes for a few seconds and then turns to permanent display of the current value mode. The new pre‐selected temperature is now stored. The refrigeration starts operating after closing the centrifuge lid, at once if the pre‐selected temperature is below the currently temperature of the rotor chamber. ...
Need help?
Do you have a question about the Sorvall Legend Micro 21R and is the answer not in the manual?
Questions and answers