
Related Manuals for Slinex MA-02


Summary of Contents for Slinex MA-02
- Page 1 Multi-user SERIES ACCESSORIES outdoor panels MA-02 MA-04 MA-08 User manual Thank you for choosing our equipment { Design. Uniqueness. Innovations }...
- Page 2 This manual can contain some inaccuracy or misprint. The owner reserves the right to 3. Description......................................4 make corrections to the information described in the user manual and device package. 4. Installation.......................................5 The last revision of this manual is available on www.slinex.com 5. Connectors......................................5 Safety instructions 6. Schematic diagrams ..................................6 Please read and keep that manual.
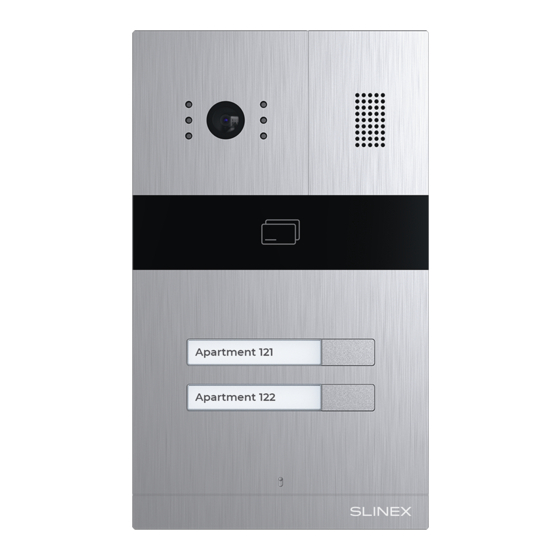
- Page 3 Flush or surface mount Panel dimensions (installation box) 110×185×34 mm (98×173×34 mm) MA-02/04 outdoor panel has dual type ID card reader which maintains such wireless ID card standards: Working temperature EM-Marin, Mifare Classic, Mifare ID, Ultralight, Ultralight EV1 and NFC.
- Page 4 SERIES ACCESSORIES { Design. Uniqueness. Innovations } 4. Installation 6. Schematic diagrams Diagram 1. MA-02 and two monitors connection. Outdoor panel ush mount process: 1) Prepare the hollow inside the wall according to the sizes mentioned on TV out Power the 3rd page of the manual, 150-160 cm up from the oor line.
- Page 5 MA-02 MA-08 Note: MA-08 can only be used as an extension unit for MA-02/04 outdoor panels. MA-08 can not be used as an independent outdoor panel. Diagram 3. MA-02 electromagnetic lock connection 7. ID card reader settings Connect +12V power supply through the 2-pin connector on the back side of the outdoor panel red (+) and black (–) wires on the connector side.
- Page 6 SERIES ACCESSORIES { Design. Uniqueness. Innovations } Manager ID card setup 8. Sound and visual indication Shortly press “ID card reader setup button” (on the back side of the outdoor panel, see page 5) to enter manager ID card setup mode. User will hear a short sound and status LED becomes blue. Door unlock successfull –...
-
Page 7: Limited Warranty
SERIES ACCESSORIES { Design. Uniqueness. Innovations } 10. Name plates 11. Limited warranty Here you can cut the name plates to insert under glass near the button. Each name plate has dimensions Manufacturer guarantees product normal functioning during the warranty period if the user keeps all safety 47×8 mm.
Need help?
Do you have a question about the MA-02 and is the answer not in the manual?
Questions and answers