
Related Manuals for Clarke JS1100C


Summary of Contents for Clarke JS1100C
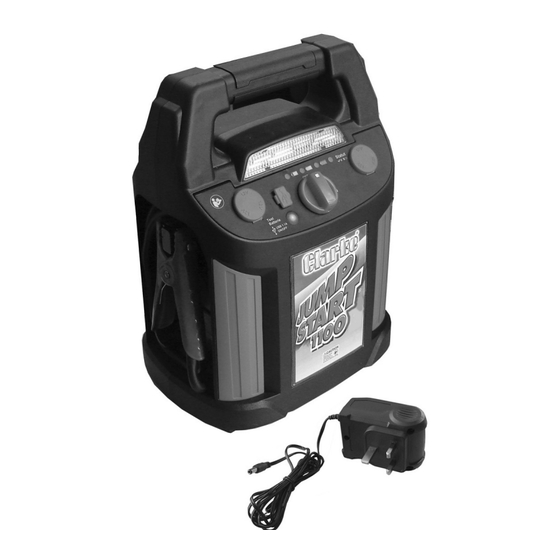
- Page 1 JUMPSTART MODEL NO: JS1100/JS1100C PART NO: 6240017 & 6240015 OPERATING & MAINTENANCE INSTRUCTIONS ORIGINAL INSTRUCTIONS GC07/17:-Iss.1...
-
Page 2: Specifications
An audible warning will sound in the event of low battery voltage, or if the clamps are incorrectly fitted for jump starting (wrong polarity). The integral air compressor (JS1100C only) is ideal for pumping up tyres on the vehicle or a variety of accessories. However, for assured accuracy a calibrated tyre pressure gauge should always be used. -
Page 3: General Safety Rules
5. Do not operate the jump-start if any of the cables are damaged. Consult your Clarke dealer for repair or replacement. 6. Do not operate the jump-start if the case is damaged. Consult your Clarke dealer or a qualified person for inspection and repair. -
Page 4: Environmental Recycling Policy
18. Never operate the compressor for more than 10 minutes, then wait a further 10 minutes before continuing. Use a maximum of 6 cycles, then allow 2 hours before repeating. 19. Always store the jump-starter out of reach of children. 20. -
Page 5: Electrical Connections
3. Should you wish to replace the fuse cover, ensure that the correct replacement is used (as indicated by marking or colour code). 4. Replacement fuse covers can be obtained from your local Clarke dealer or most electrical stockists. FUSE RATING The fuse in the plug must be replaced with one of the same rating and this replacement must be ASTA approved to BS1362. -
Page 6: Component Identification
COMPONENT IDENTIFICATION 1 Lamp to provide light for roadside 12 DC Socket connects the 230 repairs or emergency situations. Volt charger for mains charging. 2 Positive Battery Connecting Lead to Negative Battery Connection Lead connect to positive battery terminal - connect to the negative terminal. 3 230 Volt Charger to charge the 10 Air Compressor On/Off Switch internal battery pack... -
Page 7: Initial Battery Charging
INITIAL BATTERY CHARGING 1. Charge your jump-start battery before using it for the first time. 2. Recharge the jump-start battery after every occasion of use if possible, and thereafter, at least every 90 days. 3. Always avoid leaving your jump-start in a discharged state. FOLLOW THE ABOVE POINTS TO ENSURE MAXIMUM LIFE FROM THE BATTERY. -
Page 8: Charging Using The 12V Adaptor
CHARGING USING THE 12V ADAPTOR 1. Plug the jack plug into the charging socket at the front of the unit, then into the cigar lighter socket on the vehicle and start the engine. The RED/ YELLOW/GREEN CHARGING lights on the jump-start will indicate that charging is in progress. -
Page 9: Operation
OPERATION WARNING: FAILURE TO FOLLOW THE INSTRUCTIONS BELOW AND THE SAFETY INSTRUCTIONS ON PAGES 3/4, MAY RESULT IN PERSONAL INJURY, DAMAGE TO THE VEHICLE, OR THE POSSIBILITY OF AN EXPLOSION Always carry out the following preliminary checks before connecting the jump-start to the car battery: •... -
Page 10: Using As A 12Volt Power Supply
storage position, then disconnect the Positive clamp from the battery terminal, and restore to its storage position. 8. After use, always recharge the jump-start. If the battery is allowed to remain in a discharged state, its life may be shortened. 9. -
Page 11: Using The Compressor (Model 1100C Only)
USING THE COMPRESSOR (MODEL 1100C ONLY) WARNING: DO NOT RUN THE COMPRESSOR FOR MORE THAN 10 MINUTES. ALLOW A 10 MINUTE PERIOD TO ELAPSE BEFORE SWITCHING ON AGAIN. For inflating tyres, attach the air hose to the tyre by pushing the connector down firmly on the tyre adapter and locking in place by turning the connector locking lever through 90 degrees. -
Page 12: Using The Work Light
USING THE WORK LIGHT 1. Press the TEST / USB / LAMP button for 3 seconds and release to switch on the work light and enable the USB port. If the battery can deliver less than 10 volts the light and USB port will switch off automatically. -
Page 13: Maintenance
Always turn the jump-start OFF during storage and store in an upright position, away from direct sunlight, moisture or sources of extreme heat or cold. NEVER attempt any repair unless your are a qualified technician. Your Clarke jump-start has been designed to give long and trouble free service. If, however, having followed the instructions in this booklet carefully, you encounter problems, take the unit to your local Clarke dealer. -
Page 14: Spare Parts
SPARE PARTS Spare parts are available as follows Part Number Positive Battery Connection Lead GWJS110001 Lamp Bezel GWJS110002 Lamp Lens GWJS110003 230 Volt Charger assembly GWJS110004 Negative Battery Connection Lead GWJS110005 Battery (12V/17AH GWJS110006 Cigar Lighter Adaptor Lead GWJS110007 GUARANTEE This product is guaranteed against faulty manufacture for a period of 12 months from the date of purchase. -
Page 15: Declaration Of Conformity
DECLARATION OF CONFORMITY Parts & Service: 020 8988 7400 / E-mail: Parts@clarkeinternational.com or Service@clarkeinternational.com...
Need help?
Do you have a question about the JS1100C and is the answer not in the manual?
Questions and answers