Sign In
Upload
Download
Table of Contents
Contents
Add to my manuals
Delete from my manuals
Share
URL of this page:
HTML Link:
Bookmark this page
Add
Manual will be automatically added to "My Manuals"
Print this page
×
Bookmark added
×
Added to my manuals
Manuals
Brands
SIGLENT Manuals
Test Equipment
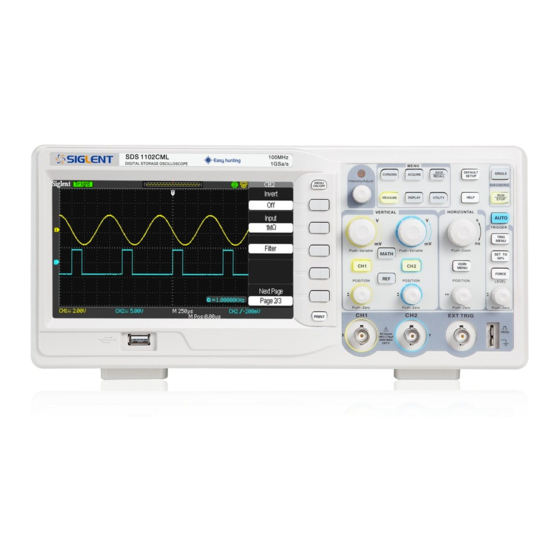
SDS1072CML
Service manual
SIGLENT SDS1072CML Service Manual
Sds1000cml/cnl/dl series digital oscilloscope
Hide thumbs
Also See for SDS1072CML
:
User manual
(140 pages)
1
2
3
4
5
Table Of Contents
6
7
8
9
10
11
12
13
14
15
16
17
18
19
20
21
22
23
24
25
26
27
28
29
30
31
32
33
34
35
36
37
38
39
40
41
42
43
44
45
46
47
48
49
50
51
52
53
54
55
56
57
58
59
60
61
page
of
61
Go
/
61
Contents
Table of Contents
Troubleshooting
Bookmarks
Table of Contents
General Safety Summary
Safety Terms and Symbols
Table of Contents
General Features and Specifications
General Features
Specifications
Prepare Information
Functional Checking
Power-On Inspection
Default Setup
Probe Compensation
Auto Setup
Self Calibration
Interface Test
USB Host Test
USB Device Test
LAN Test
Pass/Fail Test
Performance Test
Verify Test Results
Self Test
Self Calibration
To Verify DC Gain Accuracy
To Verify Bandwidth
To Verify Time Base Accuracy
To Verify Trigger Sensitivity
Adjusting Procedures
Warming up
Self Calibration
Required Equipments
Software Installation
Adjusting Steps
Assembly Procedures
Security Consideration
List of Modules
Required Tools
Disassembly Procedures
Removing the Front-Panel Knobs
Removing the Rear Panel
Removing the Rear Metal Cover
Removing the Top Metal Cover
Removing the Power Supply Module
Removing the Metal Shelf
Removing the Main Board
Removing the Fan Module
Removing the Display Module
Removing the Keypad
Troubleshooting
General Troubles
Troubleshooting the Hardware Failures
ESD Precautions
Required Equipments
44 SDS1000CML/CNL/DL Service Manual
Main Board Drawing
Troubleshooting Flowchart
Check the Power Supply
Check the Main Board
Check the Display Module
Troubleshooting the General Hardware Failures
Maintenance
Maintain Summary
Inspecting and Care
General Inspecting
General Care and Cleaning
Replaceable Parts
Contact SIGLENT
Advertisement
Quick Links
1
General Features
2
Specifications
3
Functional Checking
Download this manual
Service Manual
SDS1000CML/CNL/DL
Series Digital Oscilloscope
2013 SIGLENT TECHNOLOGIES CO., LTD
Table of
Contents
Previous
Page
Next
Page
1
2
3
4
5
Advertisement
Table of Contents
Troubleshooting
Troubleshooting
49
Troubleshooting the Hardware Failures
51
Troubleshooting Flowchart
53
Troubleshooting the General Hardware Failures
57
Need help?
Do you have a question about the SDS1072CML and is the answer not in the manual?
Ask a question
Questions and answers
Related Manuals for SIGLENT SDS1072CML
Test Equipment SIGLENT SDS1022DL User Manual
Digital storage oscilloscope (140 pages)
Test Equipment SIGLENT SDS1072CNL Service Manual
Sds1000cml/cnl/dl series digital oscilloscope (61 pages)
Test Equipment SIGLENT SDS1000CFL Series User Manual
Digital storage oscilloscope (134 pages)
Test Equipment SIGLENT SDS1000CML+ Series Quick Start Manual
Digital oscilloscope (28 pages)
Test Equipment Siglent SDS1000CML series Quick Start Manual
(31 pages)
Test Equipment Siglent SDS1000DL series Quick Start Manual
(31 pages)
Test Equipment SIGLENT SDS1000X-E Series User Manual
Digital oscilloscope (222 pages)
Test Equipment SIGLENT SDS1000X-E Series Service Manual
Digital oscilloscope (84 pages)
Test Equipment SIGLENT SDS1000X-E Series User Manual
Digital oscilloscope (256 pages)
Test Equipment SIGLENT SDS1000 Series Manual
(133 pages)
Test Equipment SIGLENT SDS1052DL Service Manual
Sds1000cml/cnl/dl series digital oscilloscope (61 pages)
Test Equipment SIGLENT SDS1000CFL Series Quick Start Manual
Digital oscilloscope (32 pages)
Test Equipment SIGLENT SDS1000X-U Series User Manual
Digital oscilloscope (256 pages)
Test Equipment SIGLENT SDS1000X+ Series Quick Start Manual
(13 pages)
Test Equipment SIGLENT SDS1204X HD User Manual
Digital oscilloscope (246 pages)
Test Equipment SIGLENT SDS1000X Series Quick Start Manual
Digital oscilloscope (13 pages)
This manual is also suitable for:
Sds1102cml
Sds1072cnl
Sds1152cml
Sds1022dl
Sds1102cnl
Sds1052dl
...
Show all
Sds1102dl
Sds1202dl
Table of Contents
Save PDF
Print
Rename the bookmark
Delete bookmark?
Delete from my manuals?
Login
Sign In
OR
Sign in with Facebook
Sign in with Google
Upload manual
Upload from disk
Upload from URL


Need help?
Do you have a question about the SDS1072CML and is the answer not in the manual?
Questions and answers