
Related Manuals for Synesso Cyncra 2016


Summary of Contents for Synesso Cyncra 2016
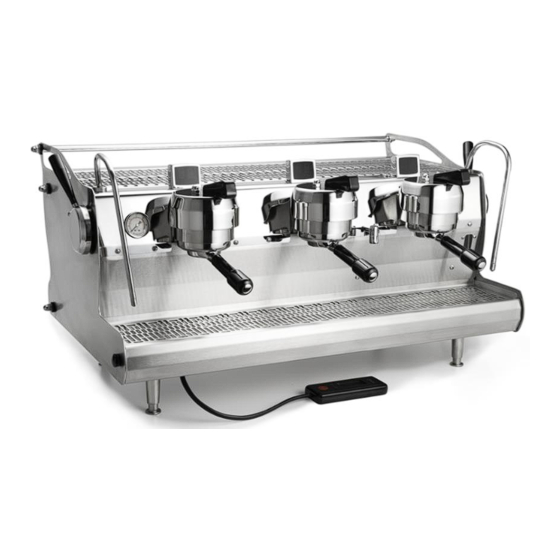
- Page 1 2016 CYNCRA OWNER’S MANUAL Last Revision: 5-2018 5610 4th Ave. S. Seattle, WA 98108 U. S. A. (t)+1. 206.764.0600 (f) +1. 206.764.0601 www.synesso.com...
-
Page 2: Table Of Contents
TABLE OF CONTENTS Introduction Safety Warnings Warranty & Water Standards Installation Installation Prep Guides Plumbing Requirements Electrical Requirements Operation 12-14 Machine Options 14-15 Programming Machine Functions 16-21 Brew Temperature Control Auto Flush Steam Temperature Control Hot Water Tap / Serial Number ... -
Page 3: Introduction
INTRODUCTION These are Original Instructions. Congratulations on the purchase of your Synesso™ Cyncra 2016 espresso machine. Please read this Owner’s Manual and retain it in a safe location for future reference. If you have any questions about your machine, please contact Synesso™ and our knowledgeable staff will assist you. -
Page 4: Safety Warnings
The hot water mix valve can be adjusted to deliver water as hot as 212°F (100°C), which can cause severe burns: please use caution when activating this water source. Safety Label Locations: Synesso™complies with UL regulations by posting the following labels on its machines: CALIFORNIA PROPOSITION 65 WARNING WARNING: Disconnect from... -
Page 5: Warranty & Water Standards
12 months from the original date of shipment. Synesso will make a good faith effort for prompt correction or other adjustment with respect to any non wearing part that proves to be defective within the limited warranty period. -
Page 6: Installation
WARRANTY & WATER STANDARDS Synesso’s liability is limited to the purchase price of the product and shall not be held liable for damages that extend beyond the product itself. Synesso’s liability of consequential, incidental damages, indirect or direct damages for personal injury, inability to properly use this product, loss of business profits or interruption to business is expressly disclaimed. - Page 7 INSTALLATION & WORK STATION...
-
Page 8: Installation Prep Guides
Easily Accessible 50 PSI (3.5 Bar) 30 GPH (120 LPH) (230 V / 5956 Watts) (3.5 Bar) -
Page 10: Plumbing Requirements
Turn incoming water ON and check for leaks. Synesso™machines require a minimum of 50 PSI (3.5 bar) of line pressure at 30gal (120L) per hour to have the auto-fill system for the steam tank function properly. Please ensure that the incoming water meets this requirement or contact Synesso™for alternative methods of boosting water pressure. -
Page 11: Electrical Requirements
ELECTRICAL REQUIREMENTS All Synesso™machines are rated to operate on 220v / 60 Hz or 230v / 50 Hz frequency, single phase. Ma- chines will operate between 208v and 240v. Listed amp ratings are all measured at 220v. Incorrect voltage can cause malfunction or damage to the machine. -
Page 12: Operation
Once the desired pressure is reached, retighten the lock nut. 9. Please allow at least 30 minutes of “warm up” time before using your Synesso™espresso machine to brew shots or steam milk. The steam gauge (the left hand gauge) should read a minimum of 1.1 Bar. -
Page 13: Espresso Brewing
2. Select the correct spout and basket configuration. Single, double and bottomless portafilters are available through Synesso™. The single spout portafilter is used with a single (7g) basket to brew a single shot. The double spouted or bottomless portafilters can be used with double (14g) or triple (18g or 21g) baskets to brew triple, double, or 2 single shots of espresso. -
Page 14: Machine Options
7. Remove the wand from the milk, purge, and wipe clean immediately after each use. NOTE: Although Synesso™steam wands are made with a proprietary double-walled process that helps to keep the outer wall cooler, THE TIP AND BASE CAN BECOME VERY HOT AND CAUTION MUST BE USED. - Page 15 LINE PRESSURE BOOST INSTALLATION DIAGRAM...
-
Page 16: Programming Machine Functions
PROGRAMMING These machines have an updated hand held (wired) keypad, pictured below, to allow the user to comfortably view and change the machine settings. Line 1 Next Screen Line 2 Up Arrow Line 3 Down Arrow Line 4 The 1st line of text indicates the screen title, in this case Temperature Overview. The 2nd line indicates brew groups 1 and 2 and the associated temperatures (shown in Fahrenheit, can be changed to Celsius) The 3rd line indicates the temperature of brew group 3, if applicable. -
Page 17: Brew Temperature Control
Line 3 indicates the length of time that the stage 1 timer (timed pre-infusion) will run, 3 seconds. Line 4 is not used on the Cyncra 2016 To change the temperature set point, press the button for line 2. The current temperature setting (202.9F) will begin to flash. -
Page 18: Auto Flush
PROGRAMMING Line 1 indicates the brew group to be adjusted. Lines 2 and 3 will be blank on a Cyncra 2016 Line 4 indicates the option to do an automatic back-flush. The Auto Flush can be activated by pressing the button associated with line 4. -
Page 19: Steam Temperature Control
PROGRAMMING (NOTE: Options for adjustments to brew groups 2, and 3 if applicable, will appear on the following screens of the control panel interface. Adjustments for ‘Temperature Control’ as well as ‘Optional Features’ on these brew groups will be the same as the instructions for brew group 1. These screens are omitted from this manual for simplicity.) Line 1 The Steam Tank Temperature Control screen indicates the current temperature being recorded by the steam tank temperature probe (“LOW”... -
Page 20: Hot Water Tap / Serial Number
PROGRAMMING Line 1 indicates that you are on the Hot Water Tap control screen. Line 2 indicates the adjustable amount of time that the hot water tap will run before shutting off. Line 3 gives the option of setting the hot water time on line 2 by activating the tap and letting the water flow, then shutting it off. -
Page 21: Error Codes
Error Codes are displayed here In an effort to prevent damage to machines and to help operators troubleshoot issues, Synesso™has engi- neered several safeguards into the programming. These codes will help users identify operational issues with the machine as well as automatically prevent greater problems from occurring. By understanding these codes, operators can remedy issues more quickly. -
Page 22: Maintenance
Back Flushing This process forces water through the inlet tube and drain system. This should be performed on EACH brew group daily. On the current generation of Synesso™machines, back-flushing can be automated. See page 18. To back-flush manually: 1. Replace the filter basket with the ‘blind’ basket, which has no filter holes. - Page 23 Change these items if they show damage or overuse. 2. Briefly inspect the machine for leaks or potential issues. Contact Synesso™or your local distributor or ser- vice agent to order parts and/or request service.
-
Page 24: Troubleshooting
TROUBLESHOOTING This is a troubleshooting guide for some of the common issues that operators might encounter. For more detailed assistance with technical issues, contact your distributor or local service agent. The machine may be reset by powering off for 10 seconds. Brewing problems The shot is pouring too slowly: ... - Page 25 TROUBLESHOOTING Fill valve has a 5 minute “timed out” feature - Power off machine to reset Your water filtration system is plugged or restricting the water flow RO System is not adequate Brew Gauge Brew Pressure gauge needle value changes often: ...
-
Page 26: Troubleshooting
TROUBLESHOOTING Steam Wand Drip at the Steam Wand Tip: Steam valve seal is worn. Replace by installing steam valve rebuilt kit. Steam valve is filled with milk residue. Disassemble steam valve and clean. Wand is Hard to Move or Sticky: ...
Need help?
Do you have a question about the Cyncra 2016 and is the answer not in the manual?
Questions and answers