Advertisement
Quick Links
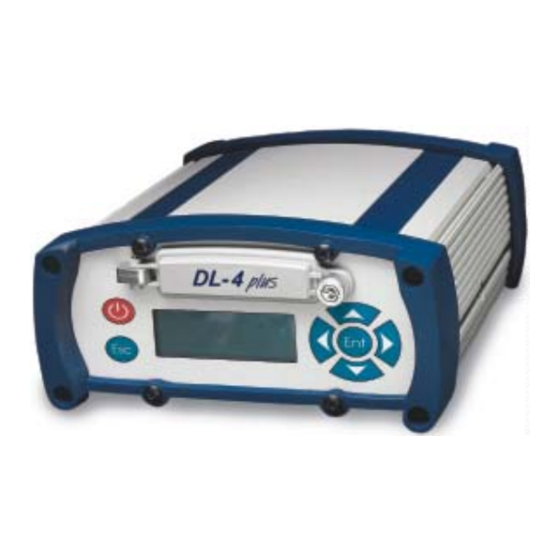
DL-4
™
plus
QUICK START GUIDE
This guide provides the
basic information you need
to setup and begin using
your new DL-4plus. For
more detailed information
on the installation and
operation of your receiver,
please refer to the user
manuals provided on the
accompanying CD. To order a printed copy of the manuals, free
of charge, follow the instructions given on the enclosed User
Manuals card.
The DL-4plus, with 2.200 firmware or higher, provides a USB
connection through its COM1 port. The USB drivers, along with
installation instructions, are available in the USB Drivers
directory of the CD provided.
BOX CONTENTS
In addition to this Quick Start Guide, the following is provided
with your DL-4plus:
•
1 CompactFlash™ card
•
1 12V power cable, 1 I/O cable, 1 USB cable, 1 null
modem cable, 1 straight through serial cable)
•
1 CD containing:
•
An installation program for NovAtel's GPS PC
utilities, including GPSolution
®
and DL4Tool™
•
Product documentation, including user manuals
•
The OEM4 Software Development Kit
•
DL-4plus LCD Menus Quick Look
•
OEM4 Family Quick Reference Guide
•
User Manuals card for requesting printed manuals
ADDITIONAL EQUIPMENT REQUIRED
The additional equipment in this list is needed for a basic setup:
•
A Windows-based PC with an RS-232 DB-9 port
•
A quality GPS antenna, like NovAtel's GPS-702
•
An antenna RF cable with a TNC male connector at the
receiver end, such as NovAtel's C016 model
•
One of the following:
•
A standard 12 VDC automobile power outlet, or
a 7 - 18 VDC power supply capable of at least
4.0 W and a power cable with a 4-pin LEMO
plug (LEMO part number
FGG.0B.304.CLAD52Z) at the receiver end
SETTING UP YOUR DL-4
plus
Complete the steps below to connect and power your DL-4plus.
1. Mount the GPS antenna on a secure, stable structure with
an unobstructed view of the sky.
2. Insert the provided CompactFlash card into the slot provided
behind the door on the front face of the DL-4plus. Open the
door by loosening the screw at the right end.
3. Using the antenna RF cable, connect the GPS antenna to
the GPS port, which is found on the DL-4plus back face.
1. If an alternative power source is preferred, the automobile power
adapter can be cut off from the power cable. The exposed wires
(red and orange for positive, brown and black for negative) can
then be tied to a 7-18 VDC supply capable of at least 4.0 W. The
use of a 3 A slow-blow fuse is recommended.
4. Connect the COM1 port on the receiver to a serial port on
the PC, using the provided serial or USB cable.
1
5. Connect the power cable to the PWR port by lining up the
red mark on the receiver connector with the red mark on the
cable connector.
6. Plug in a user-supplied adapter and/or connect and turn on
the power supply. When the DL-4plus is properly powered,
the PWR LED is red.
7. Press the
button on the front face of the DL-4plus.
COMPACTFLASH CARD
You may get a DISK ERROR message on the LCD screen of the
DL-4plus. If so, enter the following using GPSolution:
DISK FORMAT
Wait a few minutes until the error message is gone. Use the DL-
4plus power button to turn it off and then on again. When power
is returned, the DL-4plus should be able to use the flash card.
INSTALLING THE PC UTILITIES
Once the DL-4plus is connected to the PC, antenna, and power
supply, install NovAtel's GPS PC utilities
.
1. Start up the PC.
2. Insert the accompanying CD in the CD-ROM drive of the
computer.
3. Install the PC utilities by advancing through the steps
provided in the NovAtel GPS PC Utilities setup utility. If the
setup utility is not automatically accessible when the CD is
inserted, select Run from the Start menu and select the
Browse button to locate Setup.exe on the CD drive.
CREATING A LOG GROUP USING DL4TOOL
Log groups are sets of logs to be captured by the DL-4plus. A
group can be created in DL4Tool and then downloaded to the
DL-4plus.
1. Launch DL4Tool from the Start menu folder specified during
the installation process. The default location is Start |
Programs | OEM4 PC Software.
2. Select the Group Editor button.
Within the Group Editor, pre-defined log groups are provided
for use during common operational modes. In addition, five
empty log groups are provided. Both the pre-defined and
empty log groups are editable.
3. Select LOGGROUP1 from the Group Name drop-down list
and, if desired, use the Rename... button to rename the
group.
Advertisement

Subscribe to Our Youtube Channel
Related Manuals for Novatel DL-4plus


Summary of Contents for Novatel DL-4plus
- Page 1 SETTING UP YOUR DL-4 plus Log groups are sets of logs to be captured by the DL-4plus. A red mark on the receiver connector with the red mark on the manuals provided on the group can be created in DL4Tool and then downloaded to the Complete the steps below to connect and power your DL-4plus.
- Page 2 When the receiver has a valid position, the Position Mode area PICK:LOGGROUP1 5. Select the group to upload to the DL-4plus from the list of in the lower left corner of the screen, to the right of the satellite SV:10 DGPS DOP 2.5...
Need help?
Do you have a question about the DL-4plus and is the answer not in the manual?
Questions and answers